the beer hunter
Registered user
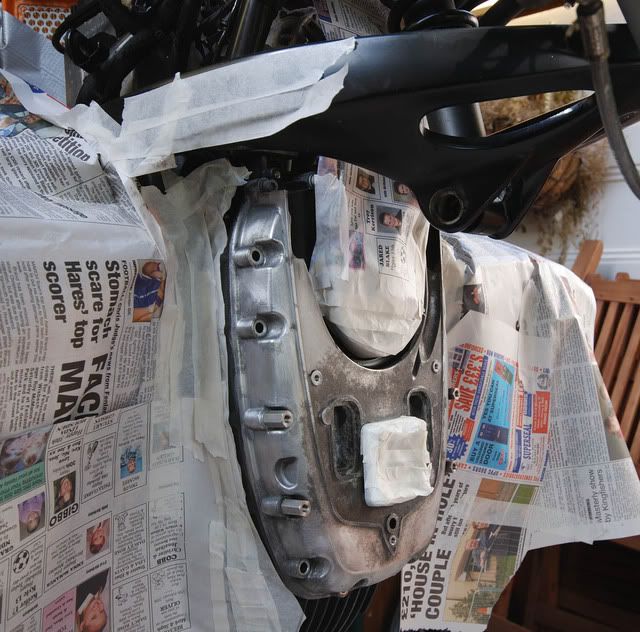
Winter's here so it's time to do something about my flakey engine casing on my 1200GS.
I just need some advice on which primer to use.
Apart from price, what's the differance between these 2 Wurth primers?
£8.99 acid etch primer - 450ml
£18.99 wheel paint primer - 400ml
I just need some advice on which primer to use.
Apart from price, what's the differance between these 2 Wurth primers?
£8.99 acid etch primer - 450ml
£18.99 wheel paint primer - 400ml


")