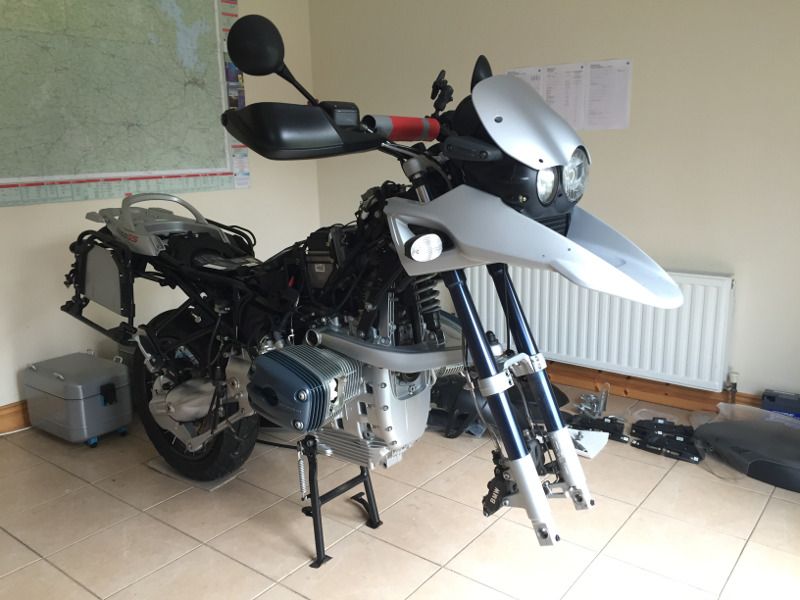
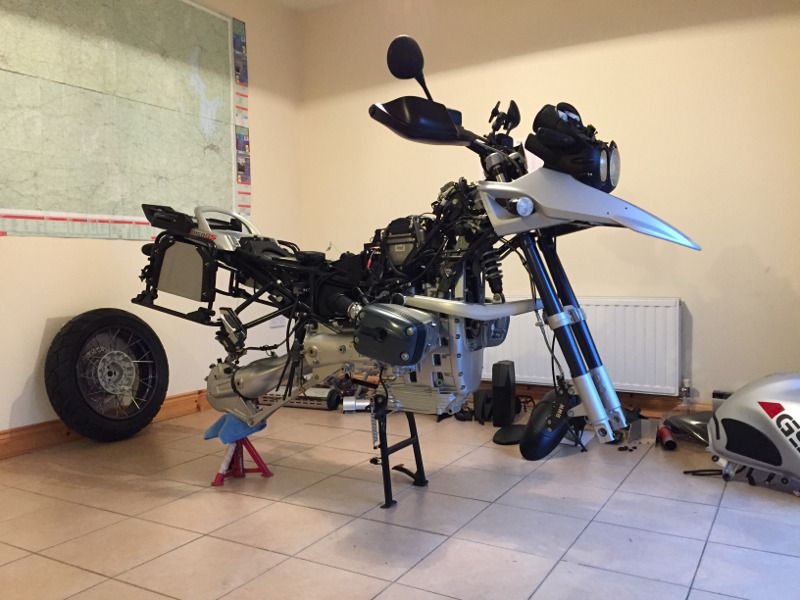
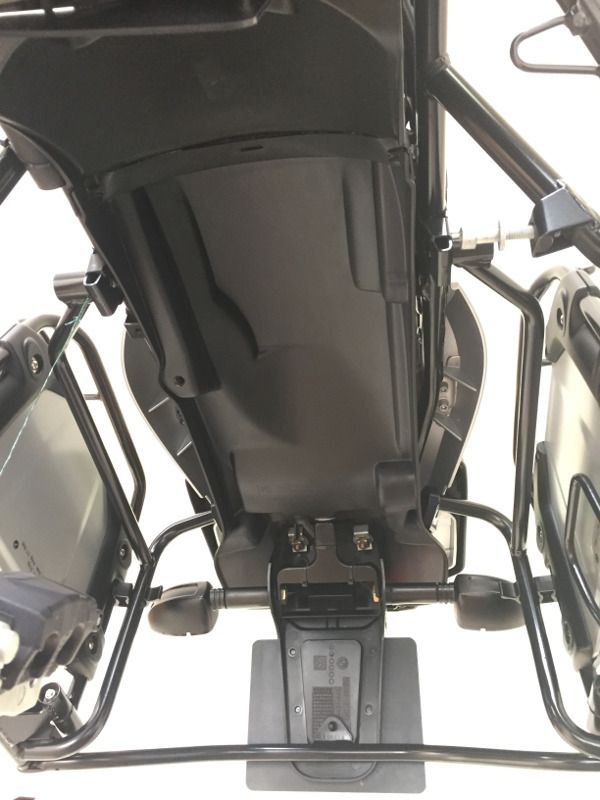
R1150GS Adventure Protection Detail

Wow, this beats jonfoxllb's GSA thread

I thought my bikes were ok, but they're looking like shite

I wouldn't have the patience...............but glad you do
 
Thanks for sharing and great work. My only comment would be that leaving the air cooled engine running for 10 minutes while standing still, is not a good idea.

I take a great pride in keeping my bike clean so I get why your doing this. I clean mine and use ac50f as well. Im not convinced that this massive amount of time spent will provide a better result.


Sent from my iPhone using Tapatalk
 
You recognise you have a problem, right? :p

Instead of all the masking on the decals, why didn't you just remove them and put on new ones after you sprayed the gloop on? They are readily available (either OEM or aftermarket) and cheap - seems a waste of a lot of time doing it the way you chose.

Yes, I know I have a problem. My brother has it too, so I'm not sure if it's genetic or contagious.

To be honest, it never occurred to me to remove the decals and stick new ones back on, but I probably wouldn't have done it that way if it had. Firstly, I'd like to keep the bike as original as possible, so wouldn't want to remove the original decals (there's that problem again that we were talking about). Secondly, I'd say it would be more work to align new decals properly afterwards than it was to do the masking. At least with the masking tape, if I made a mistake I could pull it off, ball it up and get a new piece.

Wow, this beats jonfoxllb's GSA thread

I thought my bikes were ok, but they're looking like shite

I wouldn't have the patience...............but glad you do

I almost bought johnfoxllb's bike! In the end, I decided not to because I wanted something with lower mileage (his has/had 30k miles, mine had 24k kilometers when I bought it). I have to admit that in the flesh, it's actually cleaner than mine. I'm not cleaning places like the inside of the mud guards and underneath the tank because dirt will get in there again and I won't be dismantling it to clean it every time I use it. I'm only cleaning the parts I'm applying paint sealant to. Also, John was cleaning his to keep it as a show piece, whereas I'll be getting mine dirty again soon.

Thanks for sharing and great work. My only comment would be that leaving the air cooled engine running for 10 minutes while standing still, is not a good idea.

I take a great pride in keeping my bike clean so I get why your doing this. I clean mine and use ac50f as well. Im not convinced that this massive amount of time spent will provide a better result.

I agree that running an air-cooled engine while stationary isn't a great idea. That's why I kept such a close eye on the temperature gauge. Four bars on the RID is about 90°C, which is normal operating temperature for water cooled engines. As soon as the fifth bar lit up (~105°C), I turned it off.

ACF50 is a great product and it will protect your bike and keep it clean. It is, however, an oil (albeit a very good one) so it will wash off and need to be reapplied. Quartz coatings are worth the effort of applying them. Rather than being a layer of goo sitting on top of your paint, as most waxes and paint sealants are, they are a layer of SiO2 (glass basically) that chemically bonds to the surface of the paint and becomes an integral part of the paint. The only way it can be removed is by machine polishing. Because it's basically glass, it's totally resistant to strong chemicals like tar remover, so you can detar the paint and don't have to reapply paint protection. It's also very scratch resistant. It's a lot of extra work now, but if all goes according to plan, I'll never have to do anything other than wash it from now on. I know not everyone has the time or inclination to do something like this, but for me it's worth the effort.
 
Amazing effort and desire.
I suppose with the weather there gives you an incentive to do that kind of work instead of riding.

good work
 
I love detailing. I've watched loads of videos of people doing cars and bikes, but this is the next level.

I admire it, probably because I just don't have the attention span to do it. I get a quarter of the way around my car with wax and then get bored and whizz around the next 3/4.

The worst thing I did was buy a nice 1150ADV. My previous bikes were scraggy around the edges and I ragged around off road and had tons of fun, but my current steed is just too nice to do that to, only very gentle lanes for her on a nice dry day.

Great thread, at least there will be one perfect example left after mines rotted away through negligent standard cleaning and ACF.
 
Couldnt the filter be removed with the universal oil filter removal kit, drive a screwdriver through it with a hammer and turn. Never failed me yet, but never changed one on a GS
 
Couldnt the filter be removed with the universal oil filter removal kit, drive a screwdriver through it with a hammer and turn. Never failed me yet, but never changed one on a GS

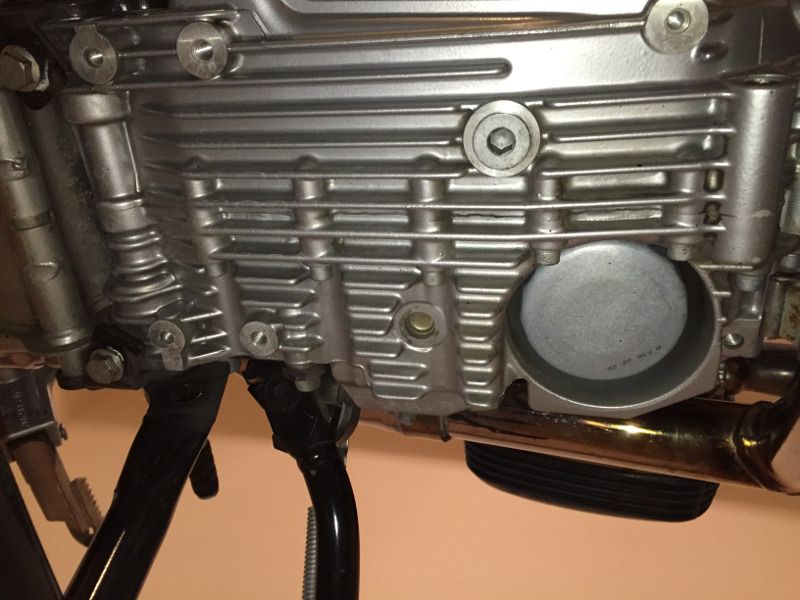
You can't drive a screwdriver in through the side of a GS filter because of where it's housed:

IMG_6539p_zpslb1ebhyr.jpg


If all else failed, I'd have put one in through it at a diagonal, but if that went wrong, it could have made a lot of work for me.
 
Jebus Tim! I get what you are doing here, but surely isnt this against the ideas and ethos of an "adventure" bike? Beaut of a bike all the same?
 
Jebus Tim! I get what you are doing here, but surely isnt this against the ideas and ethos of an "adventure" bike? Beaut of a bike all the same?

I think that depends on your intended use for the bike. I've no problem getting the bike dirty; taking it greenlaning etc, but I won't be doing any serious off-roading with it. If that was the case, I'd have bought something lighter and not something immaculate. What I'll be doing with it is mostly touring and exploring, including the byroads and bog roads of Ireland. When I get it covered in dirt, I want to be able bring it home and wash the dirt off easily, which is what the protection detail is for.
 
Although I've put a lot of time into the bike over the last few weeks, I haven't bothered writing it up because there was no visible difference.

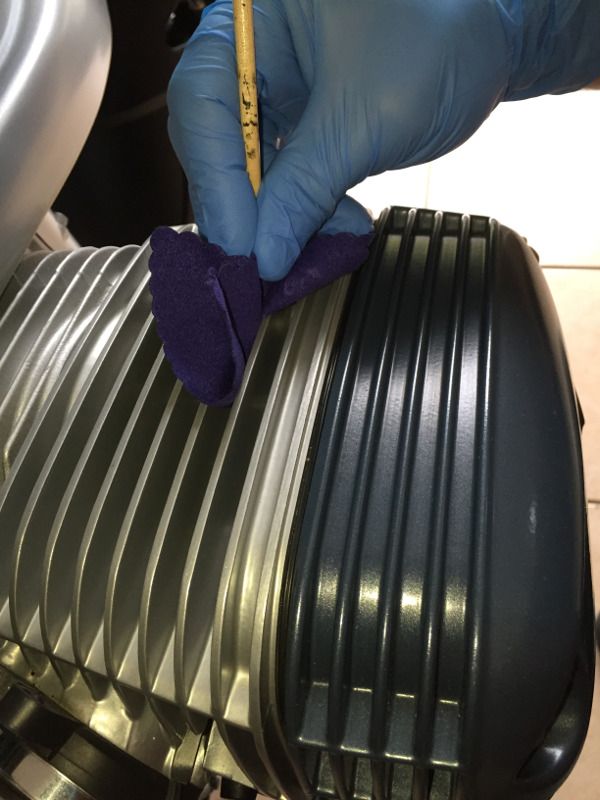
Applying MOHS to the engine was excruciatingly tedious. I knew it would be time consuming, but it was worse than I expected. I started with the main engine casing. I thought that would be relatively easy because it's mostly flat surfaces, but the throttle bodies and other ancillaries made access to the surface very difficult. Wiping the MOHS on was easy, but buffing it off to a smooth finish is much harder when you don't have much space. Working on the cylinders was a bit easier than I expected because, although the cooling fins were tedious to work on, the cylinders are at a height that allowed me to pull up a chair and sit while I worked. To get the MOHS in between the cooling fins I wrapped the suede applicator around a wooden paint brush handle and used that to work it into the gaps:

IMG_7580p_zpsodijo8ni.jpg


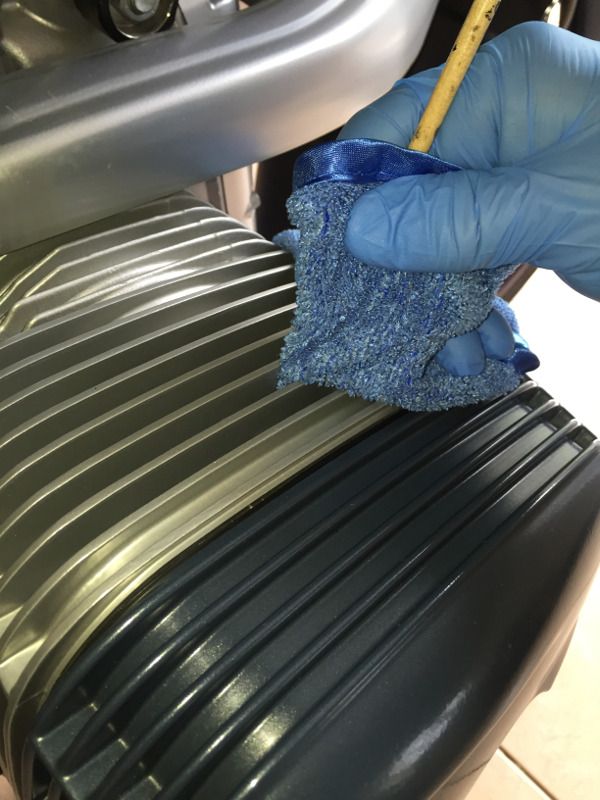
After applying it to one or two, I then used the same technique to buff it off with a microfibre towel:

IMG_7581p_zpswhylqc6u.jpg


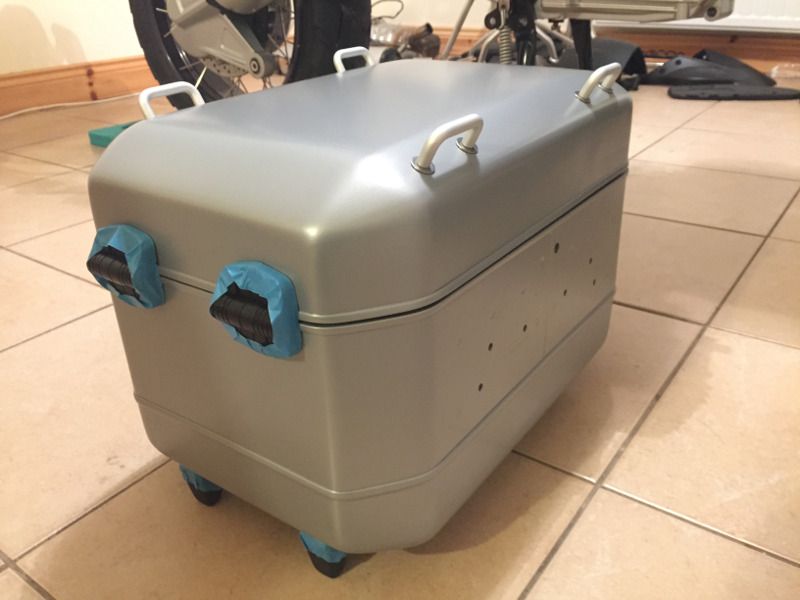
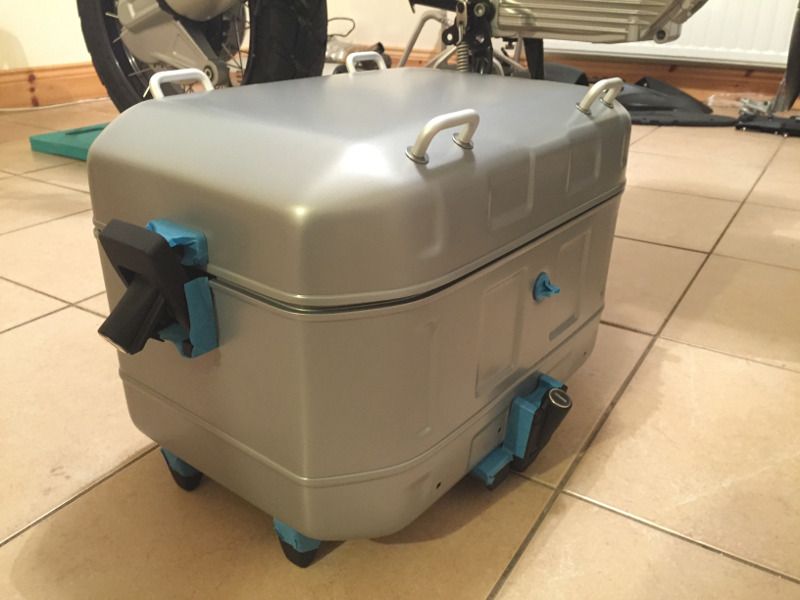
With the engine completed, the next parts to be treated with MOHS were the panniers and top box. Rather than masking all the plastic bits on the panniers, I removed what I could. The locking mechanisms are riveted, so I left them in situ and I decided not to remove the hinges so I wouldn't have to deal with aligning them again afterwards. The plastic feet have a square profile, and easily masked, so I left them in place too.

Top box with mounting hardware removed and other bits masked:

IMG_7426p_zps5nrvqc13.jpg


IMG_7427p_zps0kq3fxgi.jpg


As with everything, I applied two coats of MOHS to the panniers and top box, with an hour between each coat. I also applied it to the parts of the frame that are visible.

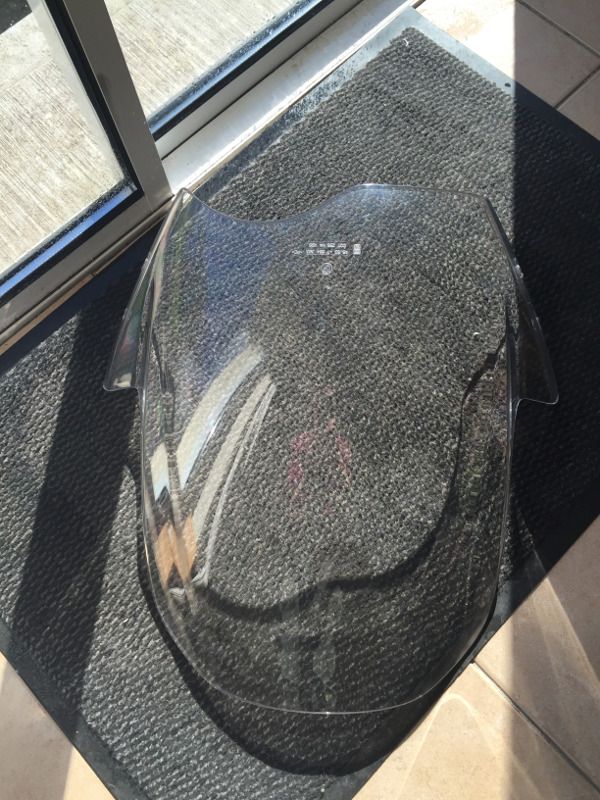
With all the painted surfaces treated with MOHS, yesterday I moved onto the plastic and trim. I decided to start with the biggest piece of plastic - the screen. The previous owner kept the bike meticulously clean. The screen looks to be in perfect condition in this photo:

IMG_7538p_zpsaer7dkyp.jpg


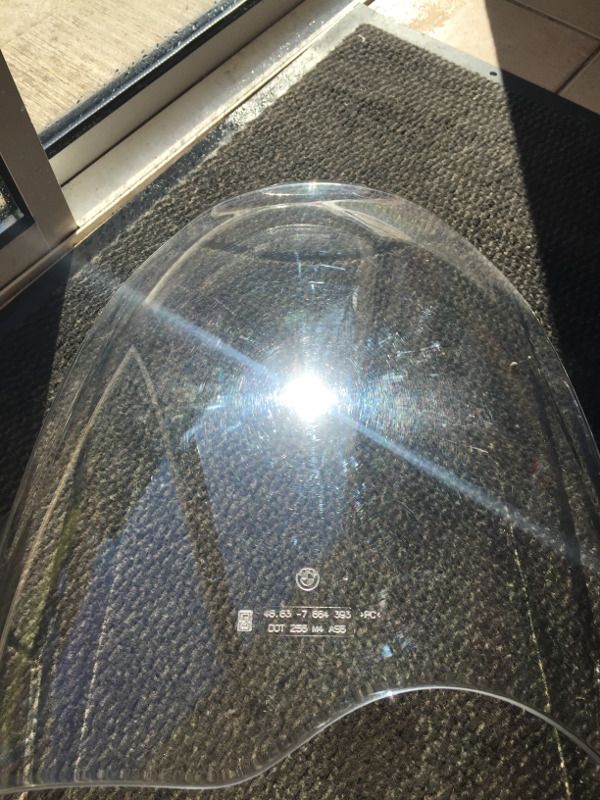
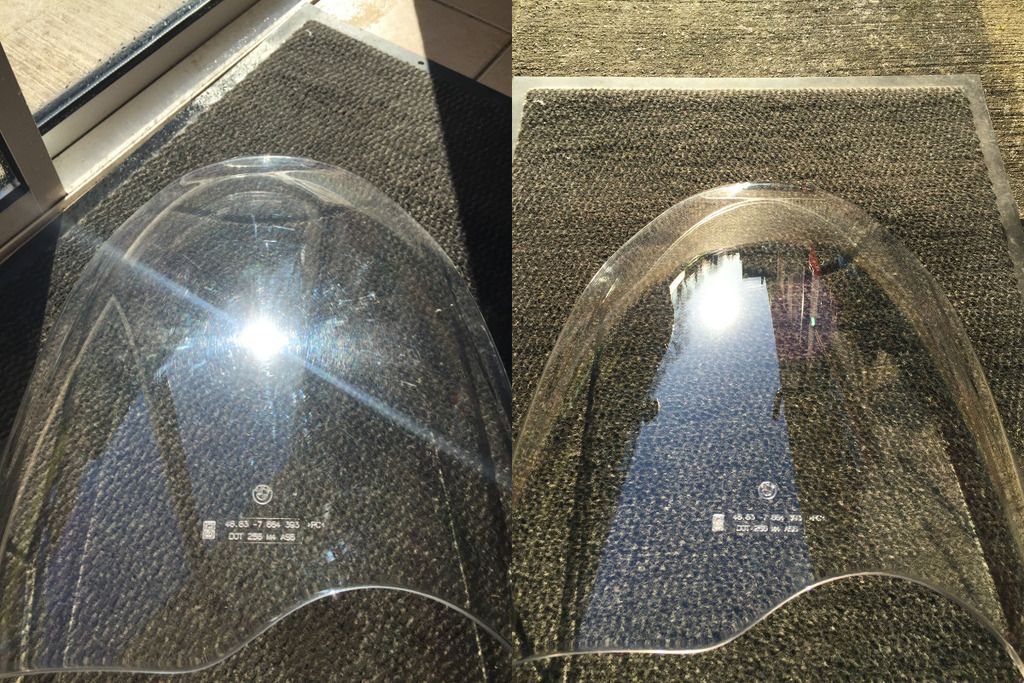
However, under strong sunlight at the right/wrong angle, there are "swirl marks" visible on the screen:

IMG_7539p_zps1ierqiit.jpg


Swirl marks are very shallow scratches, caused by washing. The likes of a screen are more susceptible to swirl marks because there is likely to be dried in "bug splatter", causing the washer to scrub the surface harder. Luckily, the paint on the GS is very hard and there are no swirl marks anywhere else on the bike. To remove the swirl marks, I brought out my Kestrel DAS-6 dual-action polisher. When using a machine polisher, you should always start with the lightest "cut" combination of pad and polish, so I started with a finishing pad and Menzerna Final Finish polish. I "primed" the pad first, by lightly spraying some quick detailer on it. This lubricates the pad, to prevent the dry pad from inflicting new swirl marks before the polish starts to spread. I applied three or four pea-sized drops of polish to the pad, then blobbed the polish around the area I was going to work on (about one third of the screen at a time). With the polisher at the lowest setting (1,000rpm), I placed the pad on the surface of the screen and turned the polisher on. I spread the polish around with the pad before turning the polisher up to about 2,500rpm to start the "cutting". After working the polisher back and forth in an overlapping pattern for a minute or two, the abrasives in the polish start to break down and the polish starts to look like a clear, greasy residue. I turned the polisher back down to minimum, before turning it off while the pad was still pressed against the surface. I then used a microfibre cloth to remove the residue of the polish. This is normally done by wiping the microfibre across the surface to remove the majority of the polish, then flipping the microfibre over to a cleaner part to buff off the remains. That's regarded as one pass of a polisher.

Here's a short video of the first pass I did on the screen:


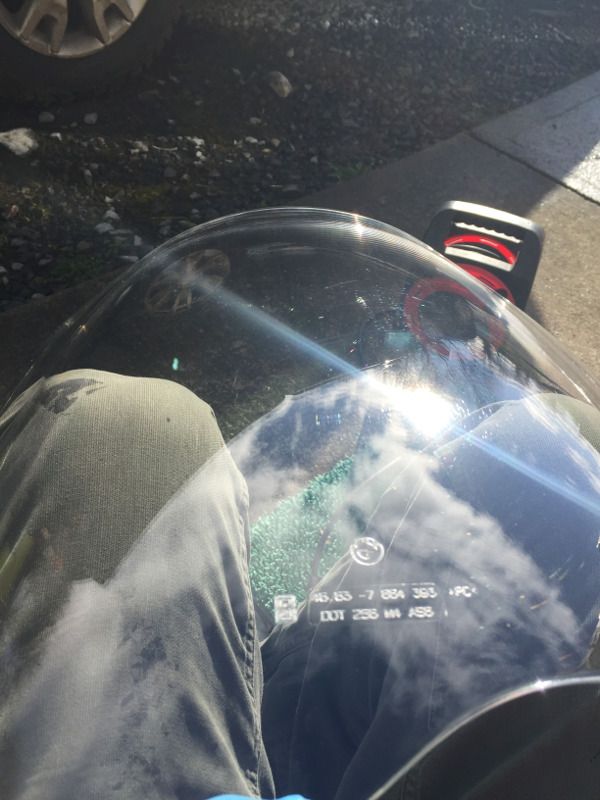
I worked on a section about a third of the area of the screen at a time. The difficult thing about polishing acrylic (perspex) is that it's hard to tell which side the scratches are on. After performing one pass on both sides of the screen, it was already starting to look much better, although there were still quite a few swirl marks on it:

IMG_7542p_zps54qori7z.jpg


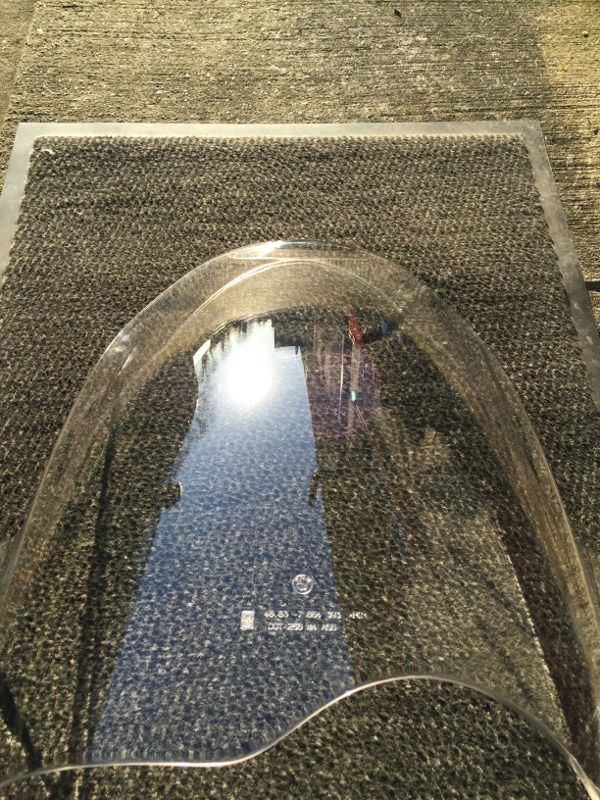
After two more passes on each side, I nearly decided to stop. It was almost perfect and my hands were starting to get tired from holding the screen with one hand and working the polisher with the other (I'd normally work the polisher with two hands while polishing a panel). There were still a few deeper swirls here and there about the screen, so I moved up to a medium cut pad with the Menzerna Final Finish (you should always increase the cut of pad before using a stronger polish - you can't put back on what you've polished off by mistake). The fourth pass, using the medium cut pad, did the trick and the last of the swirl marks came out. The sun had moved in the three hours since I took the "before" photo, so I had to take my doormat outside for the "after" photo:

IMG_7566p_zpsbrv48pqh.jpg


Comparison of before and after:

Screen_Before_After_zps1ekrk4y2.jpg


Total hours: 128.5
 
Great work and fair play to you
Personally I prefer to get mine dirty by riding it as much as I can.
GS's are meant for riding not for polishing. :):)
 
I've been so busy working on the bike over the last few weeks, that I haven't had time to update this.

After polishing the screen to bring it up like new, I moved on to the other plastics on the bike. They were generally clean and only needed a wipe-down in preparation for sealing. I also bolted all the plastic bits back onto the panniers and top box. I removed the front wheel and the front mudguard to make working on the mudguard easier. I also removed the silver panel just above the headlights to give me better access to the plastic housing around the lights:

IMG_7596p_zps9clogcyq.jpg


After giving everything the usual wipe-down with Gyeon Q2M PREP, I applied Qyeon Q2 TRIM to the screen, dash, beak protector, alternator belt cover, and all the other plastic bits on the bike. I applied a tiny bit of TRIM on top of the MOHS in an inconspicuous spot on the tank, to make sure that it wouldn't affect the finish of the MOHS. After giving it an hour to cure, I checked it under a bright light and couldn't see any traces, so I knew it was safe to apply TRIM to the decals without masking the surrounding paint.

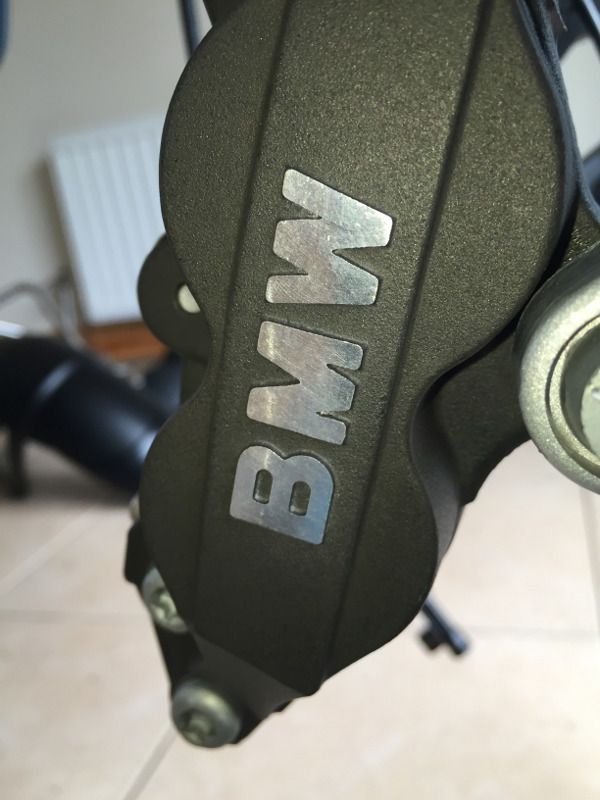
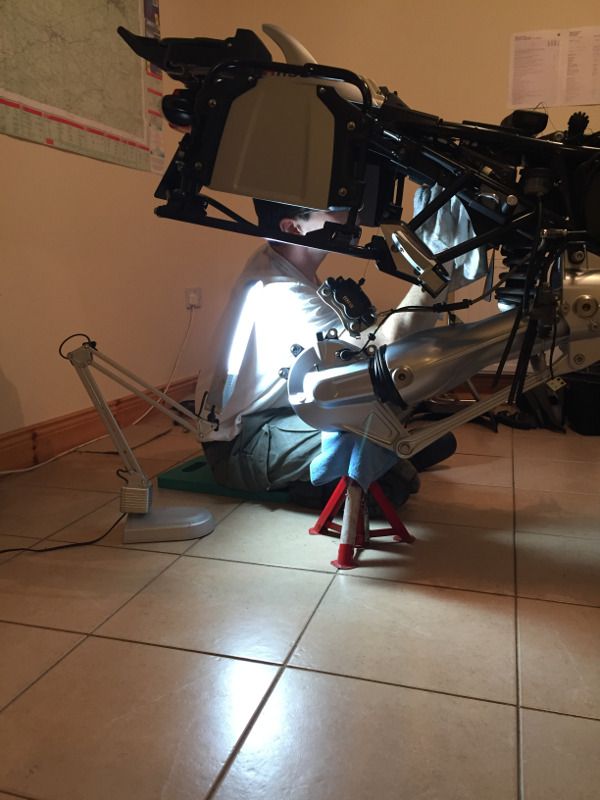
Next up was to protect the wheels and callipers. Brake dust is very hot when it comes off the pads, so normal paint sealant will quickly get damaged and burnt off. Gyeon Q2 RIM is specifically developed to withstand these temperatures (up to 350ºC), so this is what I used to protect the wheels, callipers and surrounding areas. I don't really understand the chemistry, but for some reason RIM is also better than MOHS for protecting bare metal, such as stainless steel, anodised aluminium and chrome. I cleaned all the nooks and crannies on the front forks and front callipers:

IMG_7729p_zps30hrtle0.jpg


IMG_7732p_zpsf1fxy6a8.jpg


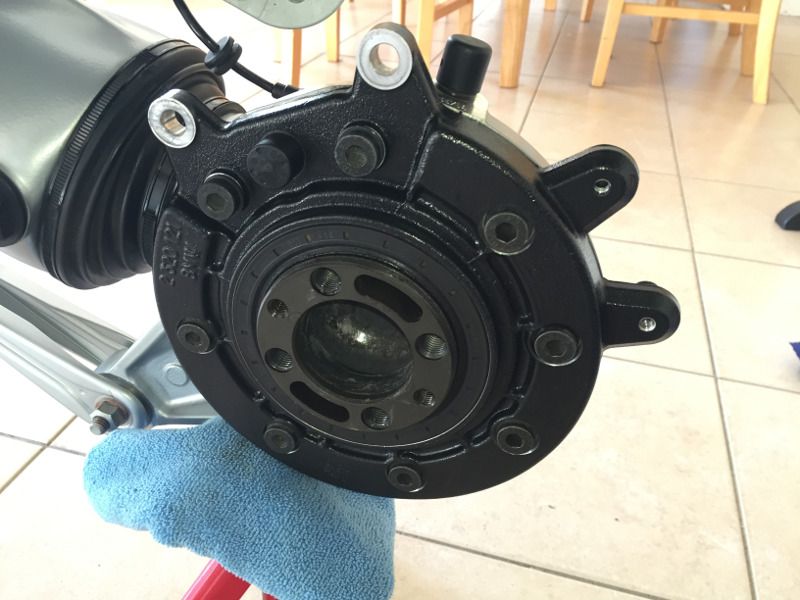
Then I removed the rear wheel and cleaned the rear callipers and parts of the final drive I couldn't access when the wheel was on:

IMG_7663p_zpsz3wnyd61.jpg


IMG_7739p_zpswhpb5wgi.jpg


I wasn't planning to clean and treat the inside of the mudguards, but when I was working on the final drive, I looked up and saw the dirt and, being the perfectionist that I am, decided that for the sake of another few hours work I might as well complete the job.

Cleaning inside the rear wheel arch:

IMG_7666p_zpsyfyllili.jpg


IMG_7727p_zpscfraovry.jpg


After cleaning auto-claying the insides of the mudguards, I applied TRIM to them, and then applied RIM to the final drive, front forks and brake callipers.

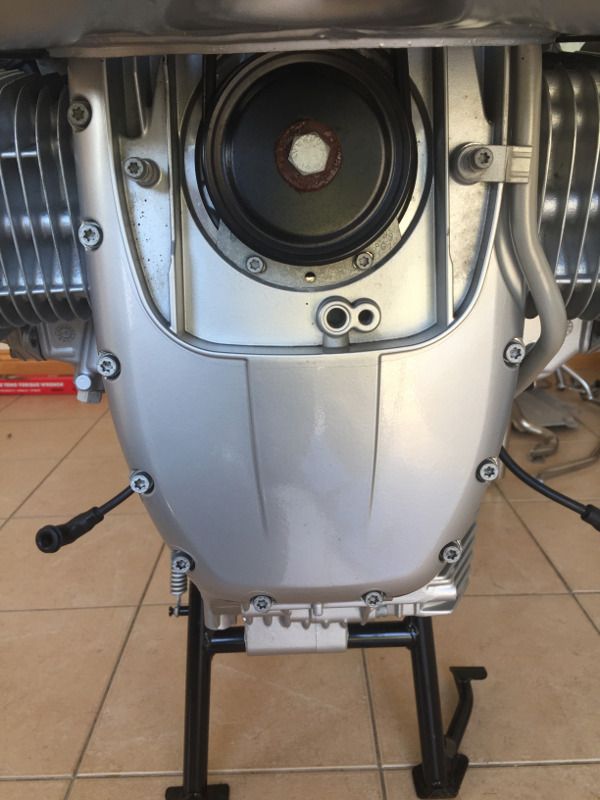
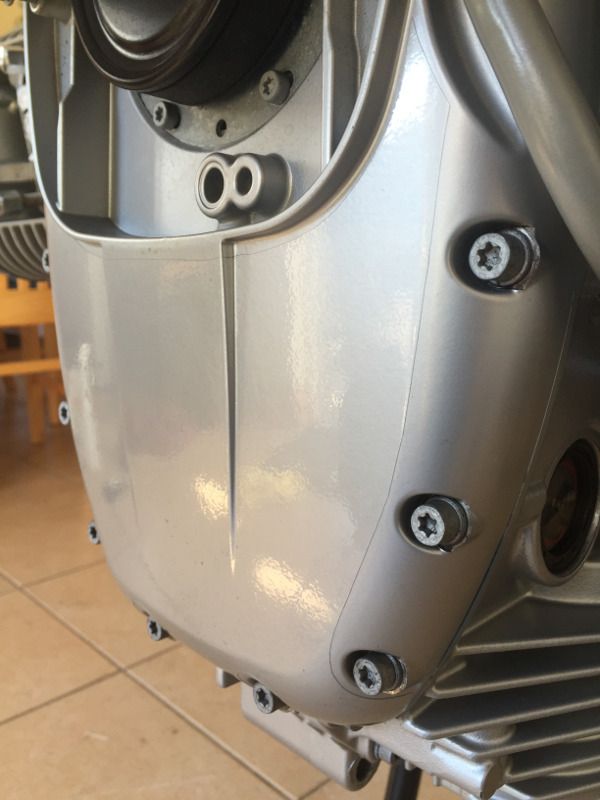
Anyone who has ever washed a motorbike is probably familiar with the sand-blasting effect on the front of the engine, caused by the debris thrown up by the front wheel. Even the protection of MOHS won't stand up to that for very long. I fitted an Extenda Fenda to the GS as soon as I got it which makes a huge difference, but I still noticed some debris stuck to the front of the engine after the last ride.

When reading Polished Bliss's Car Care Blog, I came across this entry about them installing XPEL Ultimate Paint Protection Film to the front of a Porsche 911 (997) GT2 RS. I immediately realised that I had found the perfect way to protect the front of my engine. Not only does XPEL Ultimate PPF protect the paint, the PPF is actually self healing! Here's a video from XPEL, showing the Ultimate PPF self-healing after being scratched with a wire brush:

<iframe width="560" height="315" src="https://www.youtube.com/embed/T6oEgfdwUU0" frameborder="0" allowfullscreen></iframe>


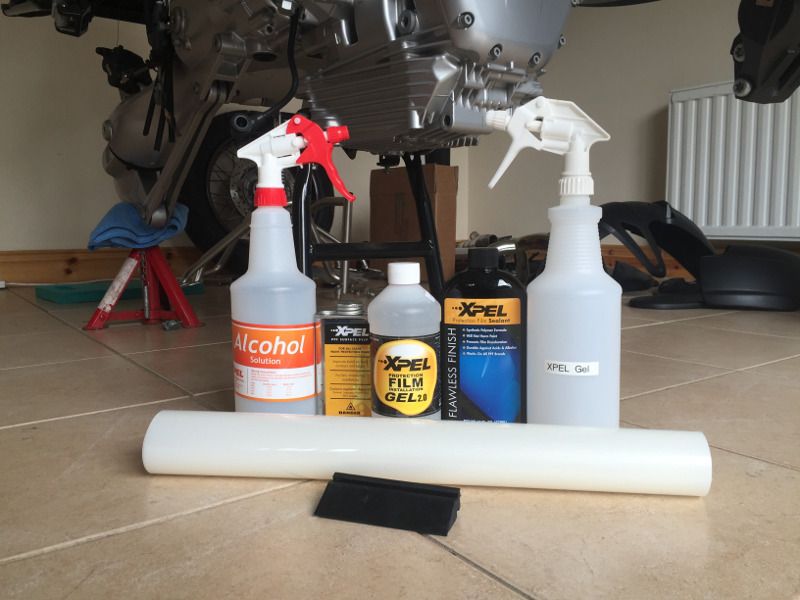
I had to buy the XPEL Ultimate PPF by the foot because they don't make a pre-cut kit for the R1150GS. Here are the XPEL products I ordered:

IMG_7787p_zpsmmw4ypmv.jpg


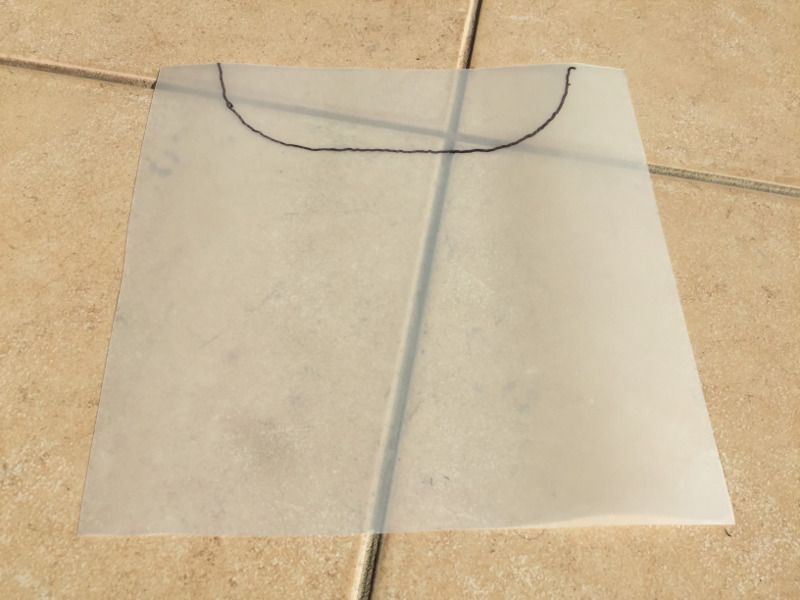
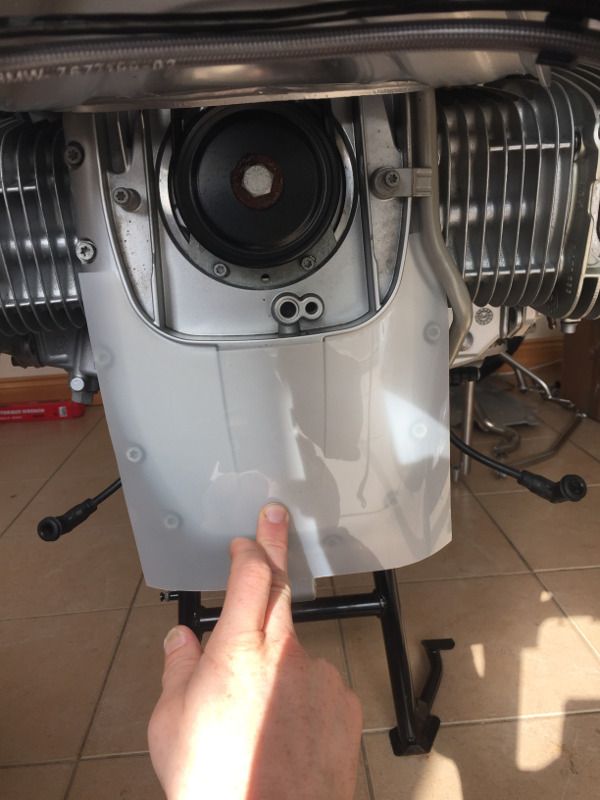
It turns out I didn't need the alcohol solution because the new XPEL Installation Gel 2.0 replaces both the soap and water solution and the alcohol solution previously used to install the PPF. I started with a square of PPF and had to cut and trim it bit-by-bit until it fit the front of the engine properly:

IMG_7790p_zps2fhwtknv.jpg


IMG_7791p_zpszbeqd00x.jpg


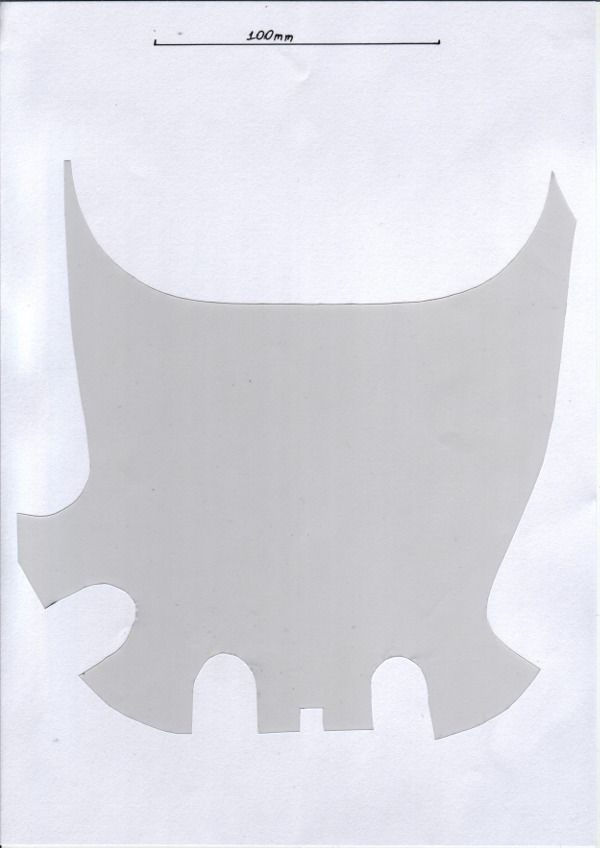
When I was finished I scanned it, in case I messed it up when installing it and had to make another one:

Engine%20Protection%20Film%20Template_s_zps7hhxhut6.jpg


As it was my first time installing paint protection film, it took me about an hour to install it because there was a lot of fumbling and adjusting. With a bit of practice, I'm sure it could be installed much quicker. I made a video of installing it and cut it down to about six minutes. That's still a bit long to watch, but I wanted to show all the steps of installation for anyone that might want to learn how to install PPF. You can't see it in the video, but you'll hear me squirting the installation gel onto my hands regularly. This stops the adhesive on the PPF from sticking to my hands while I'm working with it. Towards the end, I used a hair dryer to heat and soften the PPF to make it easier to stretch and fit into the corners and awkward spots.

<iframe width="560" height="315" src="https://www.youtube.com/embed/Dt57xFG0og8" frameborder="0" allowfullscreen></iframe>


In these photos, it's quite shiny and gives the front of the engine a gloss finish, but after a day or two when the residue of the installation gel had evaporated from underneath, it took on the texture of the paint underneath and is now almost invisible:

IMG_7794p_zpsjzas9mmh.jpg


IMG_7795p_zpssr5tryi0.jpg


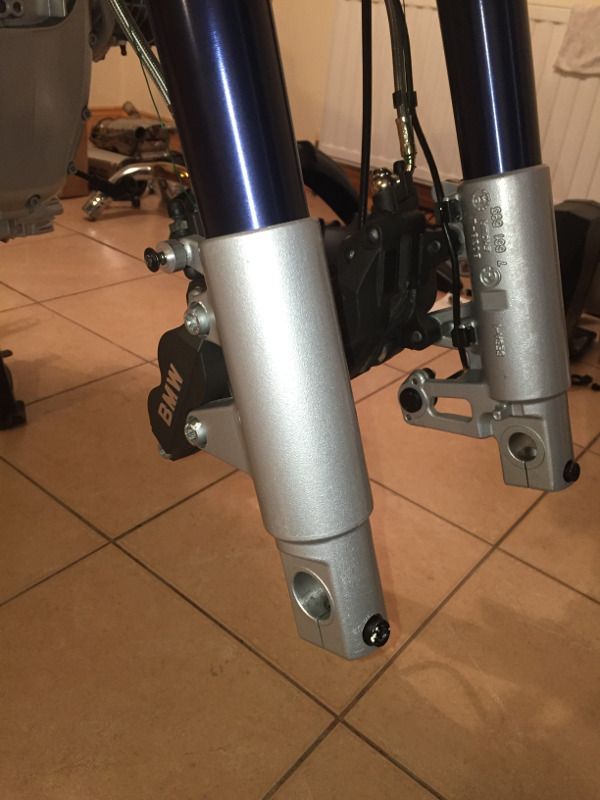
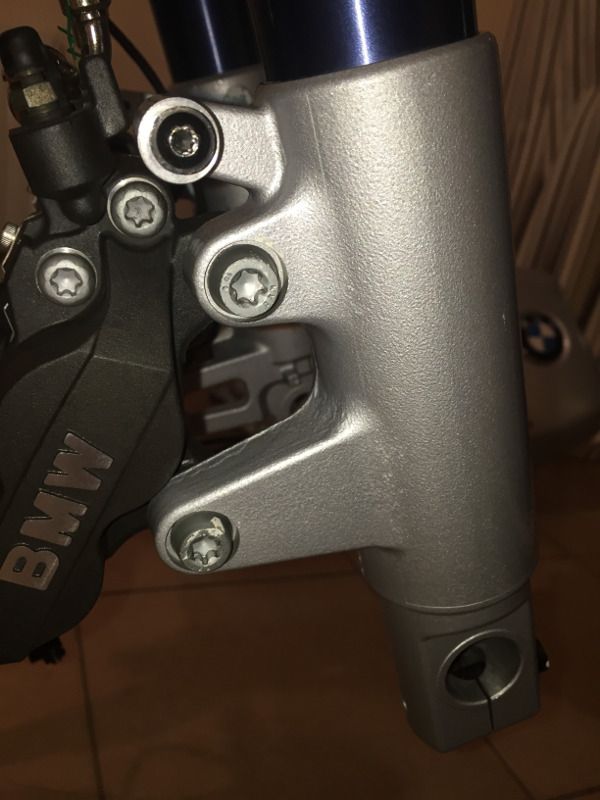
I also installed some on the lower end of the forks, as they tend to get stone-chipped:

IMG_7801p_zps9h3p8jfd.jpg


IMG_7802p_zpsmsbgdiaz.jpg


The day after I installed the PPF, I applied XPEL PPF Sealant to it. This helps prevent dirt sticking to the PPF and stops it from turning yellow with age.

Total hours: 165.5


Back
Top Bottom