R1150GS Adventure Protection Detail

I spy a rusty washer! :eek:


Yeh! That crankshaft pulley washer is well crusty! :D

The rest of the bike is fantastic! I am in awe of your patience.

:thumb2

That's covered by the plastic cover, so I'm not too bothered. When it comes to changing the belt, I'll replace the washer ;)

Tadhg would you consider making/selling the shields ?

When you say the "shield", do you mean the paint protection film? Making them is the easy part. I put the 100mm line on the page to give the scale, so it can be printed, traced and cut out. I can upload the PDF file somewhere if you want it. The hard part is the preparation for installing it. The surface underneath needs to be spotless. Even sticking it on isn't too hard, once all the preparation is done.
 
Looks great ! Can't believe the patience you have , makes me feel slightly inadequate. Give me a call when you come to sell it :D

It must be very satisfying project especially as the end is near ? Never see this level of cleaning before or any of the products. It's used to stop at Mer, wd40 and autosol I'll look into these new ones .

Thanks for taking the time to do this thread, most interesting :thumb:beerjug:
 
When you say the "shield", do you mean the paint protection film? Making them is the easy part. I put the 100mm line on the page to give the scale, so it can be printed, traced and cut out. I can upload the PDF file somewhere if you want it. The hard part is the preparation for installing it. The surface underneath needs to be spotless. Even sticking it on isn't too hard, once all the preparation is done.

Great stuff. Now I need to get my engine cover clean enough to stick it to. Your thread here is a credit to you.
 
Great stuff. Now I need to get my engine cover clean enough to stick it to. Your thread here is a credit to you.

Before you get too excited, a 18"x18" square of PPF, plus the stuff needed to install it cost me €108.58. You don't need a piece that size, a square foot would do, but you'll still be talking €100. You'll also need to auto-clay the front of the engine if you want the film to sit down properly on the surface and be nearly invisible. It's not a big job and a bar of clay is about £10 + P&P. (You might get auto-clay in Halfords, but I prefer to use Bilt Hamber clay because you can use water as lubricant instead of a special lube)

If you're still interested, I'll upload the template somewhere and I'll help as much as I can.
 
Your work makes my version of looking after / keeping on top of it with my GS, look like neglect.

Each to their own. Keep up the good work. :)
 
The bike was quite stable on the centre stand, with an axle stand under the final drive, but I was still anxious to get the wheels back under it in case I bumped against it and toppled it off the stands.

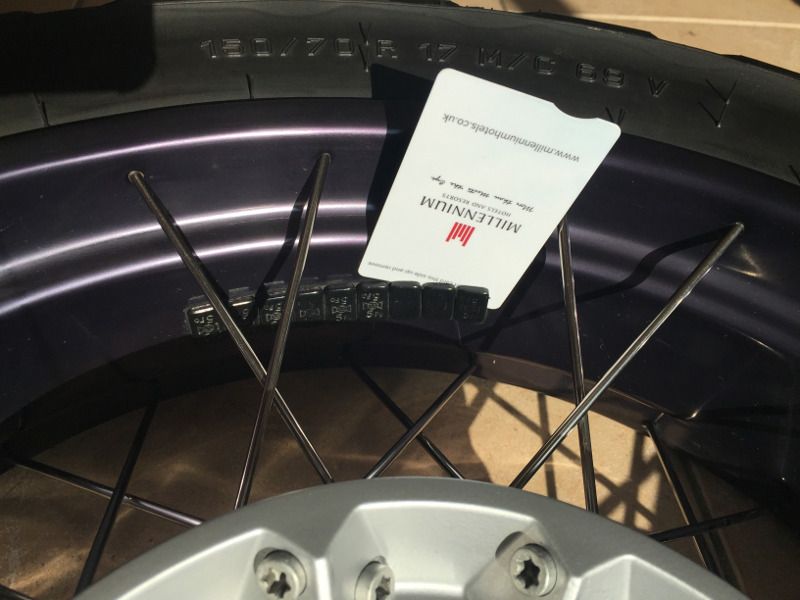
I started by removing the balancing weights from the front wheel. I wedged a plastic key-card from a hotel between the weights and their adhesive backing, and prised the weights off.

IMG_7694p_zpsdcbgvk5h.jpg


I then used my thumb to "roll-up" the adhesive tape and pull it off the wheel. I used denatured ethanol to remove any residue left by the adhesive. I found that kneeling on the ground, leaning over the wheel was a bit awkward, so I mounted the wheel on my static wheel balancer, so I could sit on a chair and just rotate the wheel as I worked my way around it. I'd already treated the wheels with IRON to remove any inorganic contamination (mainly brake dust), but I found two or three speckles of tar on the rim, so I auto-clayed the rim, rinsed it, then wiped it down with PREP. I applied RIM to the rim, hub and each spoke.

As I mentioned in 
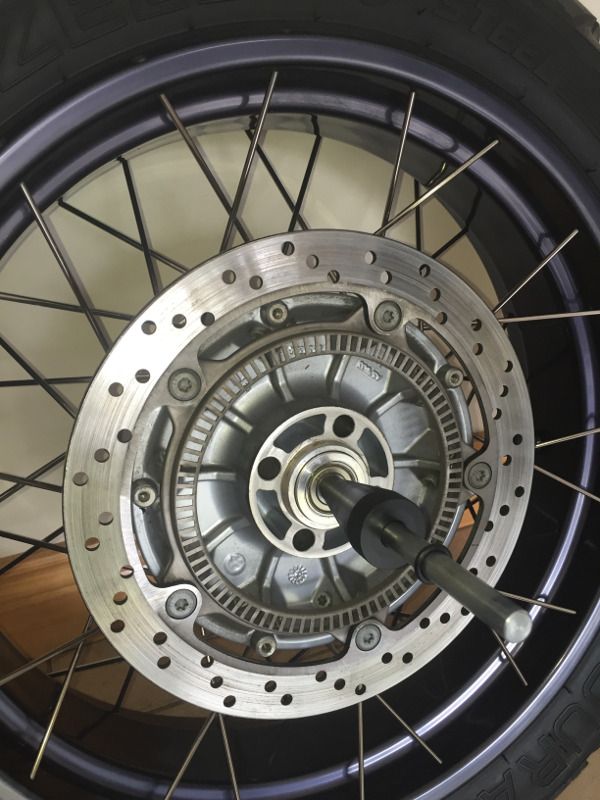
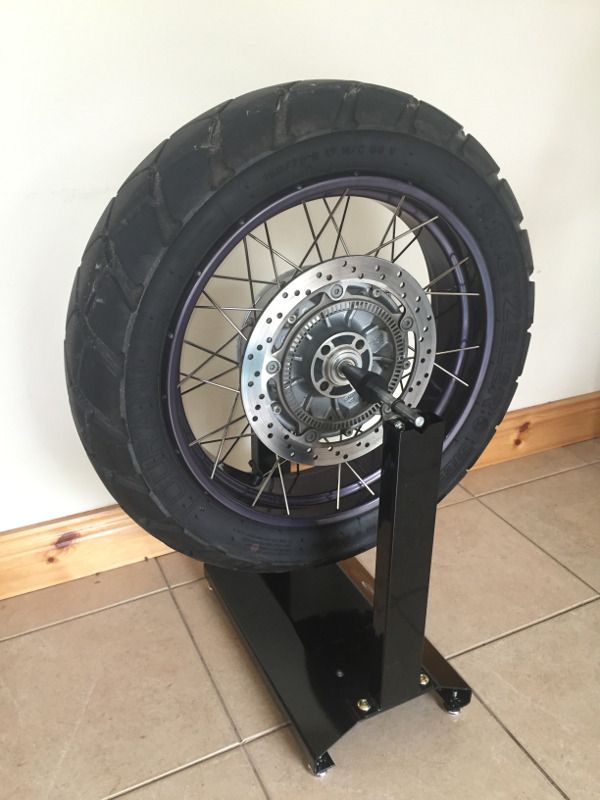
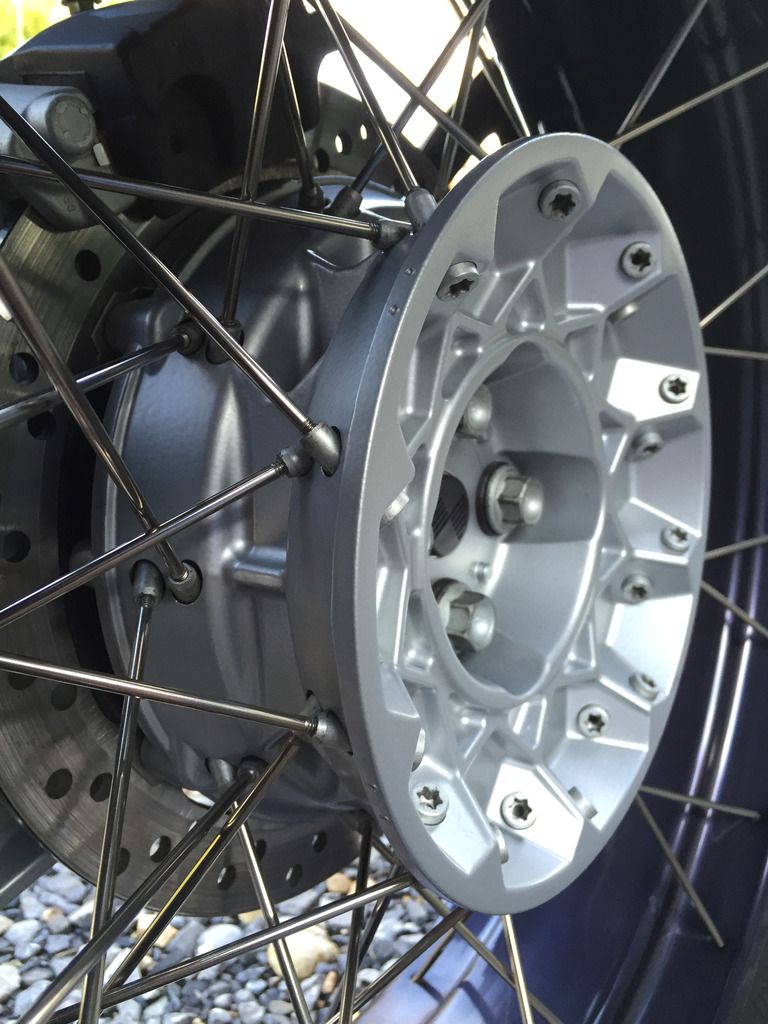
my thread about a rear wheel balancing adapter, the rear wheel of the R1150GS won't fit on a standard static balancer without an adapter. After a bit of thinking and research, I found that a Trend B41 bearing (a spare part for a Trend woodworking router) was an ideal adapter to fit the rear wheel on the static balancer:

IMG_7813p_zpse3gfnqhh.jpg


IMG_7810p_zpsqss5ovc0.jpg


IMG_7812p_zpsbcew6ehi.jpg


I mounted the rear wheel on the static balancer and gave it the same treatment as the front wheel. After giving the first coat of RIM an hour to cure, I gave each wheel a second coat.

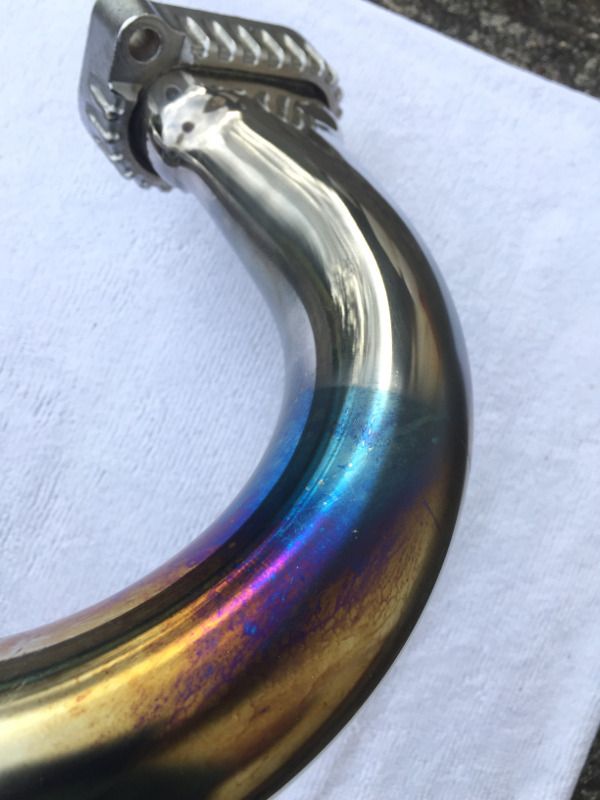
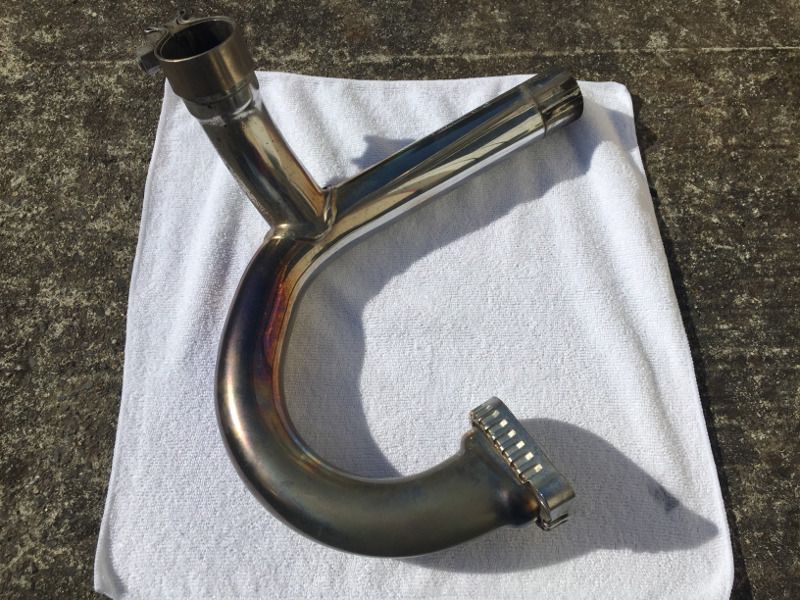
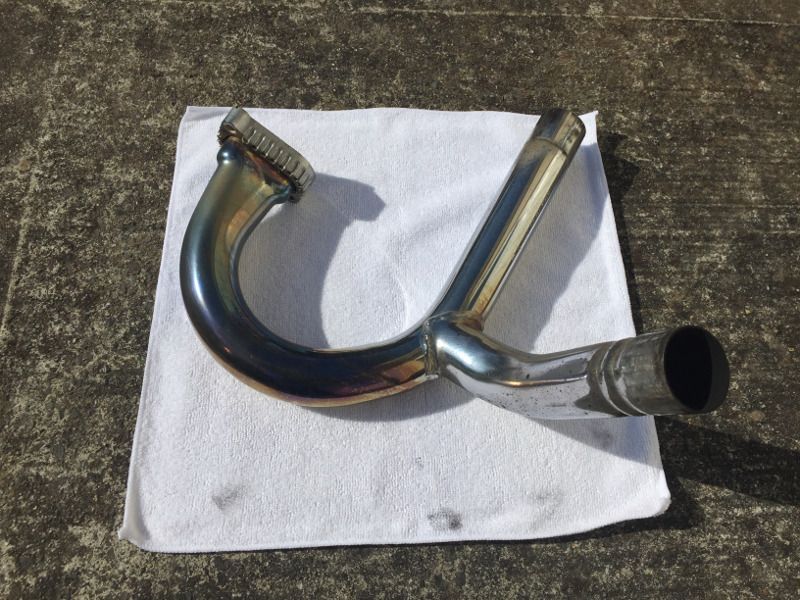
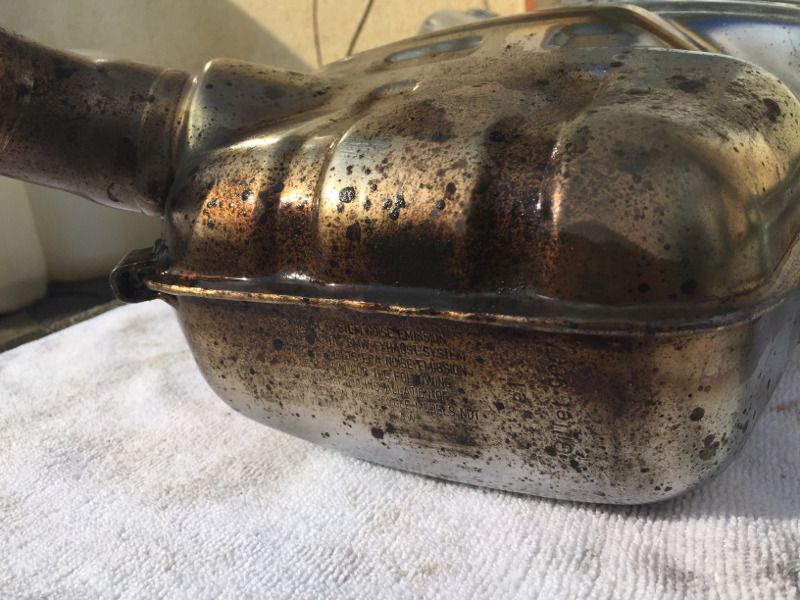
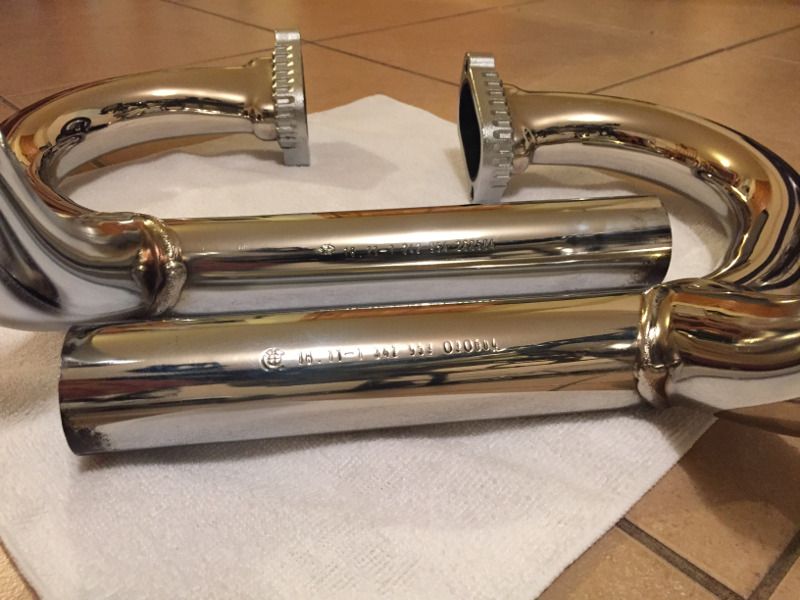
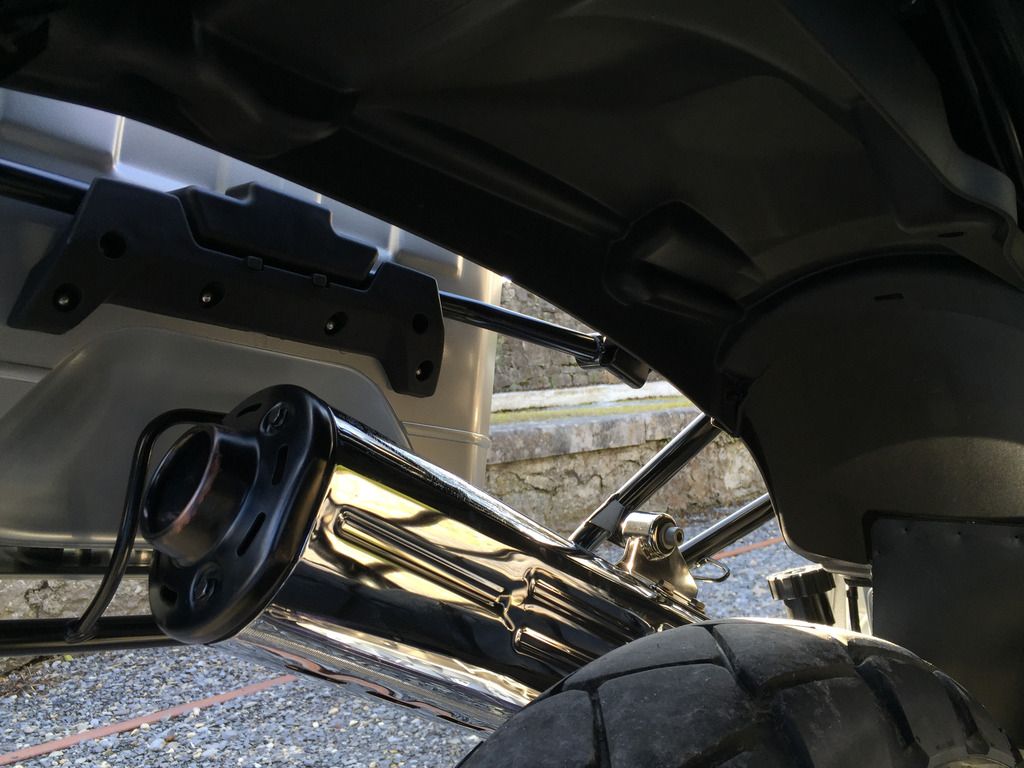
Finally, I moved on to the exhaust. This was the part of the detail that I'd been looking forward to the most. The downpipes were tarnished from heating, so polishing them was going to make the biggest visual difference to the bike. This is what the exhaust looked like before I started:

IMG_7697p_zpsryn4faav.jpg


IMG_7701p_zpsp4gsjjuk.jpg


IMG_7702p_zpsmmvjegwh.jpg


IMG_7712p_zpsk3qoyrul.jpg


IMG_7709p_zpsbdqqqixs.jpg


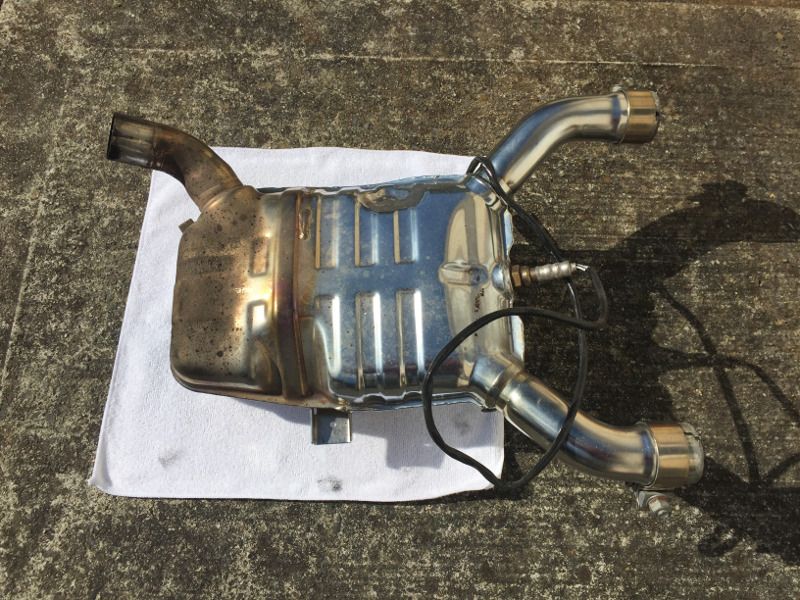
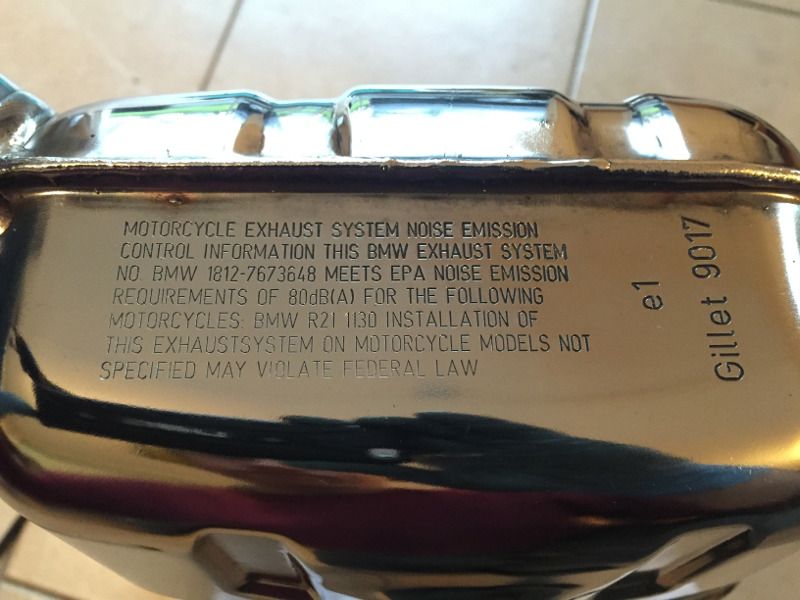
The muffler wasn't discoloured or tarnished in any way, it was just very tar spotted:

IMG_7703p_zpss82f65vq.jpg


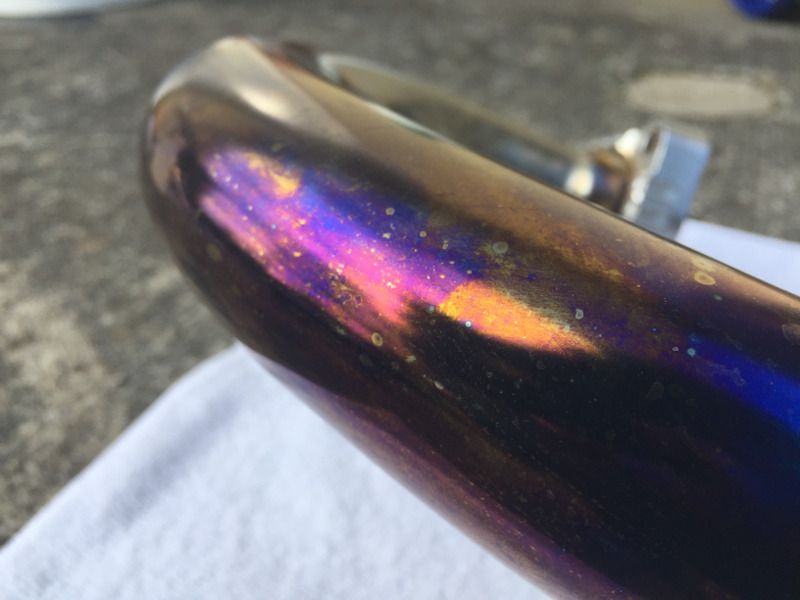
When I asked Rich from Polished Bliss if the tarnishing could be removed or if it was permanent, he told me: "Bluing arises when Chromium (either solid or a coating) becomes really hot and starts to oxidise" and assured me that it could be removed with a strong metal polish, such as Raceglaze Alutech. He also said that if I sealed the chrome with RIM after I'd corrected it that it would prevent them from oxidising again, even if they got very hot. Rich had suggested that polishing the exhaust by hand would be easier, so I started with a hand-polishing pad and Raceglaze Alutech. After about five hours, I had progressed about four inches down the first pipe:

IMG_7869p_zpsrqn0acmy.jpg


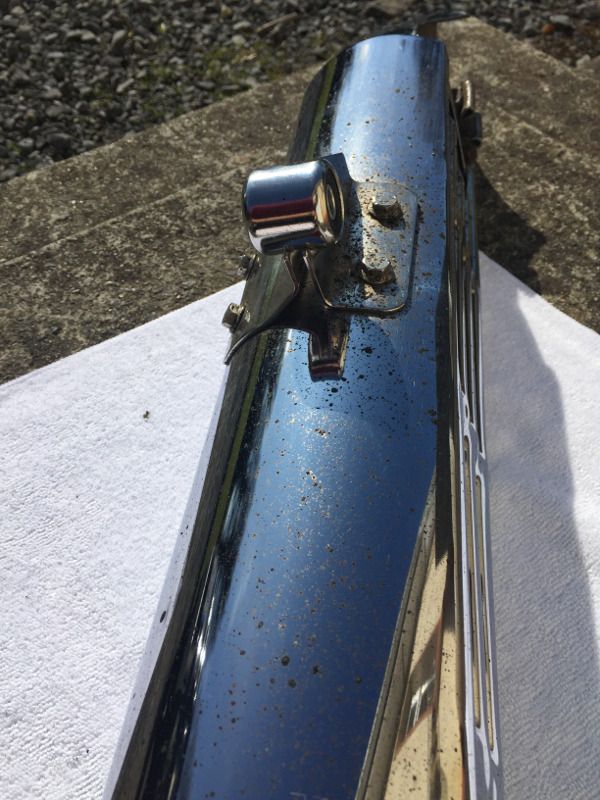
The muscles in my hand and forearm were starting to cramp and I decided that no matter how awkward it was with a dual-action machine polisher, it couldn't be any harder than polishing by hand. After five minutes with a cutting pad on the DA and Raceglaze Alutech, I'd made more progress than I had in the previous five hours by hand. Only then did it occur to me that when Rich said it might be easier by hand, he would have assumed that the exhaust was still on the bike, making it difficult to get access with the DA! Another two hours of polishing had removed most of the discolouration with only a few stubborn, darker patches near the exhaust ports:

IMG_7883p_zpszc7pdqbp.jpg


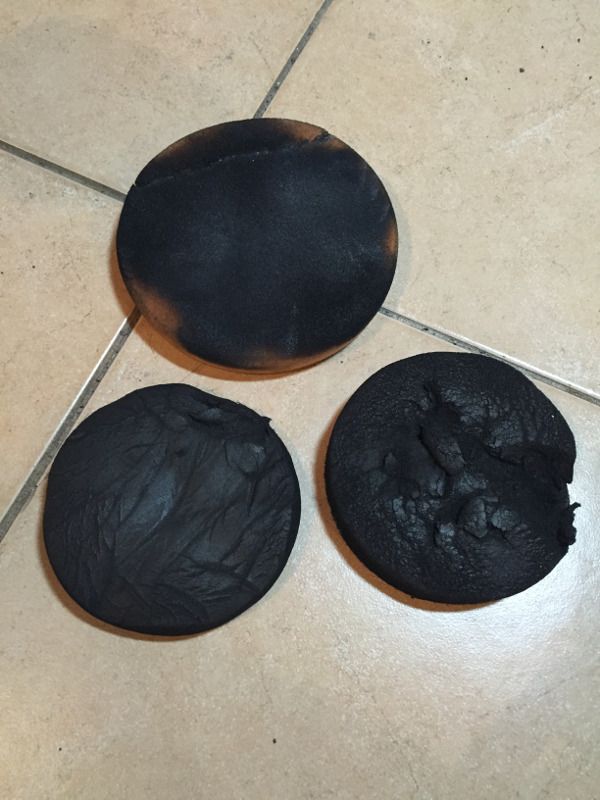
It took me another day and a half with the DA polisher to remove all the discolouration from the whole exhaust system, including the catalytic converter, and then remove the fine polishing marks using Meguiar's NXT All Metal Polysh to bring up the mirror finish I was looking for. I destroyed three polishing pads in the process:

IMG_7899p_zpsruoo066b.jpg


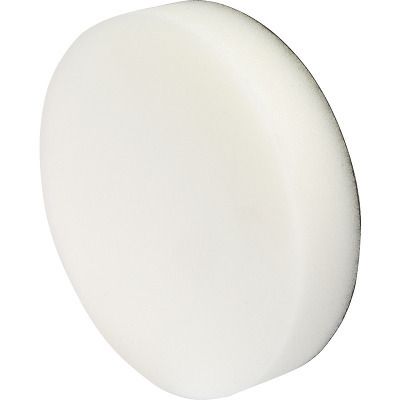
This is what the two smaller ones looked like when they were new:

Polishing_Pad_zpsaefkvice.jpg


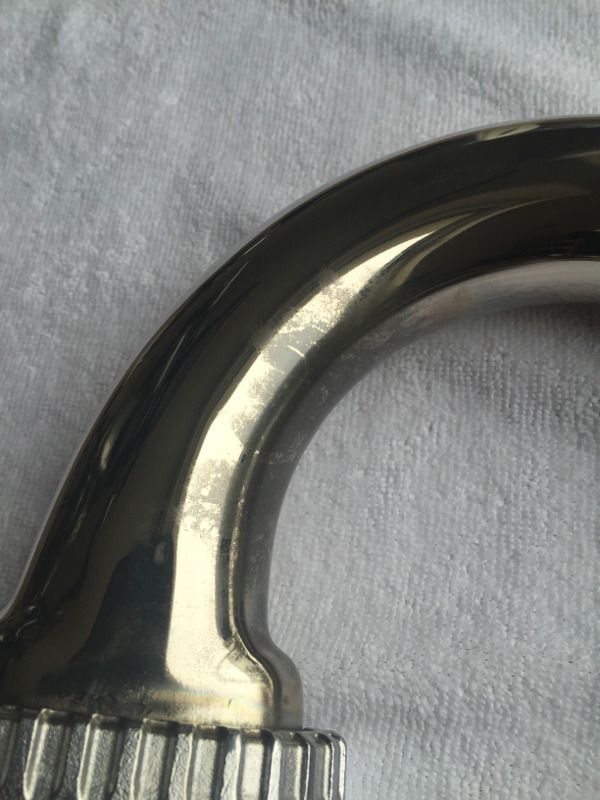
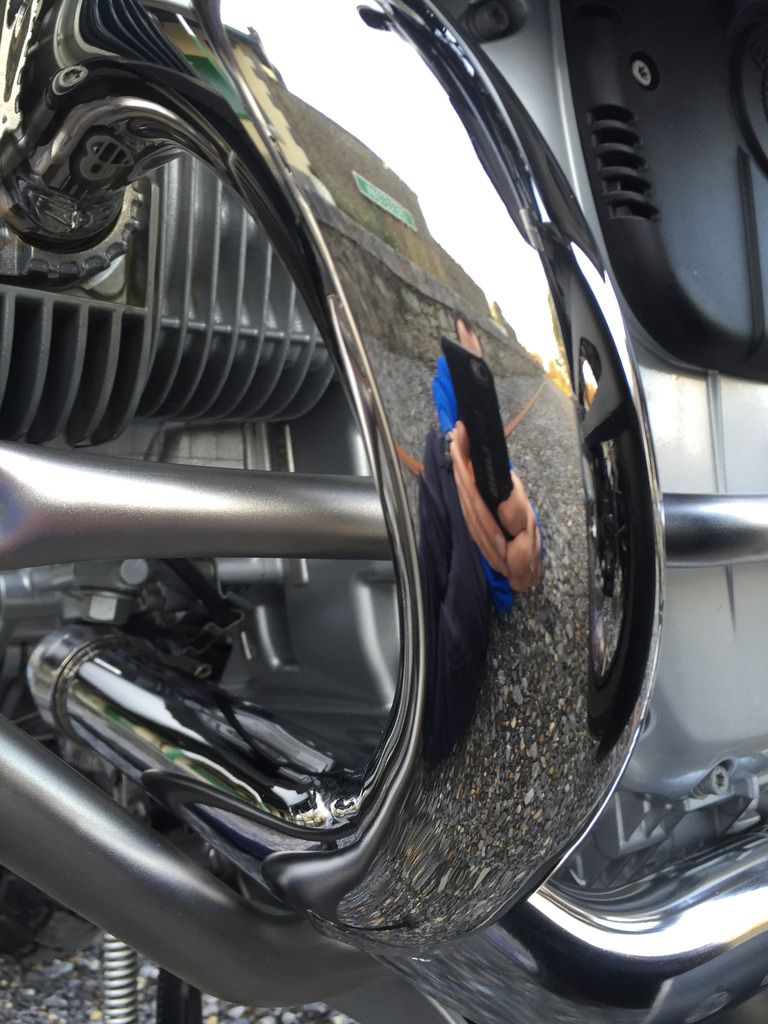
But I think the results were worth the effort:

IMG_7900p_zpsr1rvx7ma.jpg


IMG_7901p_zpsuzqcj9uw.jpg


IMG_7904p_zps11hl6cxr.jpg


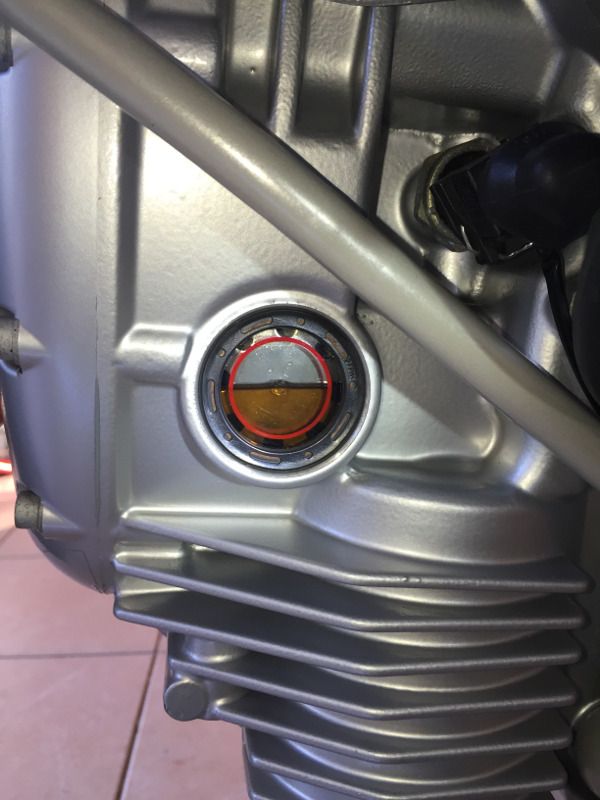
I gave the whole exhaust system two coats of RIM to protect the finish I'd achieved. I then started the fun job of re-assembling the bike, applying copper grease to every nut and bolt. I fitted new spark plugs and oil filter and filled the engine with oil:

IMG_7917p_zpsd4skjtcd.jpg


I took a photo after fitting each part to the bike and made a time-lapse video. Unfortunately, the picture quality isn't great because I didn't realise that there was something wrong with the camera:

<iframe width="560" height="315" src="https://www.youtube.com/embed/BhQM7s_Oxcw" frameborder="0" allowfullscreen></iframe>

When I tried to start the bike, it would turn over, but wouldn't start. After a few minutes of trying, I removed the tank to have a look underneath and found that I'd left something unplugged (the motronic, I think). :blast

IMG_7939p_zpshryovat4.jpg


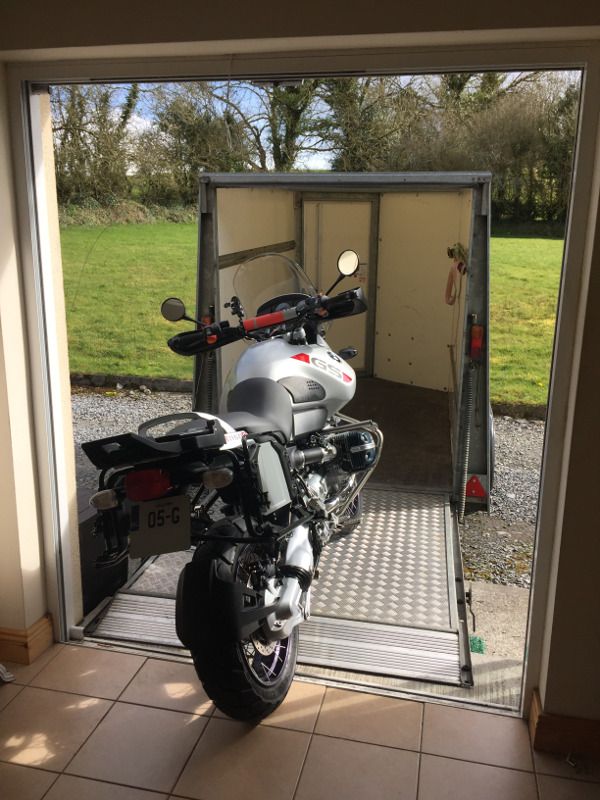
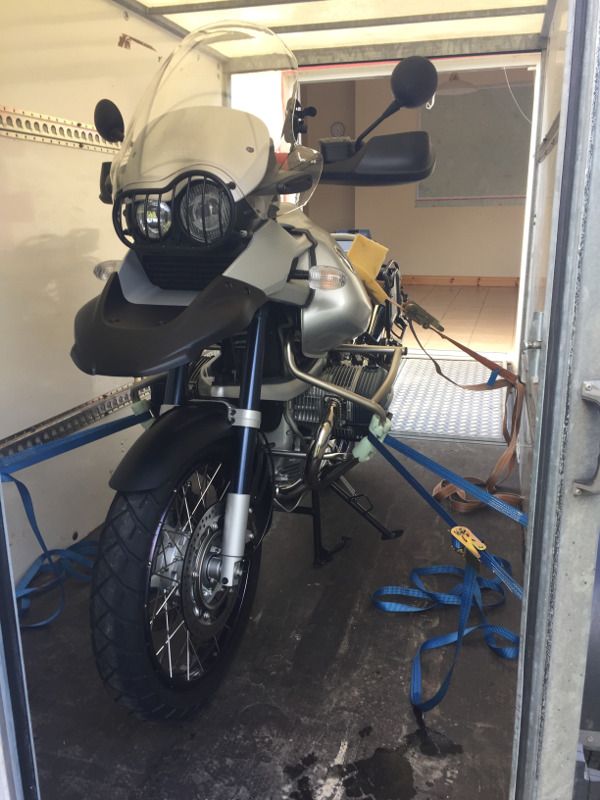
After getting it started, I loaded it up into an Ifor Williams boxvan:

IMG_7936p_zpstksx3dy0.jpg


IMG_7941p_zpswxpzwufc.jpg


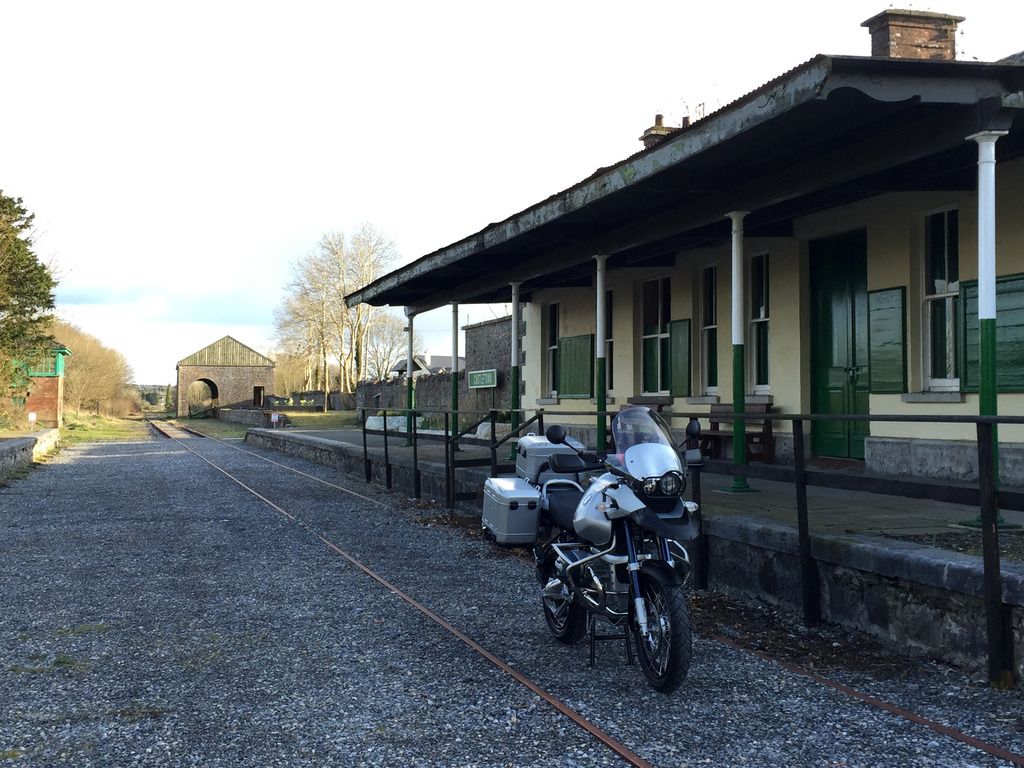
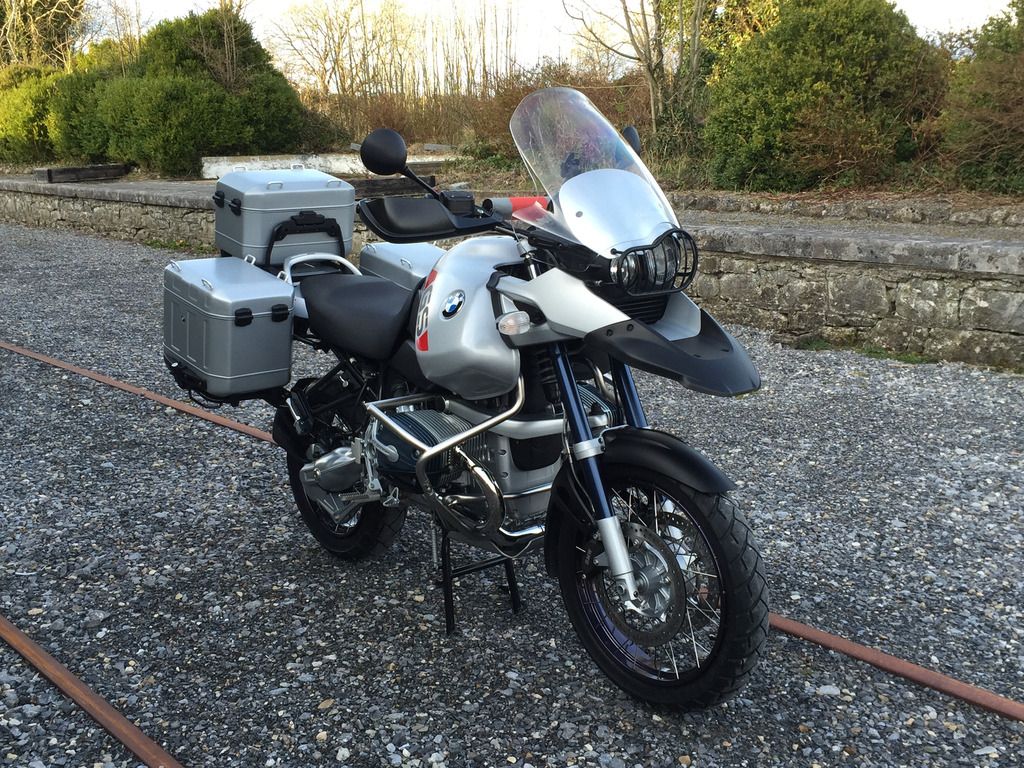
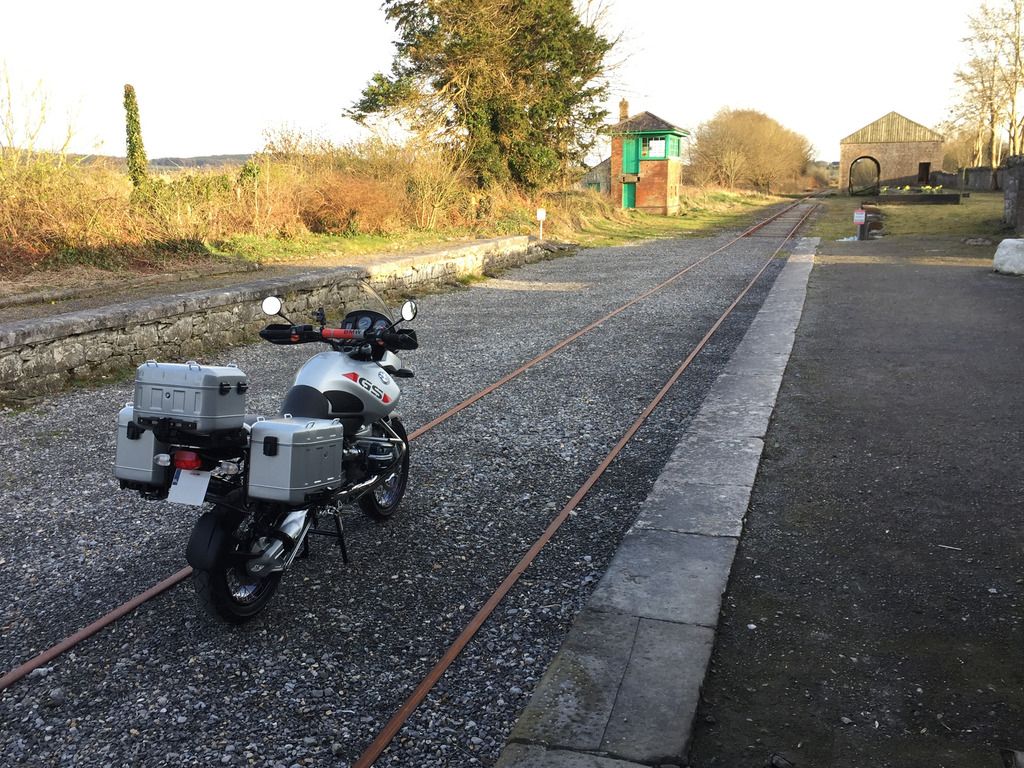
I took it to Ballyglunin railway station to take some nice photos of it. Ballyglunin railway station was used as "Castletown" railway station during the filming of The Quiet Man, with John Wayne in 1951.

When I added it all up, I spent 220.5 hours over four months working on the bike. It was a huge effort and at times was nearly overwhelming, but I'm glad I did it because I now know the bike has the best possible protection that can be applied to it.

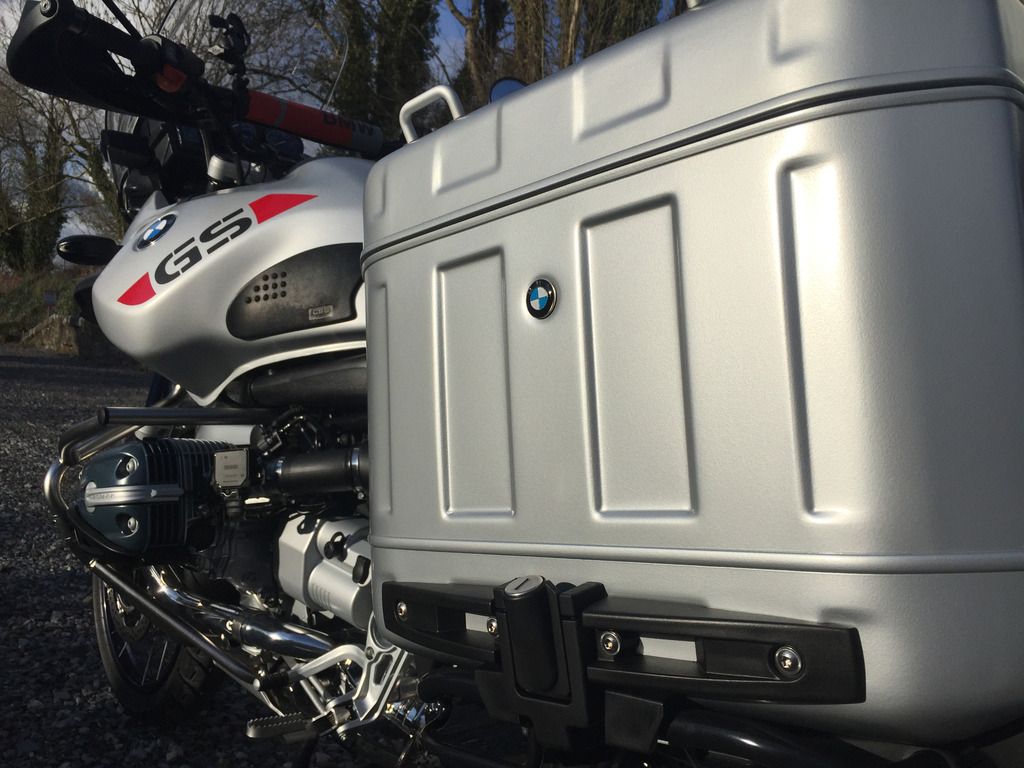
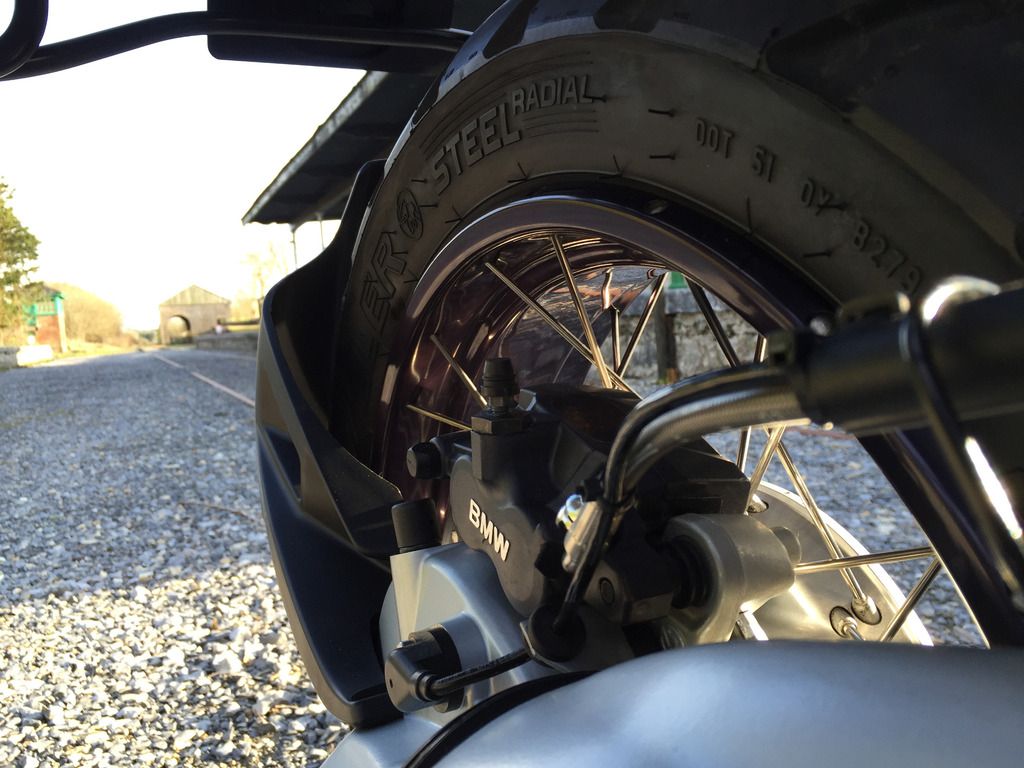
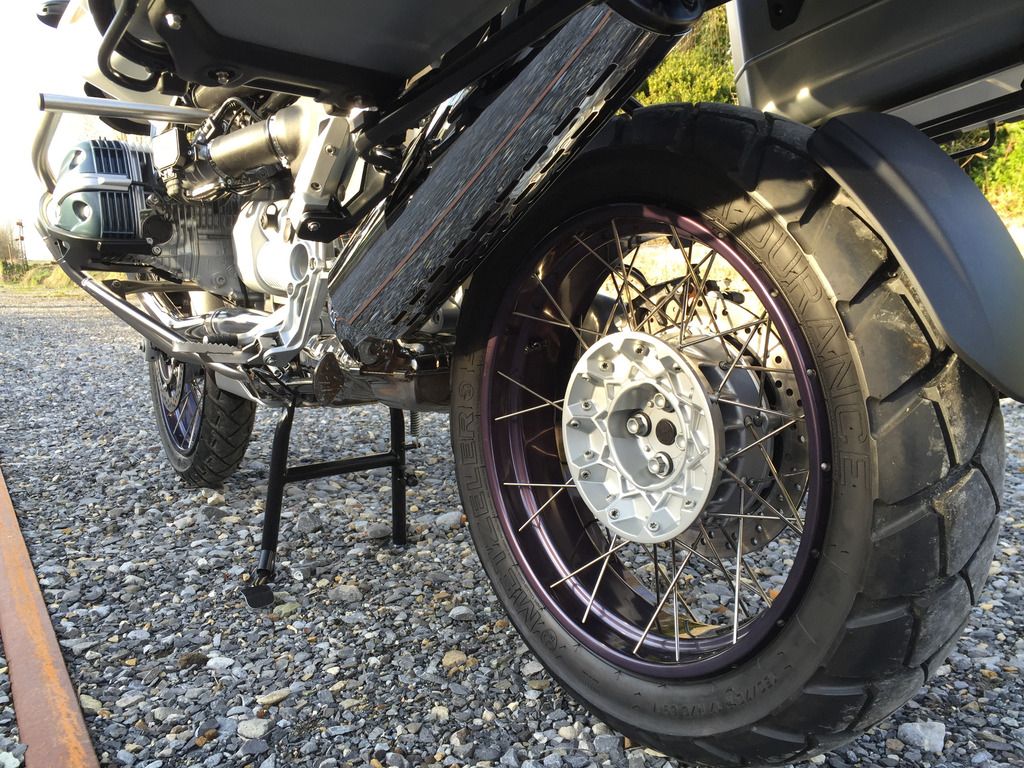
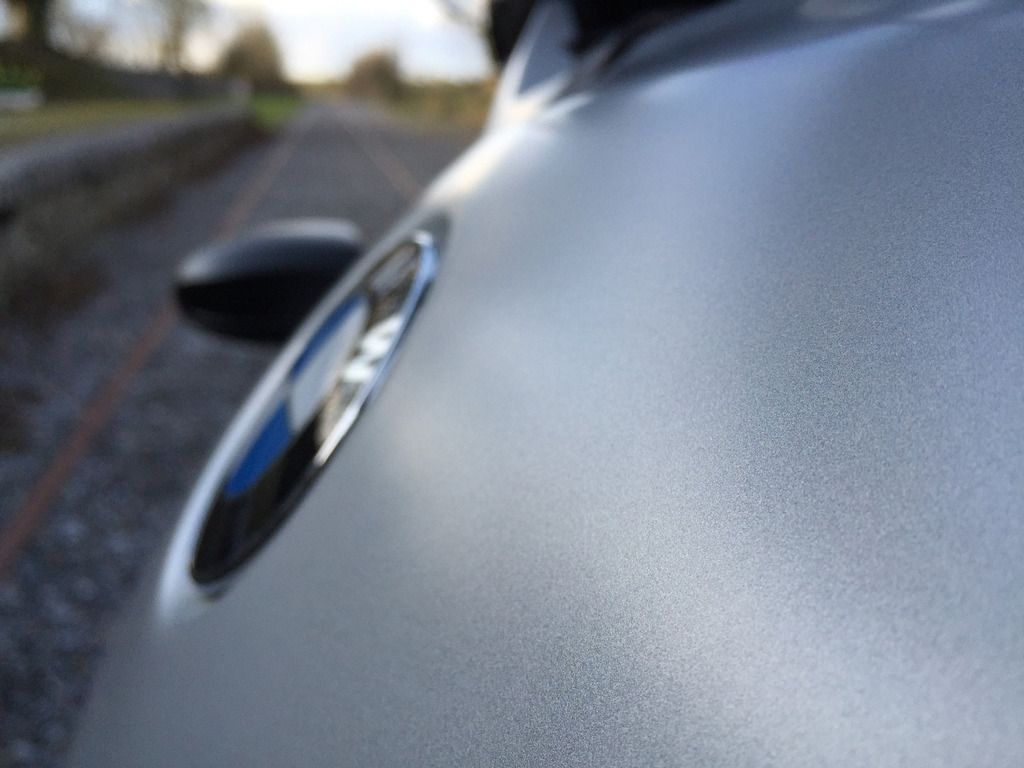
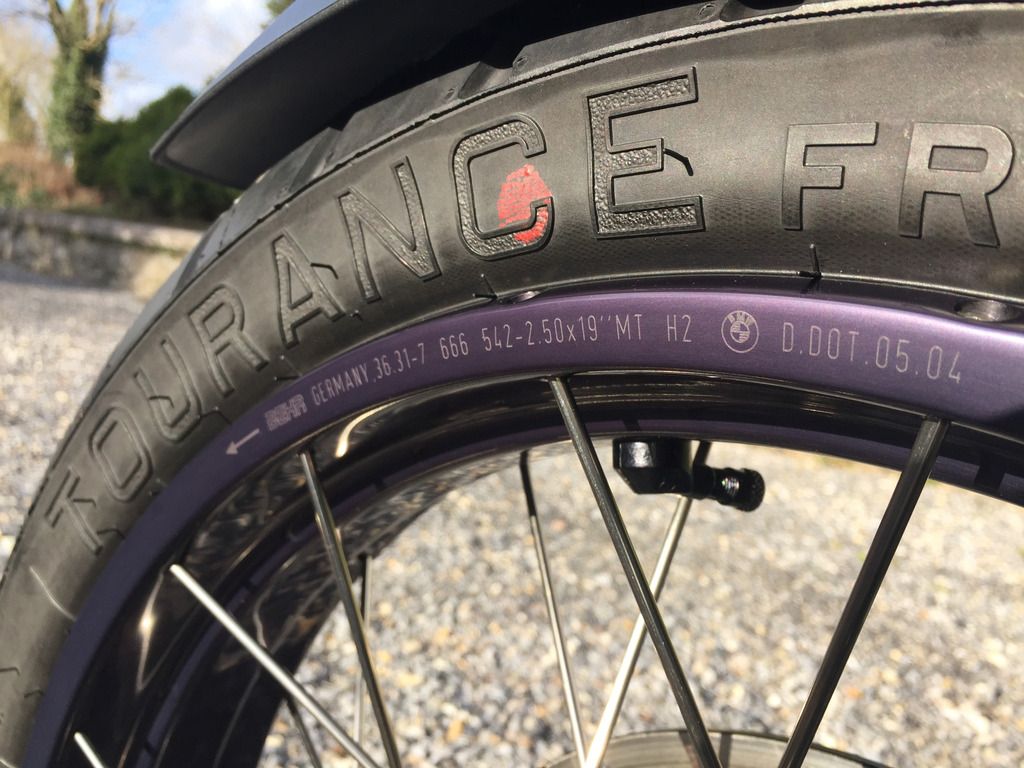
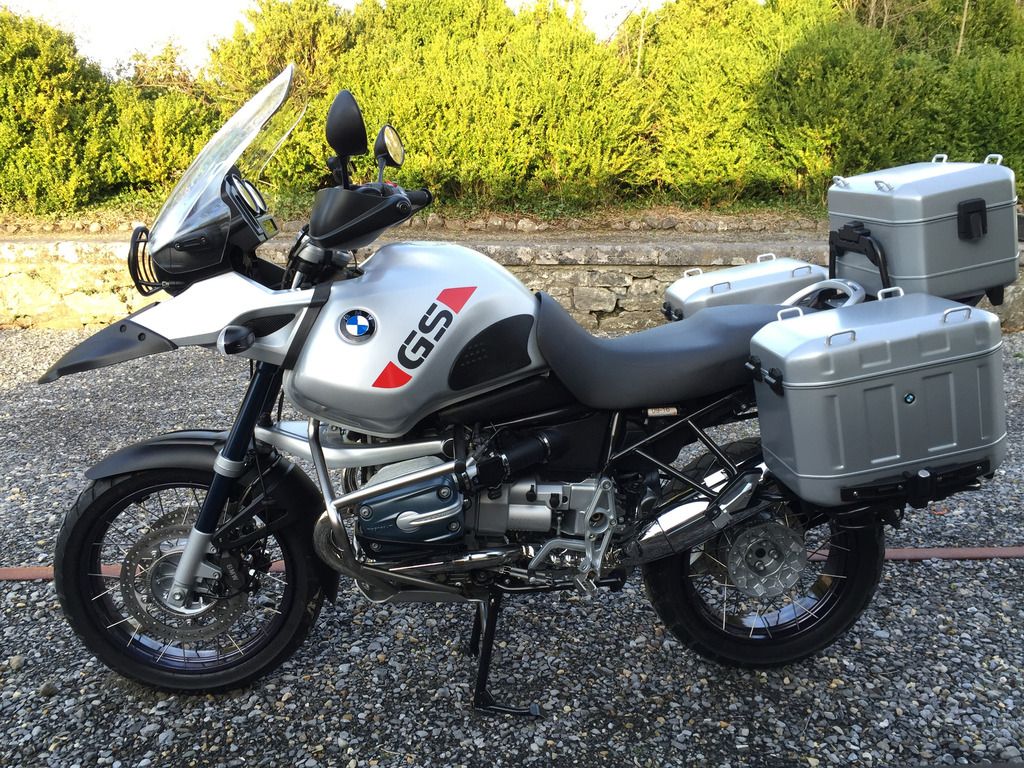
Below are the photos in Ballyglunin railway station of the final result:

1_zpszazr24qk.jpg


2_zpsjuzipyiz.jpg


3_zpslhnmzzmz.jpg


4_zps6kq6sply.jpg


5_zpsoskb2uai.jpg


6_zps8kspohfj.jpg


7_zpscz8wcdnr.jpg


8_zps7gatdjwe.jpg


9_zpsyvoqjbbd.jpg


10_zpsupzfnghi.jpg


11_zpsrksytysw.jpg


12_zpsjgkffdkg.jpg


13_zps3oqpwcj6.jpg


14_zpsmftldqqd.jpg


15_zpsygt34vbw.jpg


16_zps31b75nxk.jpg


17_zpsemcuervr.jpg


18_zpsy33jkfo1.jpg


19_zpssjn5em9c.jpg


20_zps0g6ihgxr.jpg


Total hours: 220.5
 
That looks better than new. Without wishing to teach anyone to suck egg and all that, I'd be very guarded about leaving the bike on its main stand in the trailer though. Last time I did that it punched a hole through the the floor ....
 
Thats very impressive, great detail, as a matter of interest what machine polisher did you use on the exhaust?
 
I'd be very guarded about leaving the bike on its main stand in the trailer though. Last time I did that it punched a hole through the the floor ....

I honestly hadn't thought of that. To be honest, my main concern was the safety of the bike. I wasn't going far and drove slow and careful. If I was going further, I'd have strapped it upright, with no stand under it, making the suspension keep the straps tight.

Thats very impressive, great detail, as a matter of interest what machine polisher did you use on the exhaust?

A Dodo-Juice branded Kestrel DAS-6. After destroying those pads, I found that an 85mm pad worked better than the better pads because of the shape of the pipes
 
Thats very impressive, great detail, as a matter of interest what machine polisher did you use on the exhaust?
I don't think he used one!

Cracking job. Amazing. All done just in time to enjoy the summer .

I was actually wondering why you didn't use a mechanical polisher on the headers? Would have been way quicker, surely?
 
I don't think he used one!

Cracking job. Amazing. All done just in time to enjoy the summer .

I was actually wondering why you didn't use a mechanical polisher on the headers? Would have been way quicker, surely?
If you re read it he did you one after 5 hours of doing it by hand.
 
If you re read it he did you one after 5 hours of doing it by hand.
He has more patience than all of us combined . I think I'd have done no more than 30min before I roped in a machine of some kind .
 
:yikes amazing !


Do you still have time for sex with your wife ? :nenau

If you do I'm ultra impressed. :D
 
Do you use a clean room and dehumidified environment?

Btw send me an email when you want to sell it!


Back
Top Bottom