tadhgocuilleain
Registered user
I posted the following on http://irishbikerforum.com originally, but a fellow tosser suggested I post it on here.
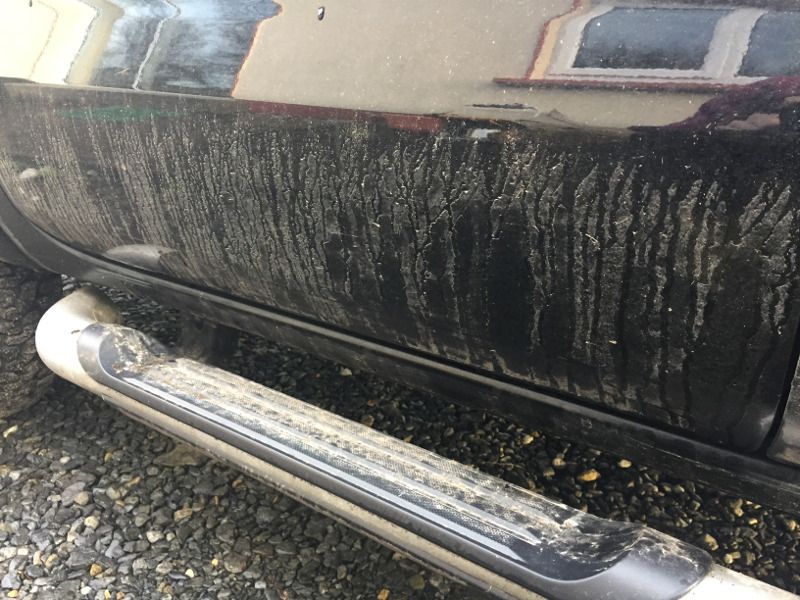
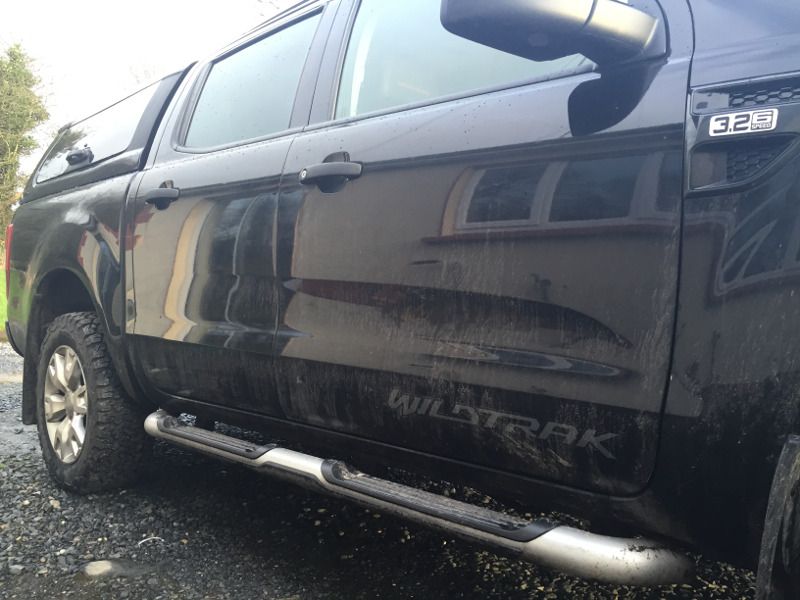
I know some of you are going to moan and rant because you think a GS should be neglected and allowed to corrode and fall apart. I don't believe in keeping the bike clean. I've no problem getting it dirty, as long as the paint has been properly protected and the dirt can easily be removed.
24/1/2016
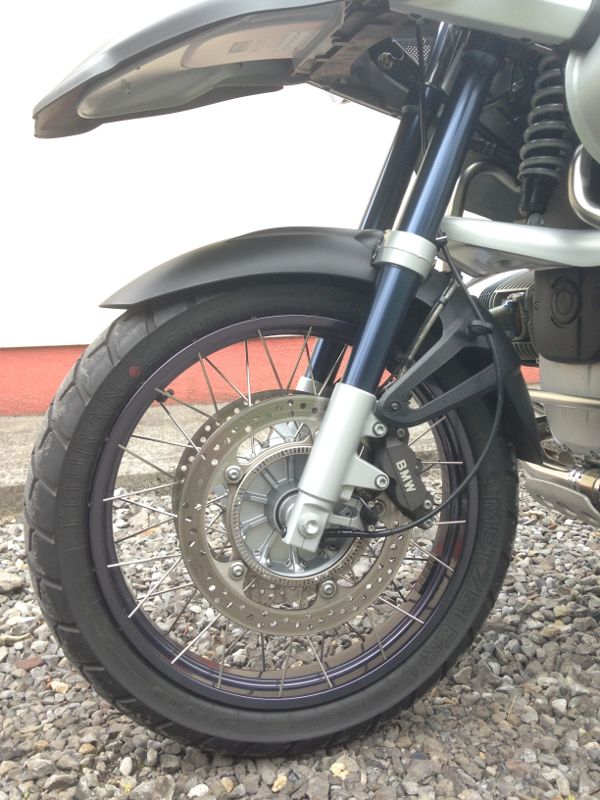
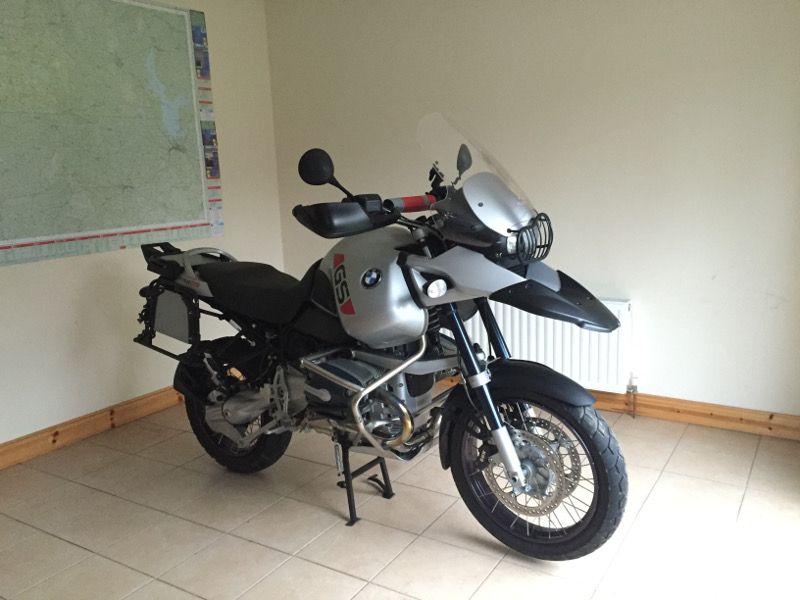
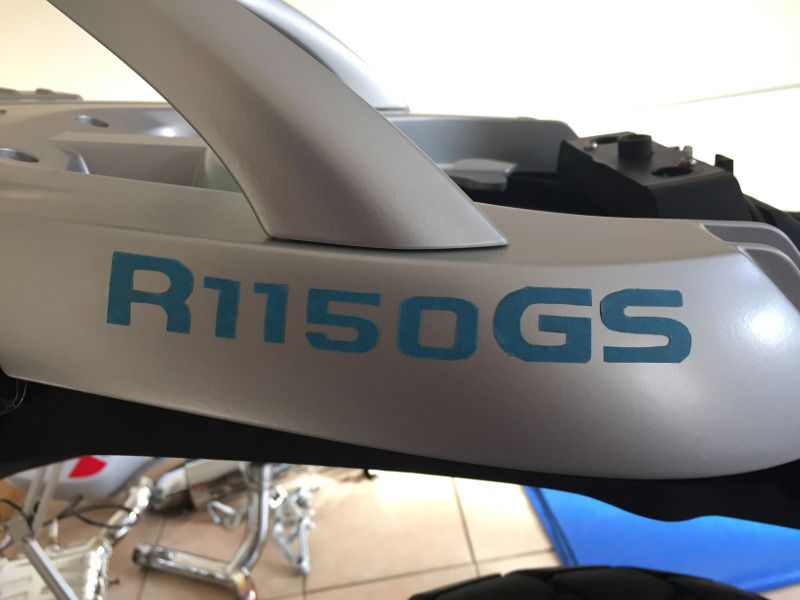
So, after spending such a long time trying to find what I think is the closest thing available to a brand new BMW R1150GS Adventure, the first job I wanted to do with it was protect the perfect paintwork on it. Unfortunately, I actually had to get the bike dirty while riding it the 1,792km home from Cologne, but that couldn't be helped.
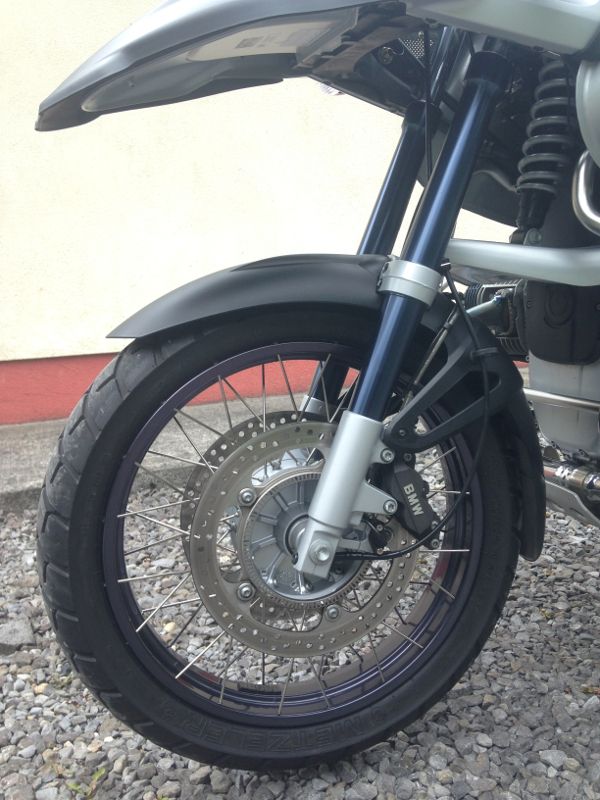
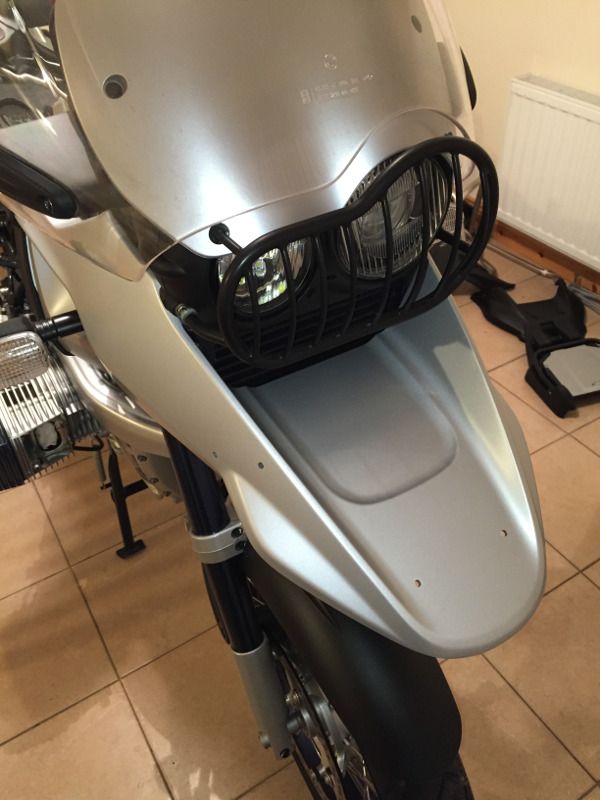
The first thing I did to protect the paintwork was to fit an Extenda Fenda to the front mudguard to prevent the front wheel from spraying crap onto the front of the engine. I have one fitted to the Deauville and it works very well. The only complaint I'd have about it is that I bought one of the stick-on ones and the slight gap created by the double-sided stickers means that muddy water can run down between the mud guard and the Extenda Fenda, so you see the dirty, muddy water running down the outside of the Extenda Fenda. To prevent this from happening on the GS, I sealed between the mudguard and Extenda Fenda with black Tec7:
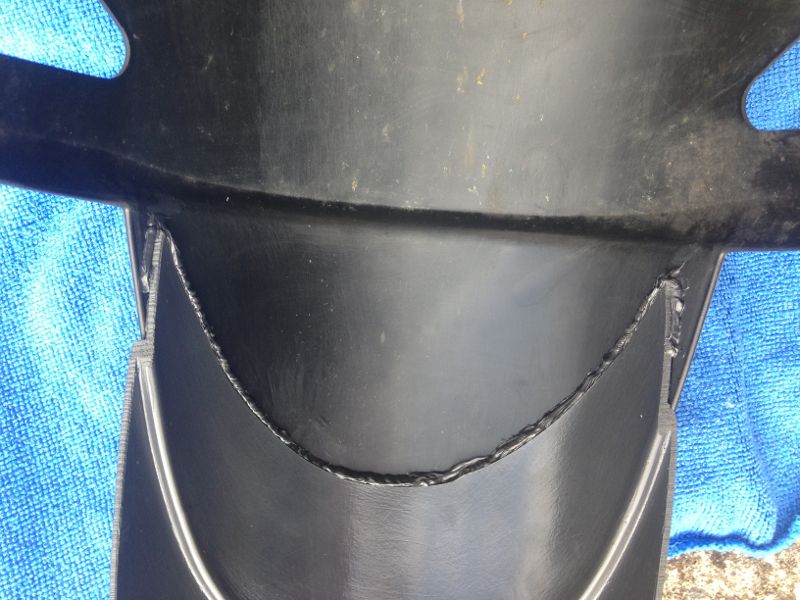
Before:
After:

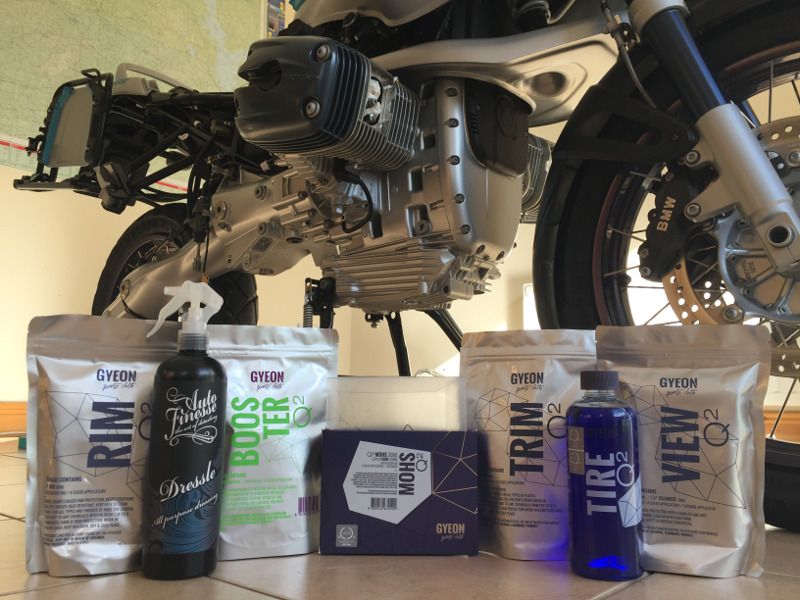
After playing with my new toy for a few weeks, and with the winter drawing in, I decided to take the bike off the road and start the protection detail. Having performed a protection detail on my new Ford Ranger last Christmas, I knew what was involved and I knew it would be a time-consuming job. The protection detail on my Ranger took me seven days, working 12-14 hours per day. Unlike the Ranger, which is made of large, flat panels, the GS has an exposed engine with pseudo cooling fins and loads of other nooks and crannies to collect dirt, so I knew this job was going to be significantly longer. I therefore decided to log the number of hours spent working on it.
The first step of the detail was to wash the bike properly. I started by power-hosing it thoroughly with rain water that I harvest for detailing. Then I snow-foamed it to loosen the remaining dirt and rinsed it with the powerhose after letting the foam dwell for five to ten minutes. I washed it thoroughly by hand using a microfibre sponge and the two-bucket method, including the insides of the mudguards, the shocks, and anywhere else that dirt tends to gather.
On my last ride before starting the detail, I somehow managed to get the front of the engine speckled with tar spots. I don't know how tar managed to spatter the bike when it was close to freezing point all day. Anyway, I spent about another two hours detarring the front of the engine before washing it again to remove any traces of the tar remover. After that I dried the bike with my vehicle dryer (think industrial-powered hair-dryer
  )
)
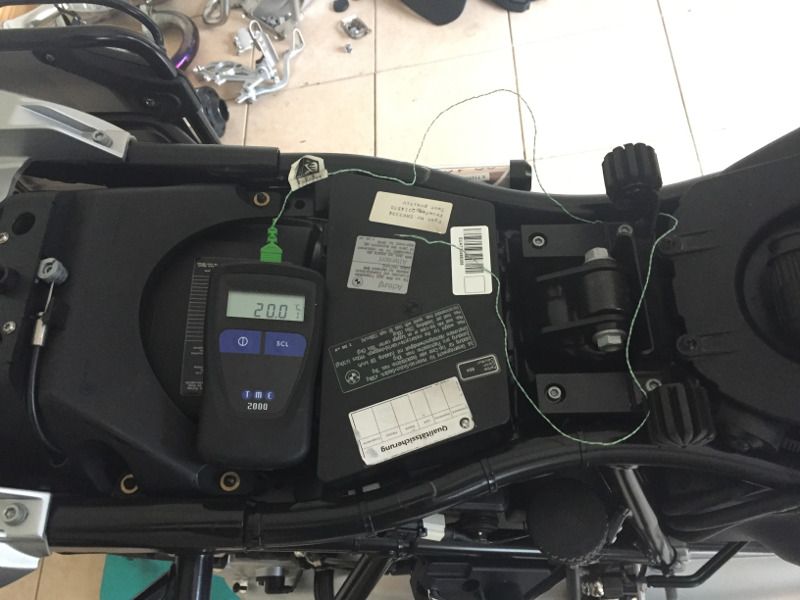
I don't have a garage (yet - that's my project for summer 2016) and I didn't want to be working on the bike in a cold, wooden shed for the winter. On top of that, the paint sealant I chose for the bike needs to cure for 24 hours at 20°C minimum, so there was only one place for me to put the bike:
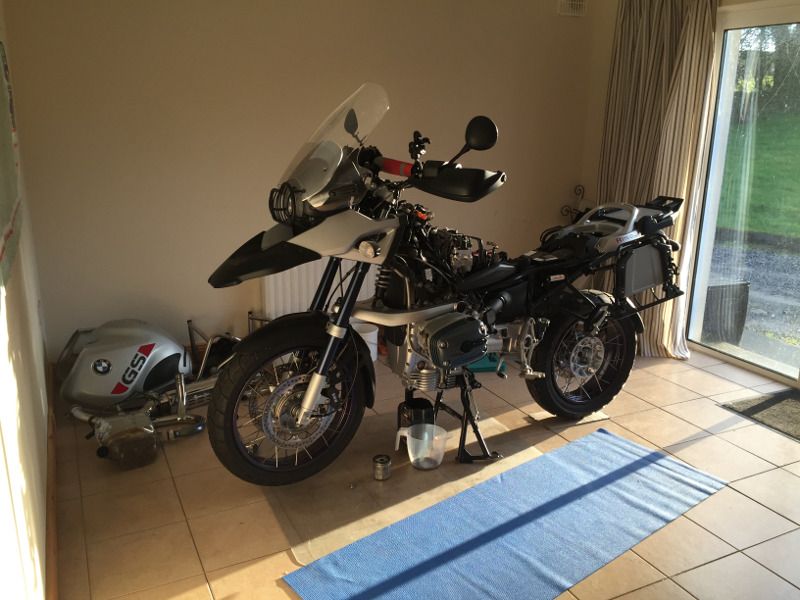
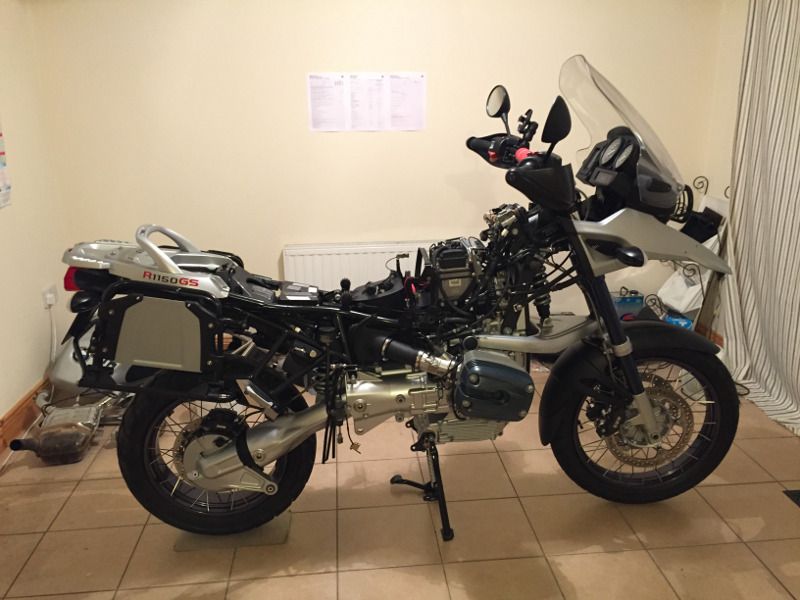
As some of you may know, I worked on my Deauville in my spare bedroom about two years ago. The boxer engine on the GS, however, won't fit through a standard doorway, so the only way to get the bike into the house was to remove both panels of my patio door:
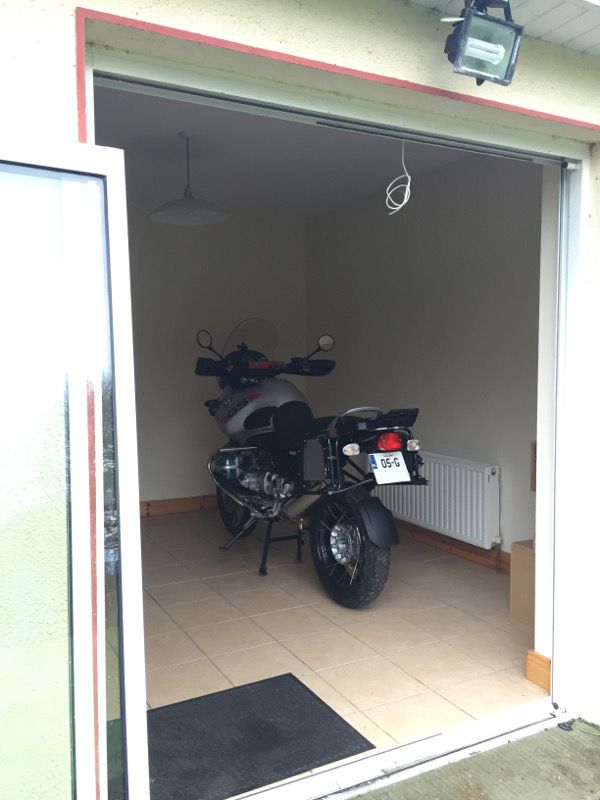
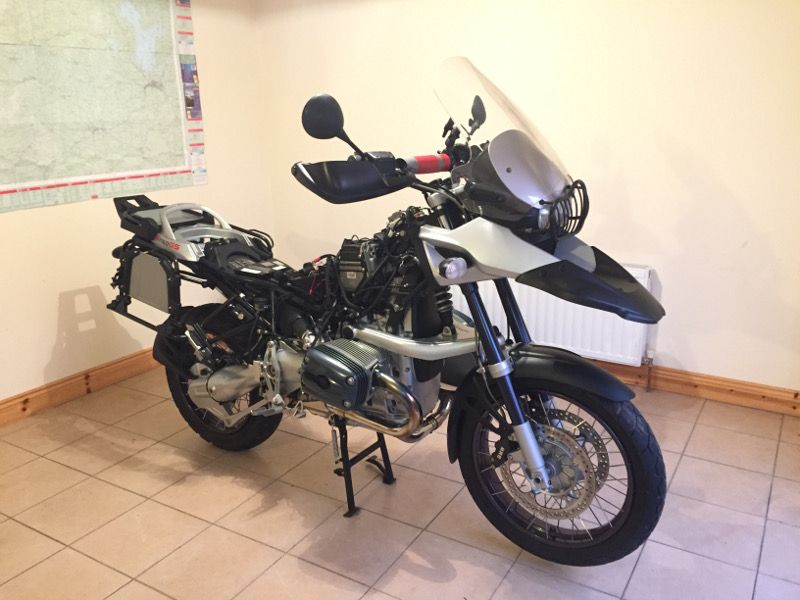
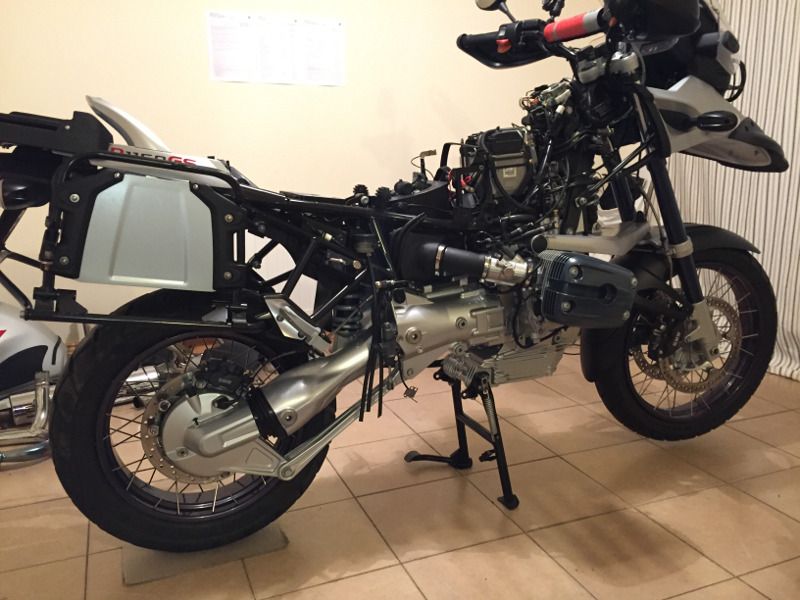
Here's the bike inside, ready for the real work to begin:
Total hours of work: 4.5
31/1/2016
Time for the next episode:
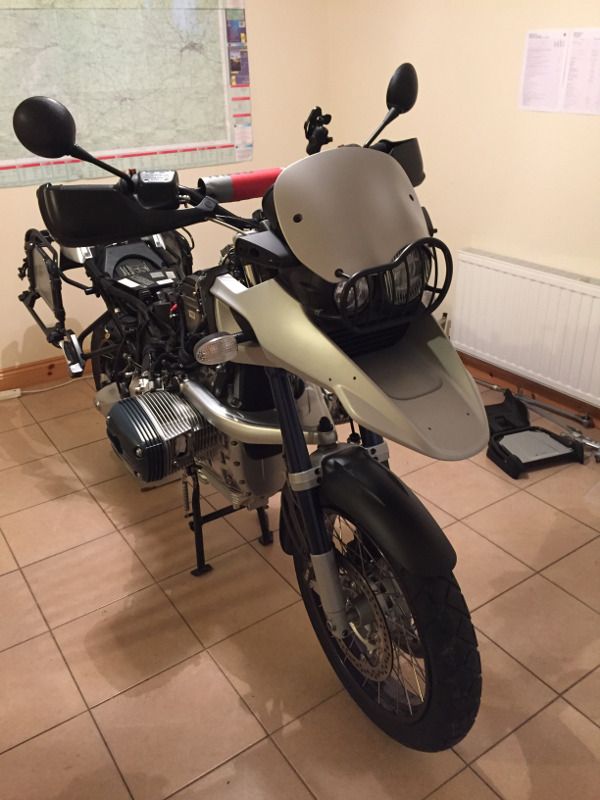
With the bike inside, I was ready to start the detailed work. The paint sealant (and other surface sealants) that I'm planning to apply to the bike are quartz coatings, which basically form a layer of silica (glass) that bonds to the surface it's protecting. Besides the fact that it would be stupid to seal dirt in under the sealant, the coating won't bond properly to the surface if it's not pretty much sterile. Therefore, the biggest part of this job is going to be getting every single part of the exposed surfaces immaculately clean.
To get access to the places I wanted to clean, I had to start taking stuff off the bike. I started by removing the seat and petrol tank:
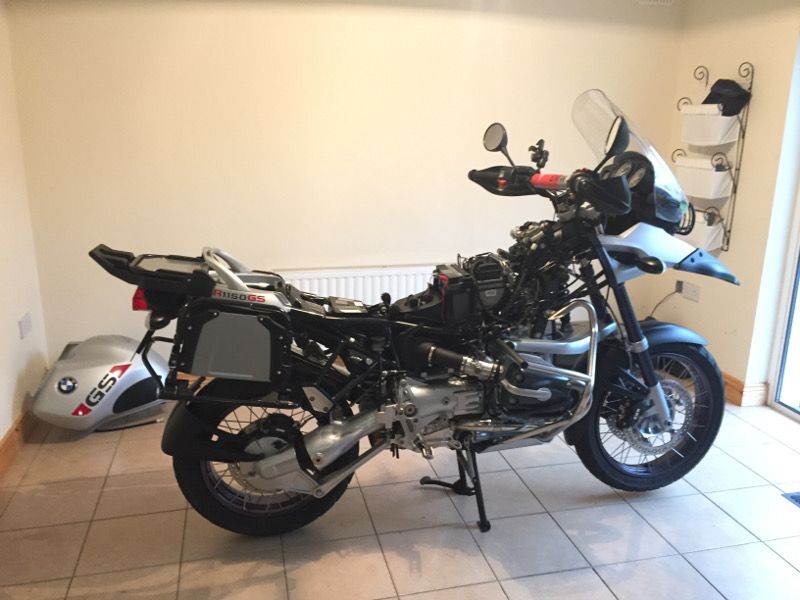
Then the sump guard:
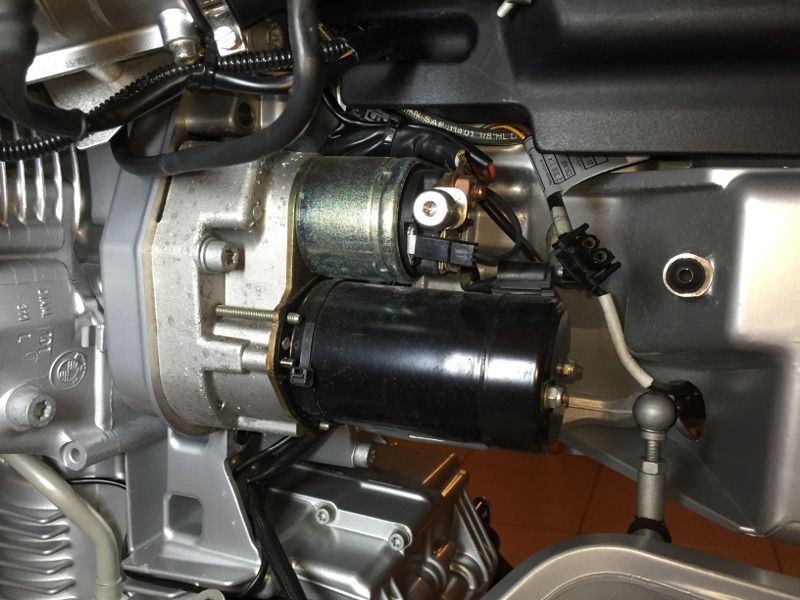
I took off the crash bars, cylinder head protectors, spark plug covers and took out the battery:
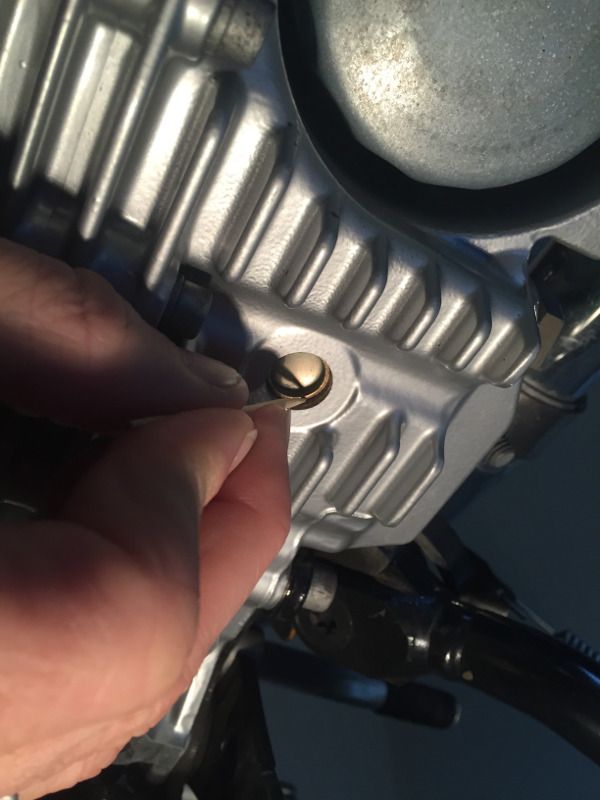
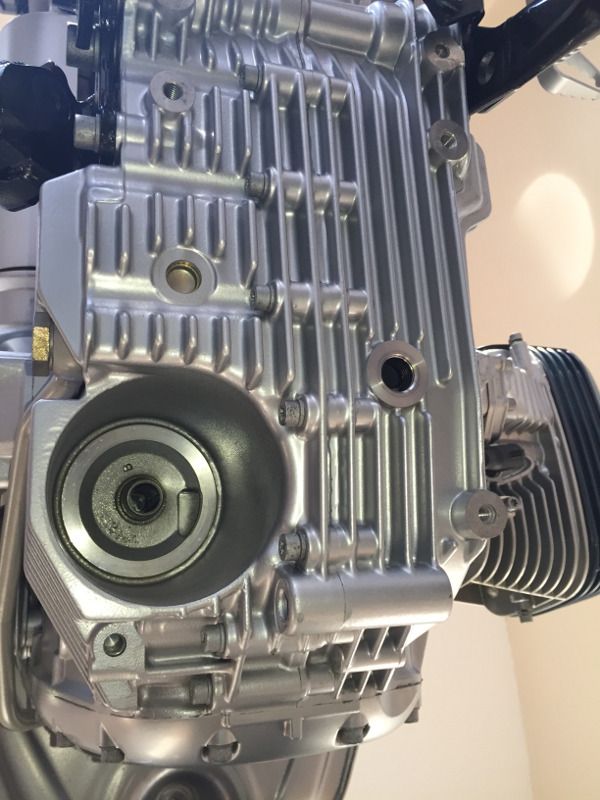
With those bits out of the way, I started the detailed cleaning. Due to the cooling fins, and all the gaps and crevices in the engine, detailing it was hugely time consuming. I started with a microfibre towel and a bucket of warm water. I had various shapes and sizes of sticks, including a small paint brush handle and cocktail sticks, to work the microfibre towel into the gaps. For sticky/oily residues I squirted denatured ethanol onto it to dissolve/soften it and a separate microfibre towel to rub it off. I found keeping the water quite hot, by adding boiling water regularly, helped to remove some of the more stubborn dirt. For any dirt that couldn't be removed chemically, I used auto clay. I prefer to use Bilt Hamber clay because you can use water as a lubricant, whereas most other clays require a special lubricant.
Here are some before and after shots of various parts of the engine:
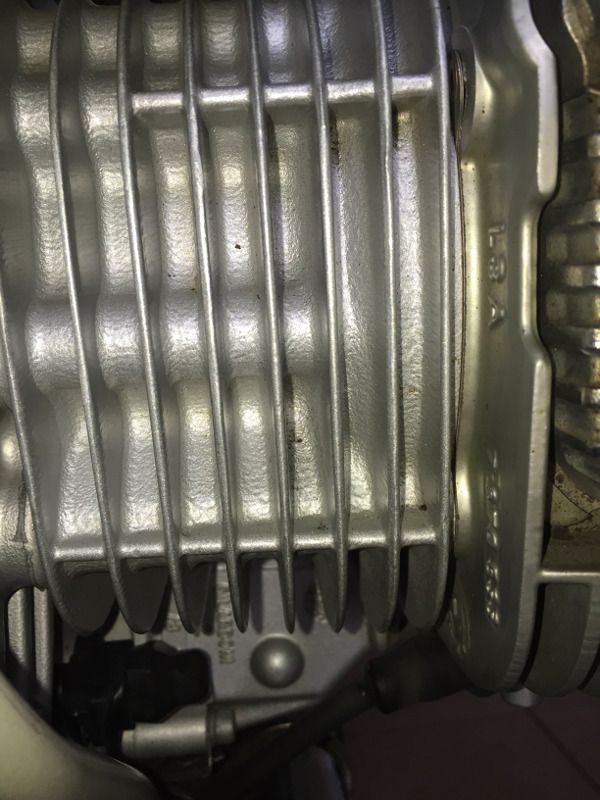
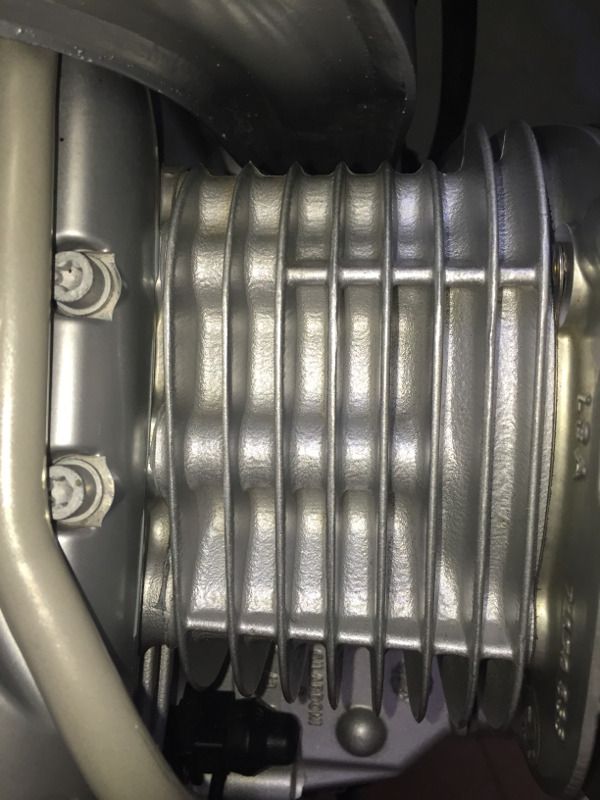
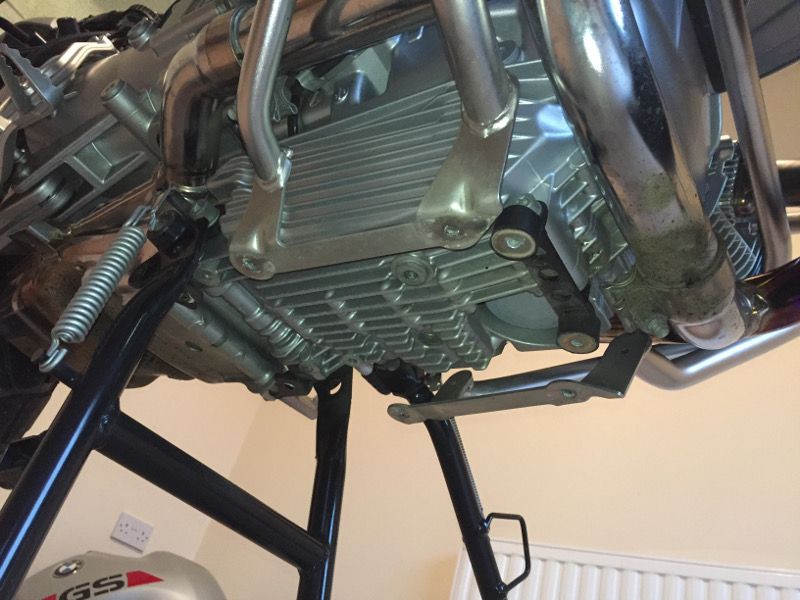
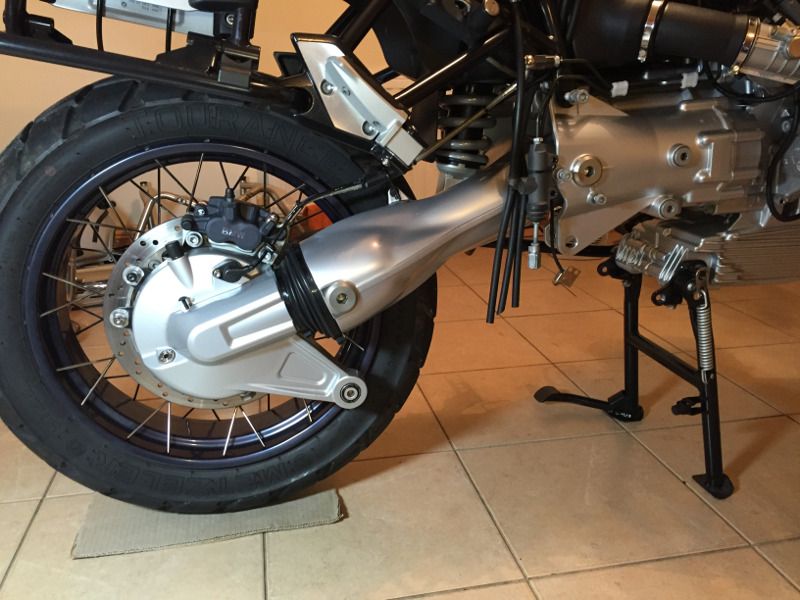
Underside of the engine before:
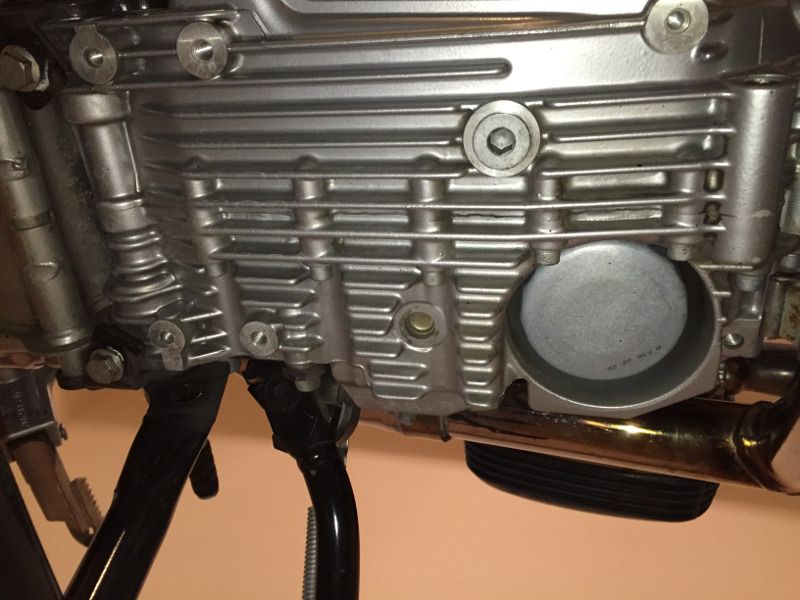
During:
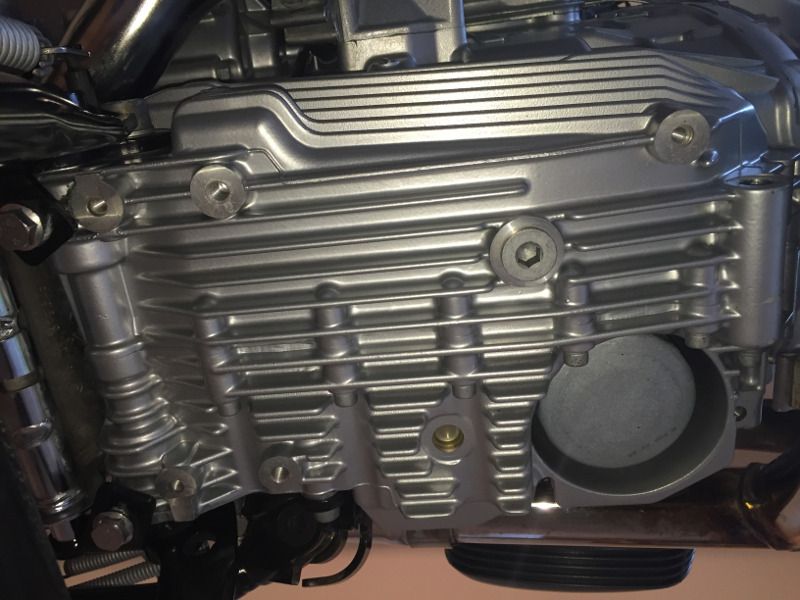
After:
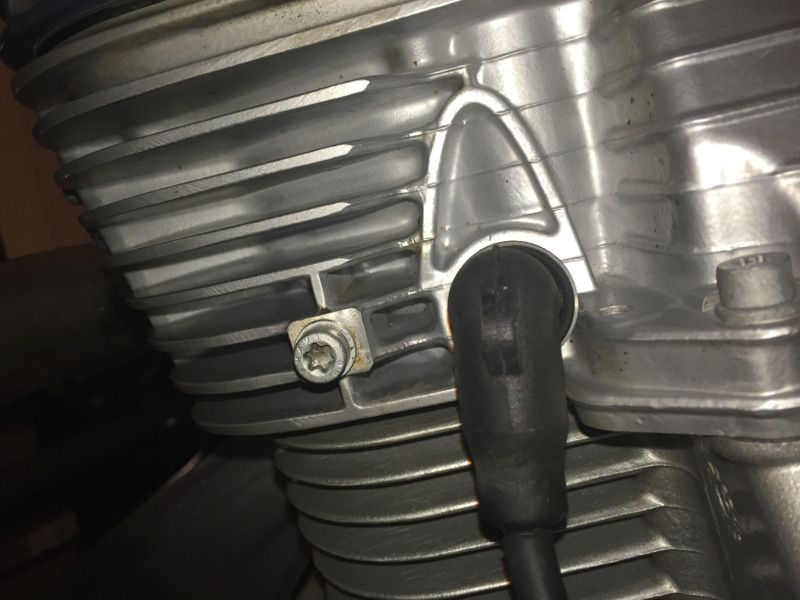
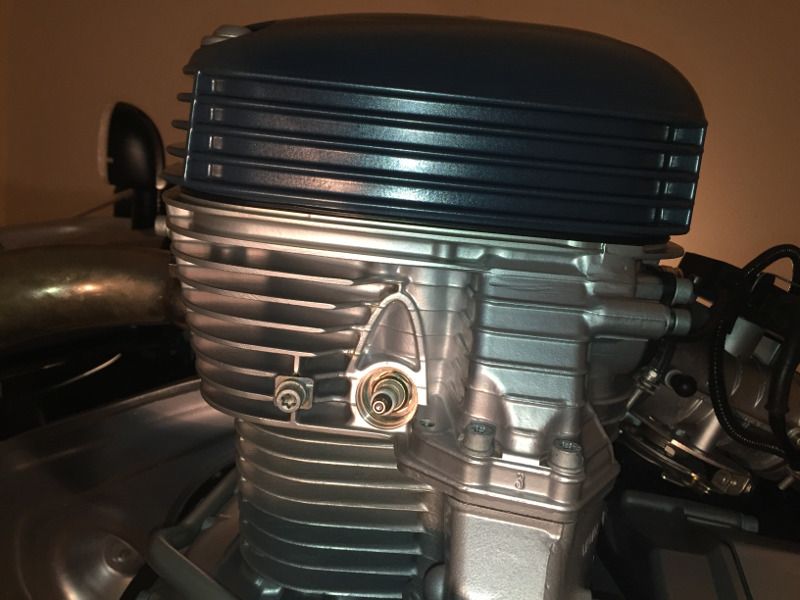
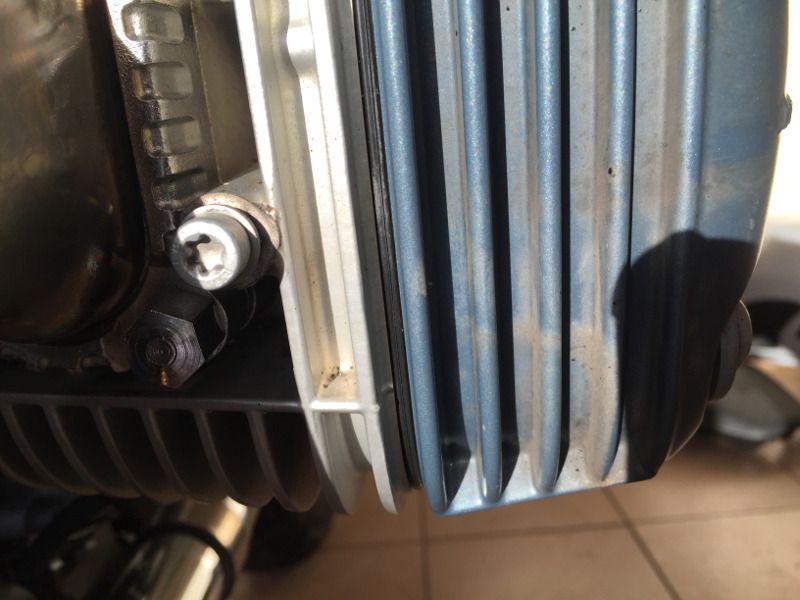
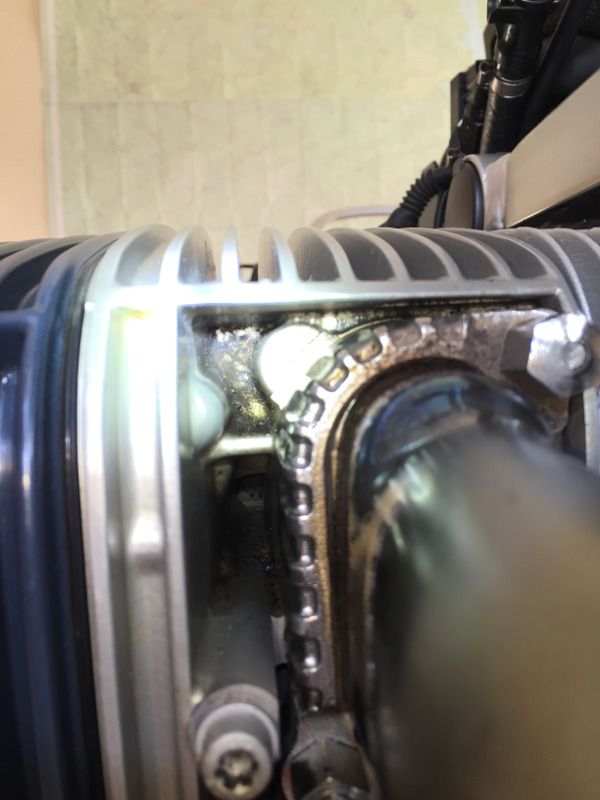
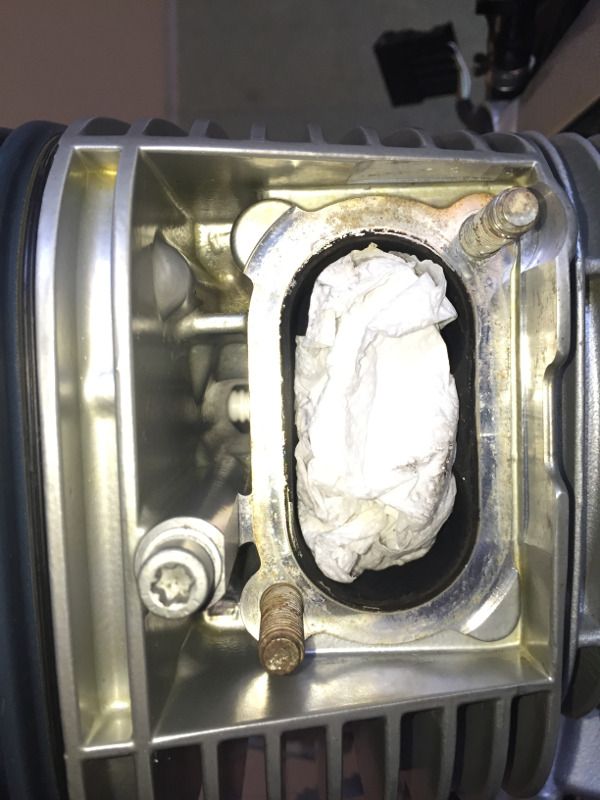
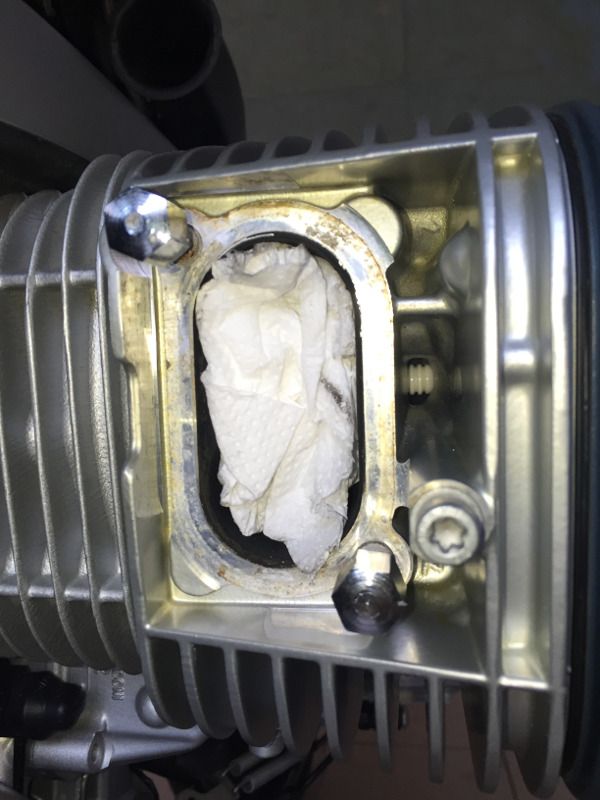
Detailing around the exhaust ports was a nightmare because there were deep crevices at either side and any dirt that had gone in there had baked into it from the heat:
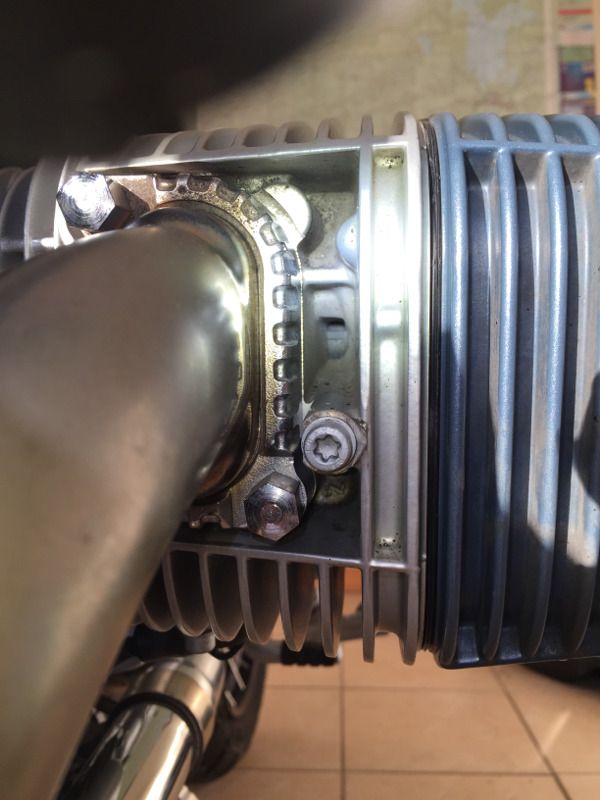
The downpipes were in the way and prevented me from getting at the dirt around the exhaust ports, so I removed the whole exhaust system:
I used every chemical in my arsenal to try to remove the baked in dirt. It softened and dissolved a lot of it, but in the end I had to resort to mechanical abrasion (scrubbing). This was extremely difficult because of the depth of the gaps. I started with the microfibre towel wrapped around a stick. That cleaned the larger bits out. I then progressed onto cotton swabs with long wooden handles (longer version of the ones for cleaning your ears), but the long, thin handles broke regularly and softened and bent due to the warm water, so I went through a few packets of those. To finish with the very fine specks that were left, I taped cocktail sticks to the end of the paintbrush handle and "picked" the dirt off. The gaps at either side of the exhaust ports took 23 hours of labour alone to clean, but I think the result was worth the effort in the end:
Total hours: 59.5
I know some of you are going to moan and rant because you think a GS should be neglected and allowed to corrode and fall apart. I don't believe in keeping the bike clean. I've no problem getting it dirty, as long as the paint has been properly protected and the dirt can easily be removed.
24/1/2016
So, after spending such a long time trying to find what I think is the closest thing available to a brand new BMW R1150GS Adventure, the first job I wanted to do with it was protect the perfect paintwork on it. Unfortunately, I actually had to get the bike dirty while riding it the 1,792km home from Cologne, but that couldn't be helped.
The first thing I did to protect the paintwork was to fit an Extenda Fenda to the front mudguard to prevent the front wheel from spraying crap onto the front of the engine. I have one fitted to the Deauville and it works very well. The only complaint I'd have about it is that I bought one of the stick-on ones and the slight gap created by the double-sided stickers means that muddy water can run down between the mud guard and the Extenda Fenda, so you see the dirty, muddy water running down the outside of the Extenda Fenda. To prevent this from happening on the GS, I sealed between the mudguard and Extenda Fenda with black Tec7:
Before:
After:
After playing with my new toy for a few weeks, and with the winter drawing in, I decided to take the bike off the road and start the protection detail. Having performed a protection detail on my new Ford Ranger last Christmas, I knew what was involved and I knew it would be a time-consuming job. The protection detail on my Ranger took me seven days, working 12-14 hours per day. Unlike the Ranger, which is made of large, flat panels, the GS has an exposed engine with pseudo cooling fins and loads of other nooks and crannies to collect dirt, so I knew this job was going to be significantly longer. I therefore decided to log the number of hours spent working on it.
The first step of the detail was to wash the bike properly. I started by power-hosing it thoroughly with rain water that I harvest for detailing. Then I snow-foamed it to loosen the remaining dirt and rinsed it with the powerhose after letting the foam dwell for five to ten minutes. I washed it thoroughly by hand using a microfibre sponge and the two-bucket method, including the insides of the mudguards, the shocks, and anywhere else that dirt tends to gather.
On my last ride before starting the detail, I somehow managed to get the front of the engine speckled with tar spots. I don't know how tar managed to spatter the bike when it was close to freezing point all day.
Anyway, I spent about another two hours detarring the front of the engine before washing it again to remove any traces of the tar remover. After that I dried the bike with my vehicle dryer (think industrial-powered hair-dryer )I don't have a garage (yet - that's my project for summer 2016) and I didn't want to be working on the bike in a cold, wooden shed for the winter. On top of that, the paint sealant I chose for the bike needs to cure for 24 hours at 20°C minimum, so there was only one place for me to put the bike:
As some of you may know, I worked on my Deauville in my spare bedroom about two years ago. The boxer engine on the GS, however, won't fit through a standard doorway, so the only way to get the bike into the house was to remove both panels of my patio door:
Here's the bike inside, ready for the real work to begin:
Total hours of work: 4.5
31/1/2016
Time for the next episode:
With the bike inside, I was ready to start the detailed work. The paint sealant (and other surface sealants) that I'm planning to apply to the bike are quartz coatings, which basically form a layer of silica (glass) that bonds to the surface it's protecting. Besides the fact that it would be stupid to seal dirt in under the sealant, the coating won't bond properly to the surface if it's not pretty much sterile. Therefore, the biggest part of this job is going to be getting every single part of the exposed surfaces immaculately clean.
To get access to the places I wanted to clean, I had to start taking stuff off the bike. I started by removing the seat and petrol tank:
Then the sump guard:
I took off the crash bars, cylinder head protectors, spark plug covers and took out the battery:
With those bits out of the way, I started the detailed cleaning. Due to the cooling fins, and all the gaps and crevices in the engine, detailing it was hugely time consuming. I started with a microfibre towel and a bucket of warm water. I had various shapes and sizes of sticks, including a small paint brush handle and cocktail sticks, to work the microfibre towel into the gaps. For sticky/oily residues I squirted denatured ethanol onto it to dissolve/soften it and a separate microfibre towel to rub it off. I found keeping the water quite hot, by adding boiling water regularly, helped to remove some of the more stubborn dirt. For any dirt that couldn't be removed chemically, I used auto clay. I prefer to use Bilt Hamber clay because you can use water as a lubricant, whereas most other clays require a special lubricant.
Here are some before and after shots of various parts of the engine:
Underside of the engine before:
During:
After:
Detailing around the exhaust ports was a nightmare because there were deep crevices at either side and any dirt that had gone in there had baked into it from the heat:
The downpipes were in the way and prevented me from getting at the dirt around the exhaust ports, so I removed the whole exhaust system:
I used every chemical in my arsenal to try to remove the baked in dirt. It softened and dissolved a lot of it, but in the end I had to resort to mechanical abrasion (scrubbing). This was extremely difficult because of the depth of the gaps. I started with the microfibre towel wrapped around a stick. That cleaned the larger bits out. I then progressed onto cotton swabs with long wooden handles (longer version of the ones for cleaning your ears), but the long, thin handles broke regularly and softened and bent due to the warm water, so I went through a few packets of those. To finish with the very fine specks that were left, I taped cocktail sticks to the end of the paintbrush handle and "picked" the dirt off. The gaps at either side of the exhaust ports took 23 hours of labour alone to clean, but I think the result was worth the effort in the end:
Total hours: 59.5
Last edited:


 .
.