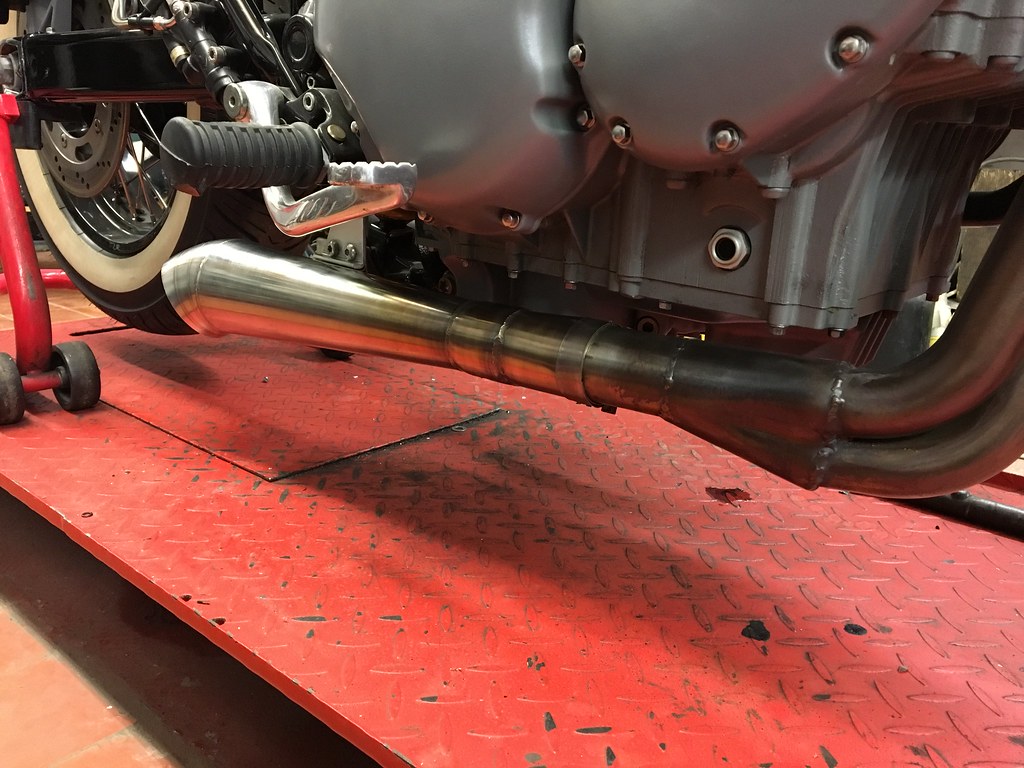
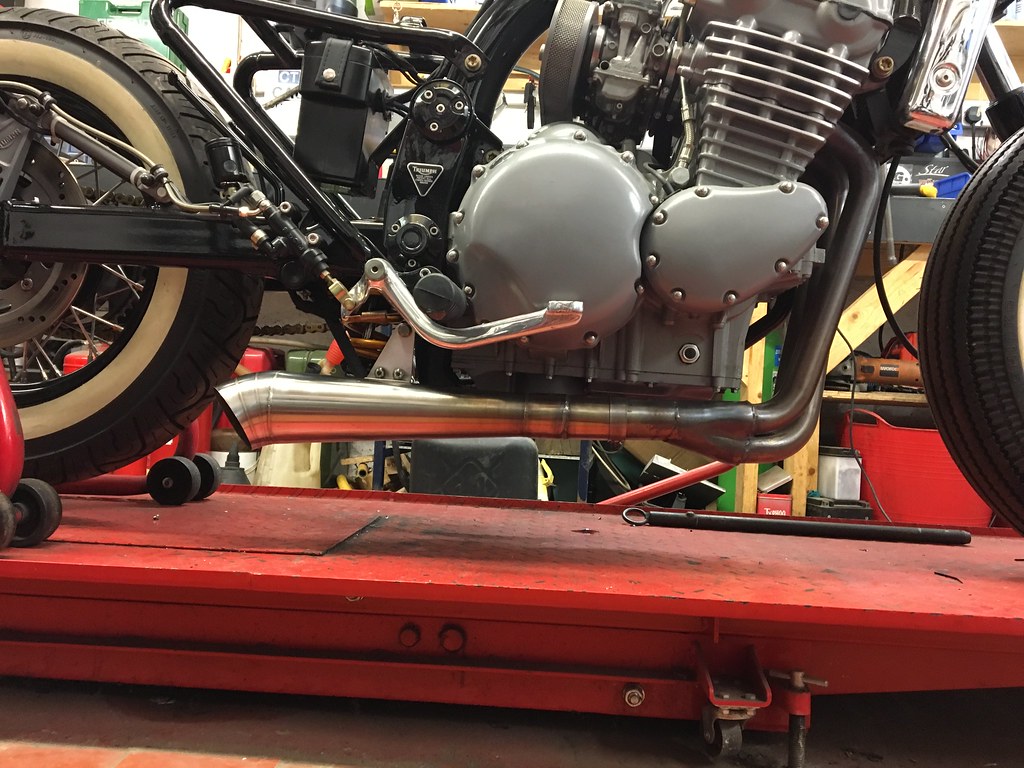
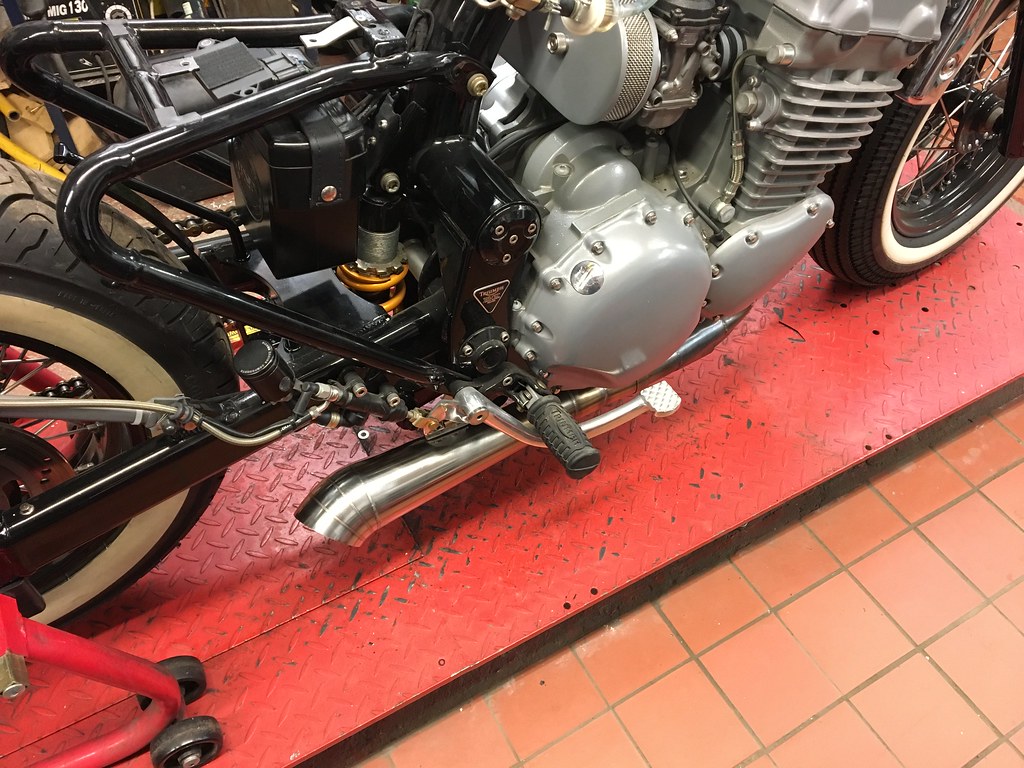
Details details .......
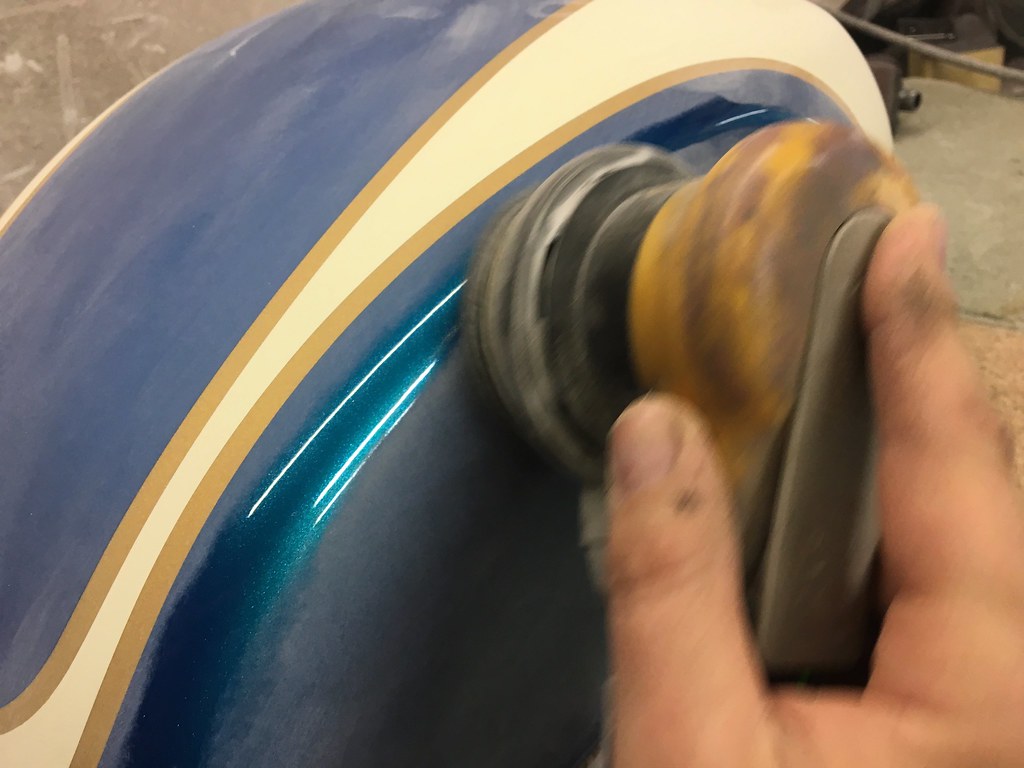
The paintwork was ready for it's final processes today so here we go ....
There were a couple of small imperfections that I wanted to rectify, it's not unusual and I go through this process with most of the jobs I do, I usually don't show it though. They're usually little mask bleeds or tiny imperfections that I notice, many people wonder what I'm going on about when I point them out but I know they're there so while I have the opportunity to fix them I just get on with it. This possibly makes me a little OCD but I don't care

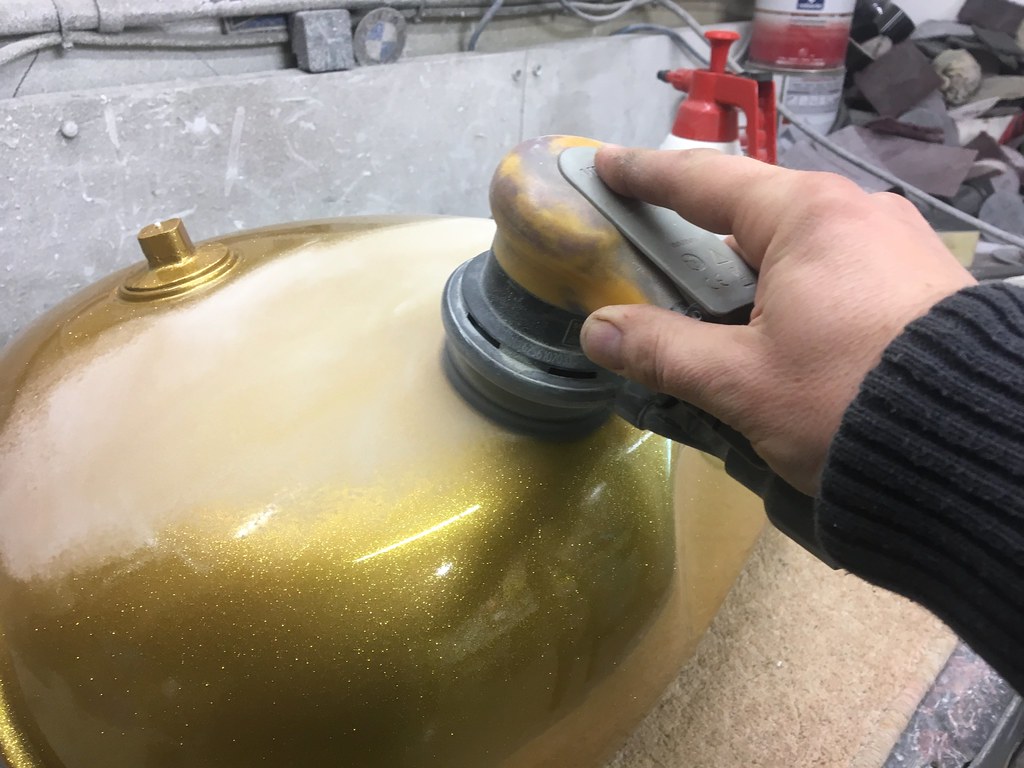
First up, full flatting of the initial clear coat with 600 grade abranet, this gives me a nice level surface to go onto. Because the colour scheme is built up in a series of layers the paint surface becomes stepped up and down depending on the thickness of each coat of paint etc. The idea of this flatting process it to level all those out.
 IMG_7865
 by
tunneruk, on Flickr
The trouble is it leaves sanding witnesses which in some lights can be seen under the next coat of clear.
I resolve this issue by guide coating the fleshly prepped surface and then go back over with a finer abrasive.
I literally spray matt black aerosol paint over the whole tank, only a dusting of course.
<iframe width="1000" height="550" src="https://www.youtube.com/embed/eAdmCOORvW0" frameborder="0" allow="autoplay; encrypted-media" allowfullscreen></iframe>
This dusting settles in the low spots / scratches and allows a 'guide' to when you've eliminated them ...
I use 1000 grit Abralon pads for this next process, they're sponge backed so can be soaked with water as this is best done wet.
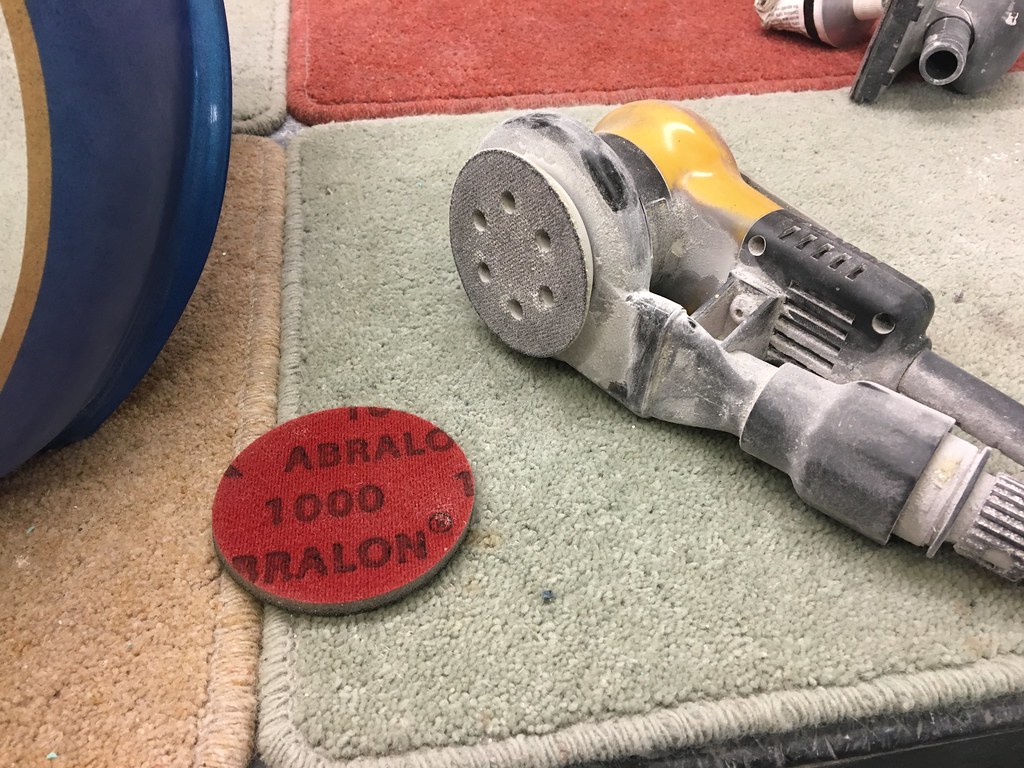 IMG_7868
 by
tunneruk, on Flickr
 IMG_7869
 by
tunneruk, on Flickr
Once all the black guide is eliminated it's safe to say that you'll have a pretty good and flat surface for the final coats of clear
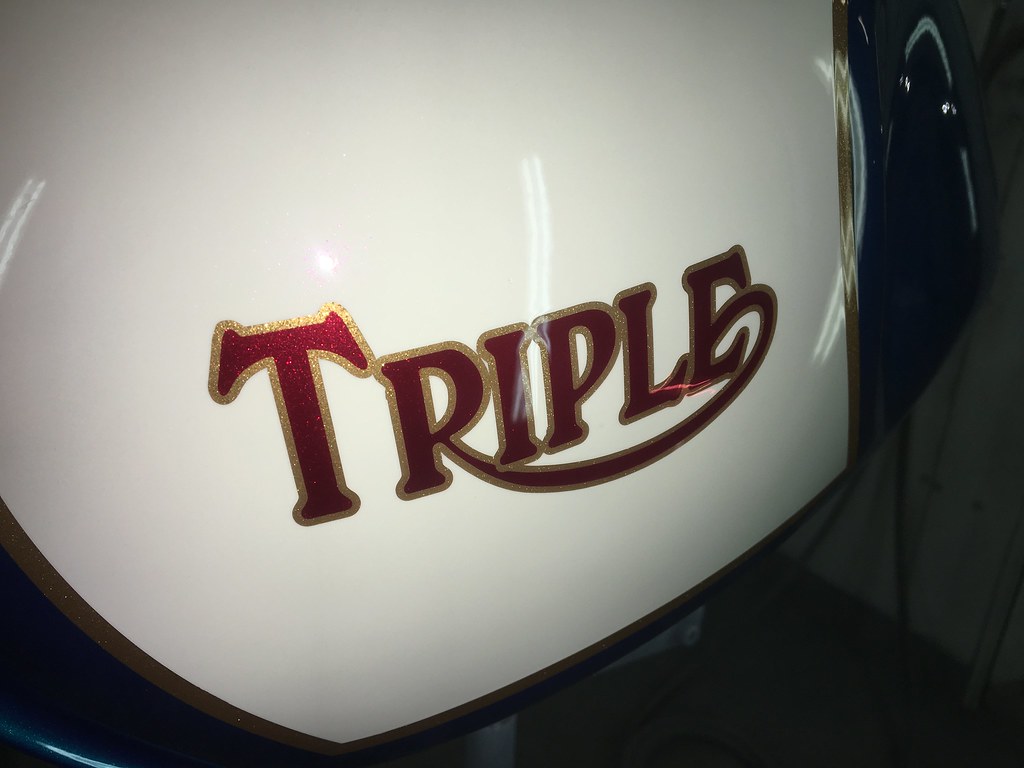
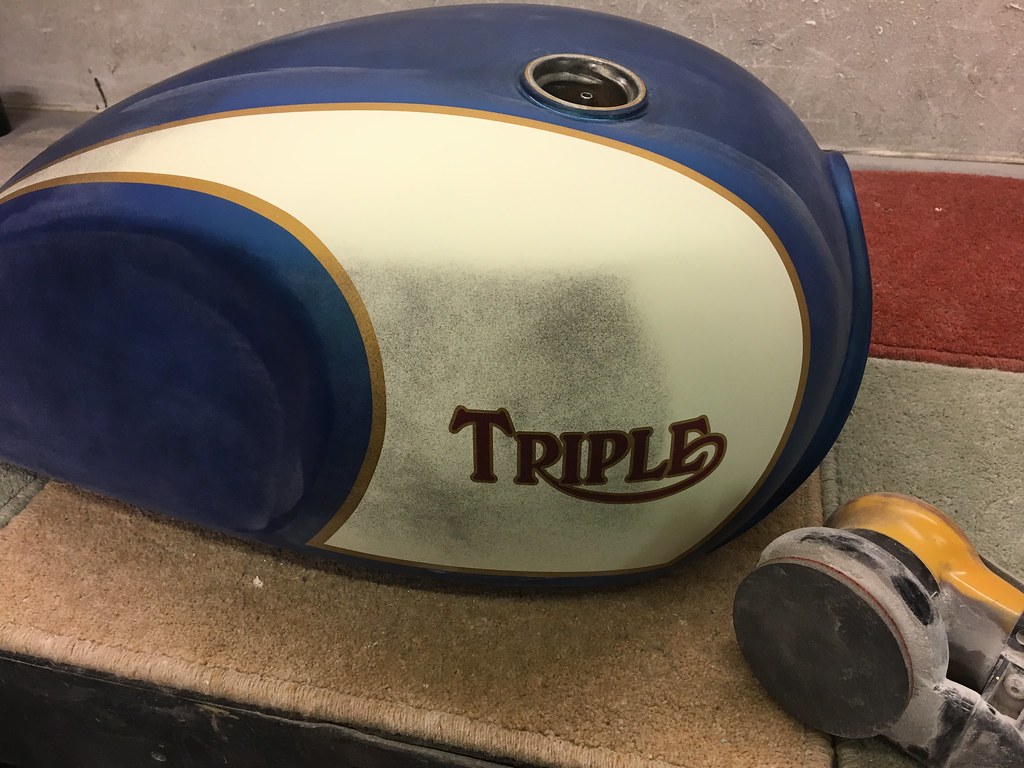
However, before this happens, I like to fix my imperfections mentioned above. There were about 3 on this tank, I have highlighted just one to give you an idea of what I'm blabbing on about.
This little glitch is something you'd probably not notice but because I know it's there and it takes me about 15 minutes to sort it would be foolish to lock the problem in under another coat of clear so I address them now.
See the little bleed out of the top left of the 'R'
 IMG_7870
 by
tunneruk, on Flickr
This is highlighted when I mask along the body of the 'R'
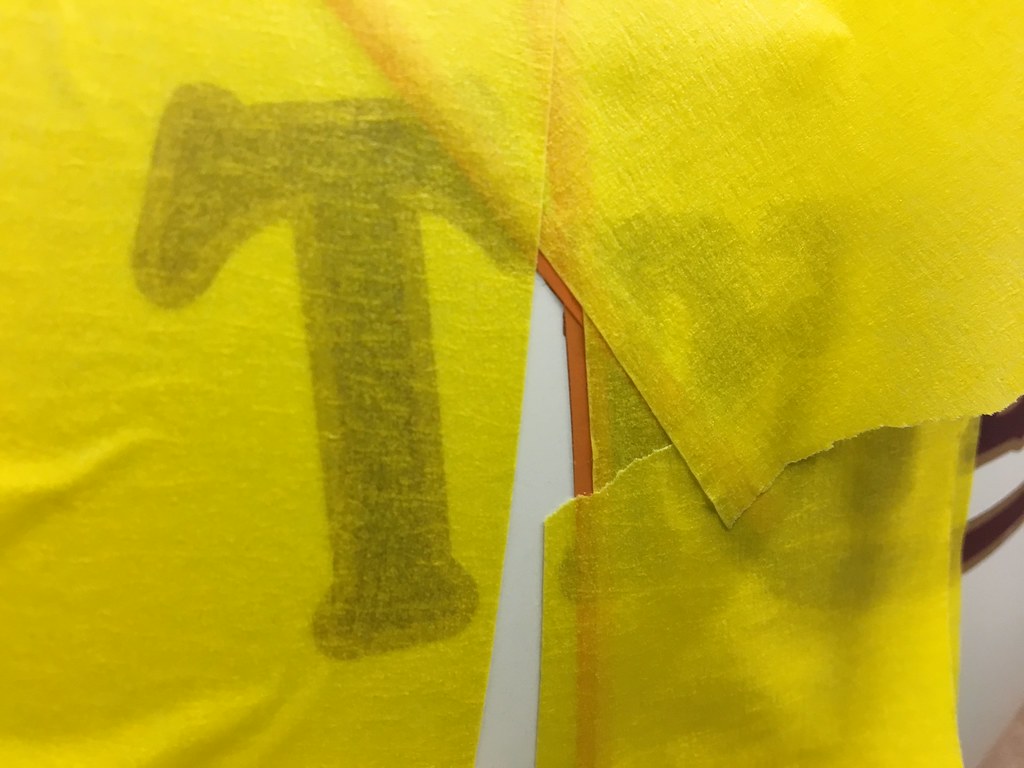 IMG_7871
 by
tunneruk, on Flickr
Quick spritz with the airbrush and we're sorted!
 Untitled
 by
tunneruk, on Flickr
Once I'd done the couple of other little fixes there was just one last job to do.
The rear of the tank has an awkward looking pressing which is ordinarily hidden by the standard seat. Time to make that black as to integrate it into the frame and give the tank a rounder look. (Bollocks .... I forgot to photograph it)
It can been seen in the video below.
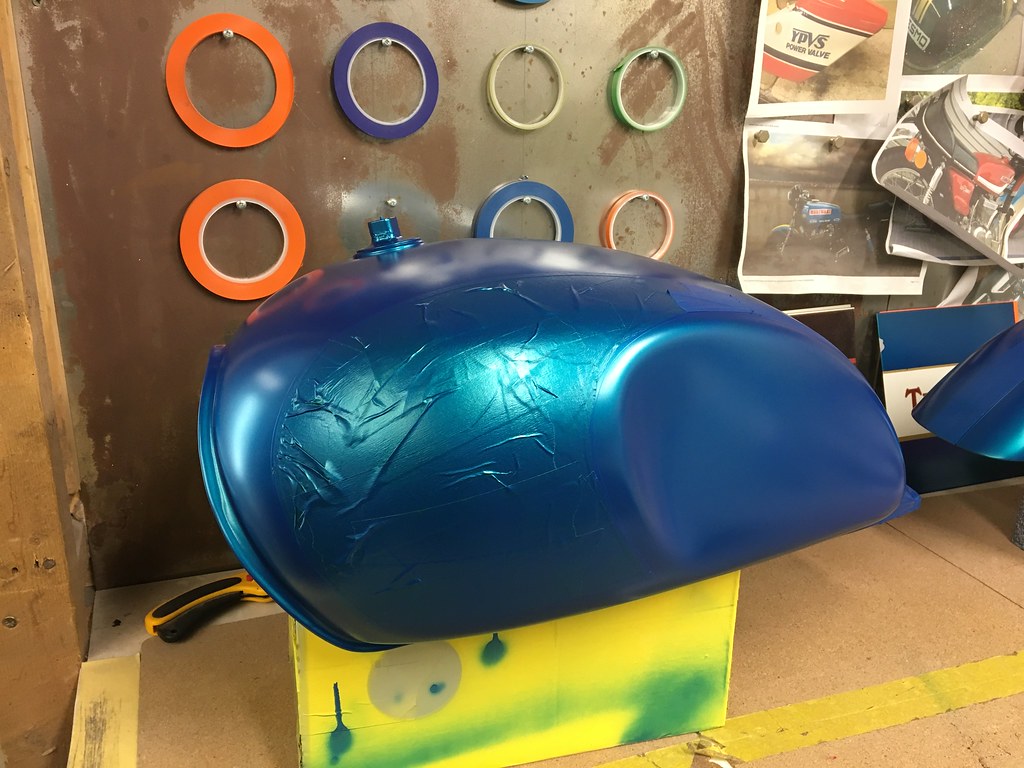
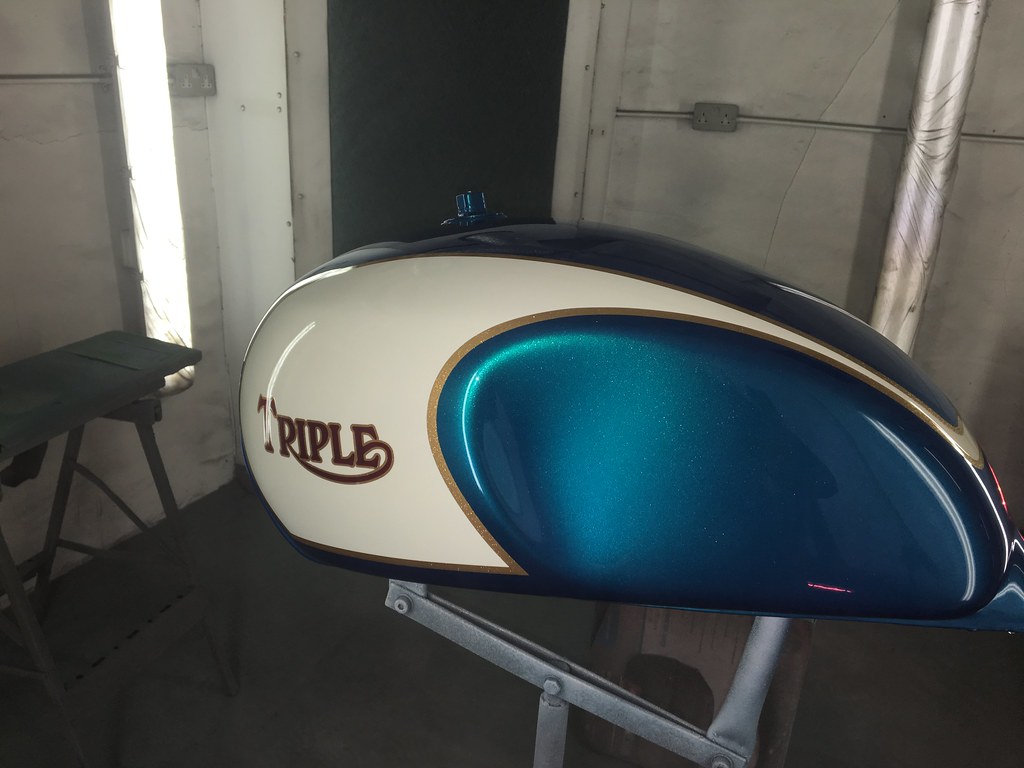
Once I'd painted in the black portion the tank and mudguard went back into the booth for the final paint process, 6x coats of HS 2k clear!
I'll leave it in the booth to cure down for the weekend and bring it out on Monday for a quick nib and polish ready for fitting

<iframe width="1000" height="550" src="https://www.youtube.com/embed/ld5JBDaycOU" frameborder="0" allow="autoplay; encrypted-media" allowfullscreen></iframe>