REPLACING FACORY FITTED ALARM MODULE BATTERIES / MAY 2013 R1200RT
There are my findings and observations in the task of replacing the batteries in the factory fitted alarm module that is located in the tail behind the passenger seat.
The bike model in this write up is a factory ordered and May 2013 registered R1200RT, one of the last made in this model run, when it changed to the first of the LC models.
The alarm appeared to just stop working – no flashing of the indicators when turned on or off. The battery in the remote fob was first changed, but without success.
The alarm module has to be accessed and then opened in order to access 2 x CR123A batteries.
This task will take around 2 hours to complete.
Materials needed:
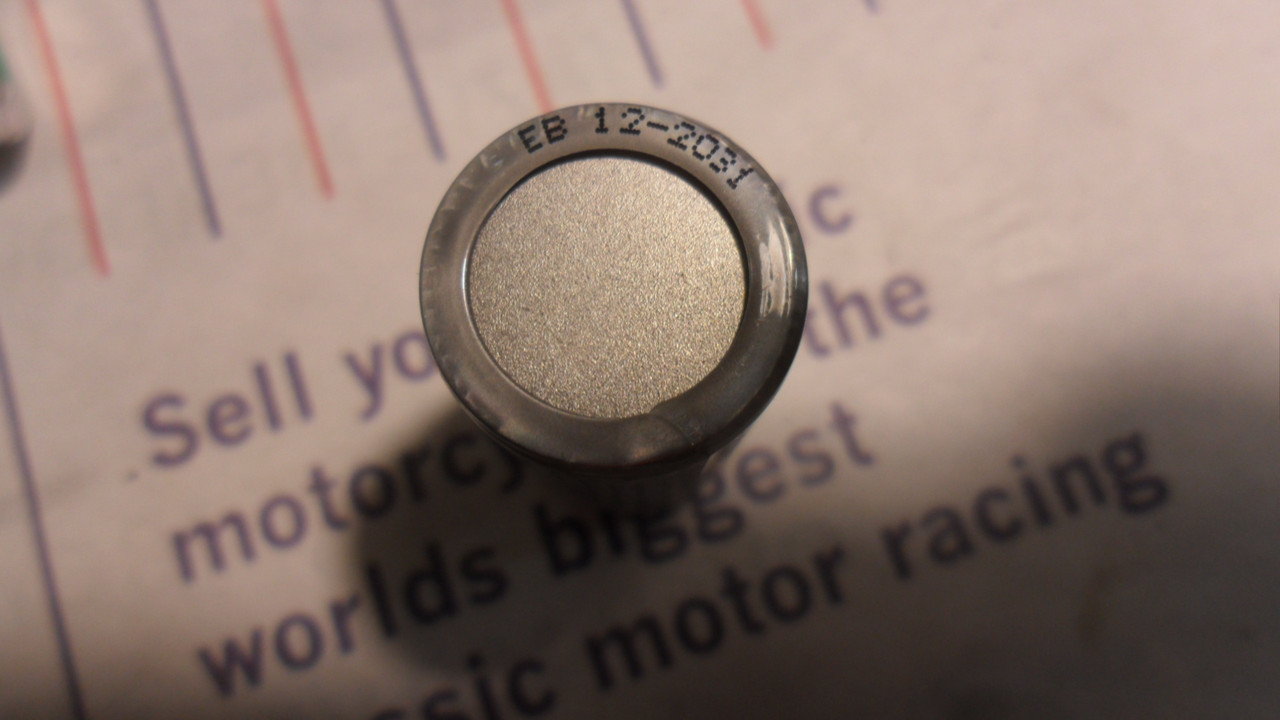
2 x CR123A batteries.
Obtain ‘good’ branded batteries with a long life. eg Varta,(used for this replacement), Panasonic (OE fitted), Duracell etc. ie Not a ‘cheap’ unbranded battery with a short life and one that might leak and damage the alarm module.
Tools Needed
PH2 screwdriver.
PH1 screwdriver.
PH1 ¼” drive standard bit
T30, ¼ “ hex drive bit.
¼” hex drive adaptor.
¼” drive ratchet wrench.
¼” square ratchet wrench + 4BA socket.
Sharpie / Permanent marker
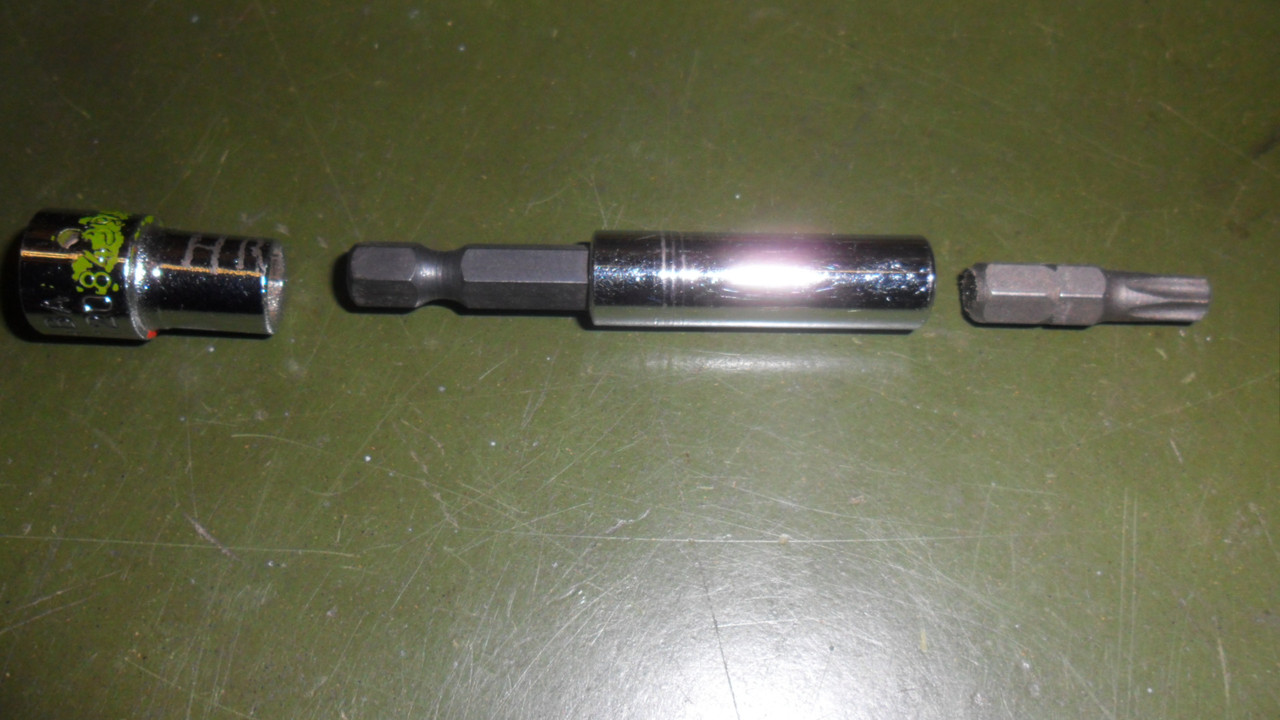
L –R - 4BA ¼” Square, ¼” hex adaptor, ¼” T30 standard bit
Lift off both panniers. Put to one side.
Lift passenger seat. Unclip cable and lay seat on drivers seat.

Remove Rear Light Lens
Use PH2 screwdriver to remove 2 screws located either side of the leading face of the rearlight housing. Lift out the rear light & indicators lens.
Twist out the 4 bulb holders complete with bulbs. Put rear light lens aside.
Remove Rear Rack
Use T30 bit drive arrangement to remove 2 x screws from the end of frame points
 mech wallpaper
These points are 19 mm diameter, and the screw head is 45mm recessed.
(The hex adaptor that I was using is 10mm dia).
Remove 2 x T30 screws per side from the arms of the carrier.
Remove 2 x T30 screws from the centre panel.
Lift off the carrier. Put to one side.
The alarm module will then be just accessible.
 l death note wallpaper
The lid of the module is secured by 4 x PH1 screws.
Screws 1 and 2 can be removed with a PH1 screwdriver.
Screws 3 and 4 can be removed by using PH1 ¼” drive bit and ¼” drive ratchet wrench.
Lift the lid carefully and rotate anti-clockwise. This will release the internal wires and give a bit more to play with.
The twist in the wires is to take up any excess in order to prevent vibrating around inside the module when the bike is in use.
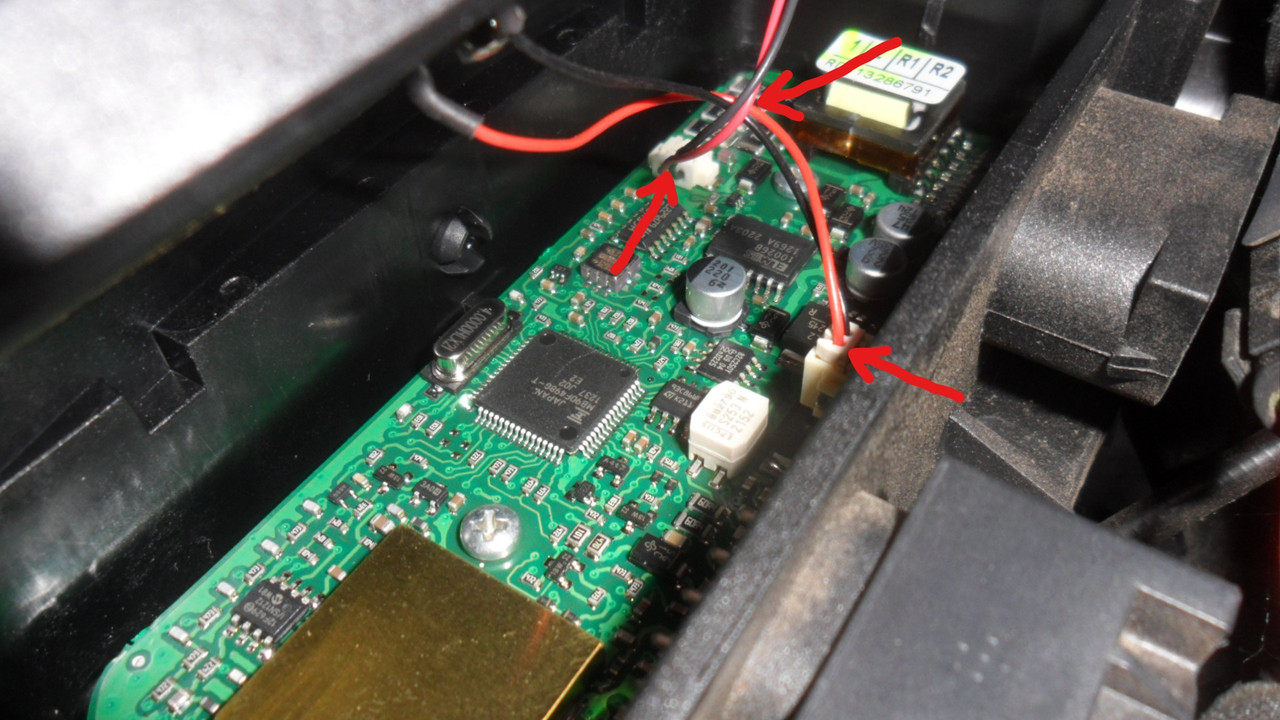
There are 2 connectors that need to be unplugged. 1 from the battery compartment, 1 to the alarm sounder.
Give a short sharp tug on the wires immediately next to the connector body.
Use the Sharpie/ Permanent marker to identify one of the plugs for reassembly.
Lift the lid away and place onto the bench.
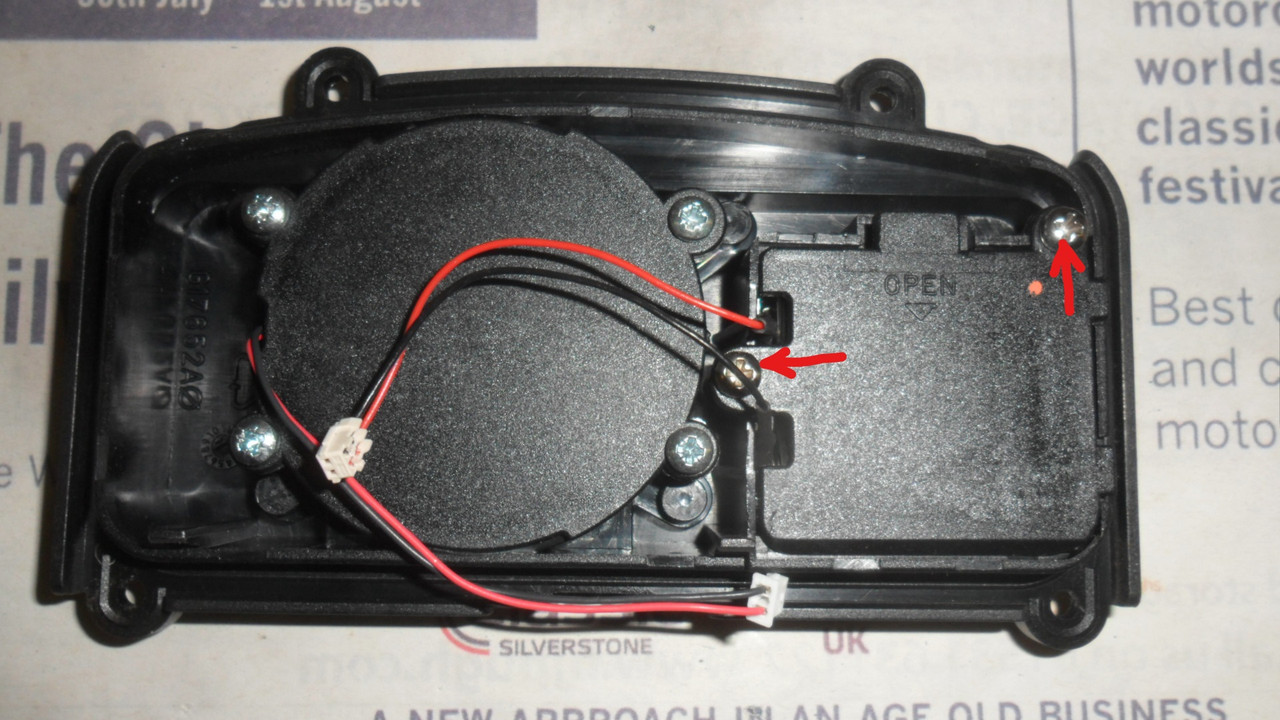
Use the PH1 screwdriver to remove the battery cover.
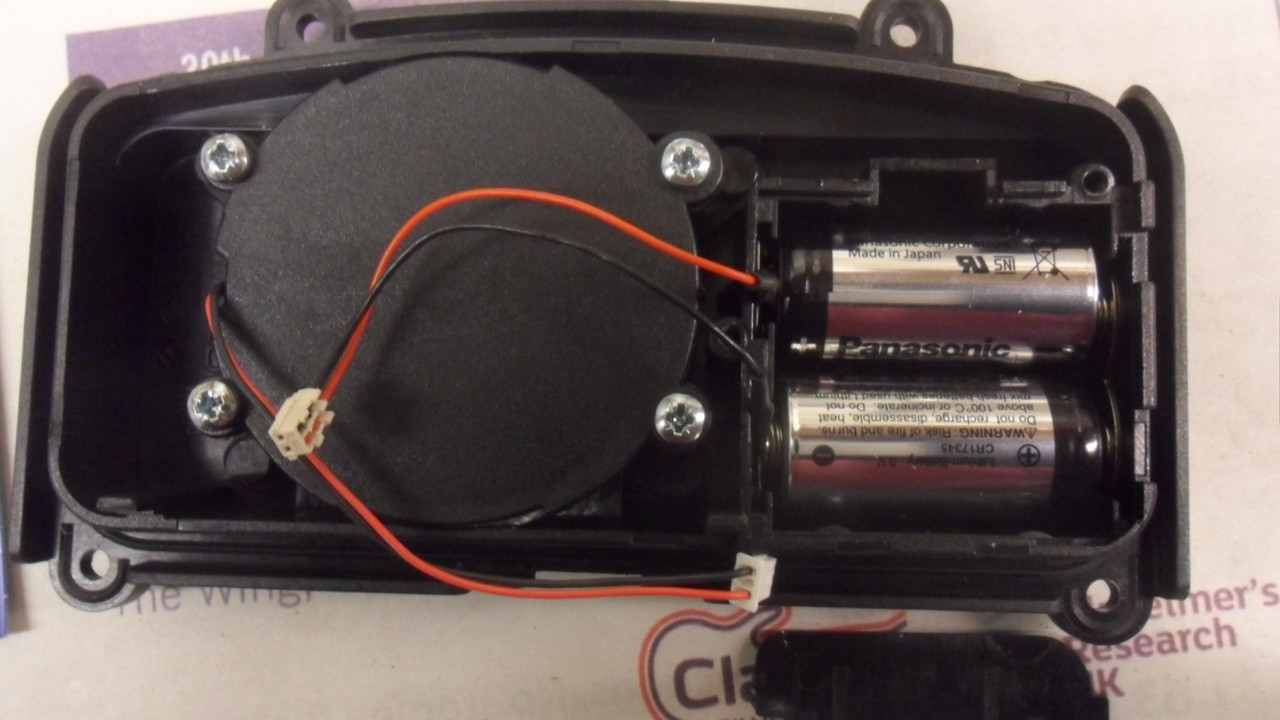
Replace the 2 batteries.
Re-Assembly
Ensure that the soft rubber seal is correctly located into the groove in the lid.
Refit the module lid to the body. Rotate the lid 180 degrees first. Replace the 2 plugs. Position with your finger tip, and use your finger nail to press the plug ‘home’.
Rotate back to 0 degrees to get the twist back in the wires.
Before you replace the 4 screws, test the alarm.
Switch the ignition on and then off.
Now test the alarm turns on and off with the remote fob.
All good?
Ensure all screws and parts are replaced exactly as removed.
A wipe of copper slip could be wiped onto the carrier fixing screws to help any future need to remove screws.
Make a record in the service book.
The batteries that I removed had a use by date on them. I wrote this article in April 2022.

The replacement batteries are Varta, with a use by date of:


")


