Restore and convert to SM 17"

waitee

Registered user
Joined
Aug 4, 2019
Messages
26
Reaction score
1
Location
Edinburgh, Scotland
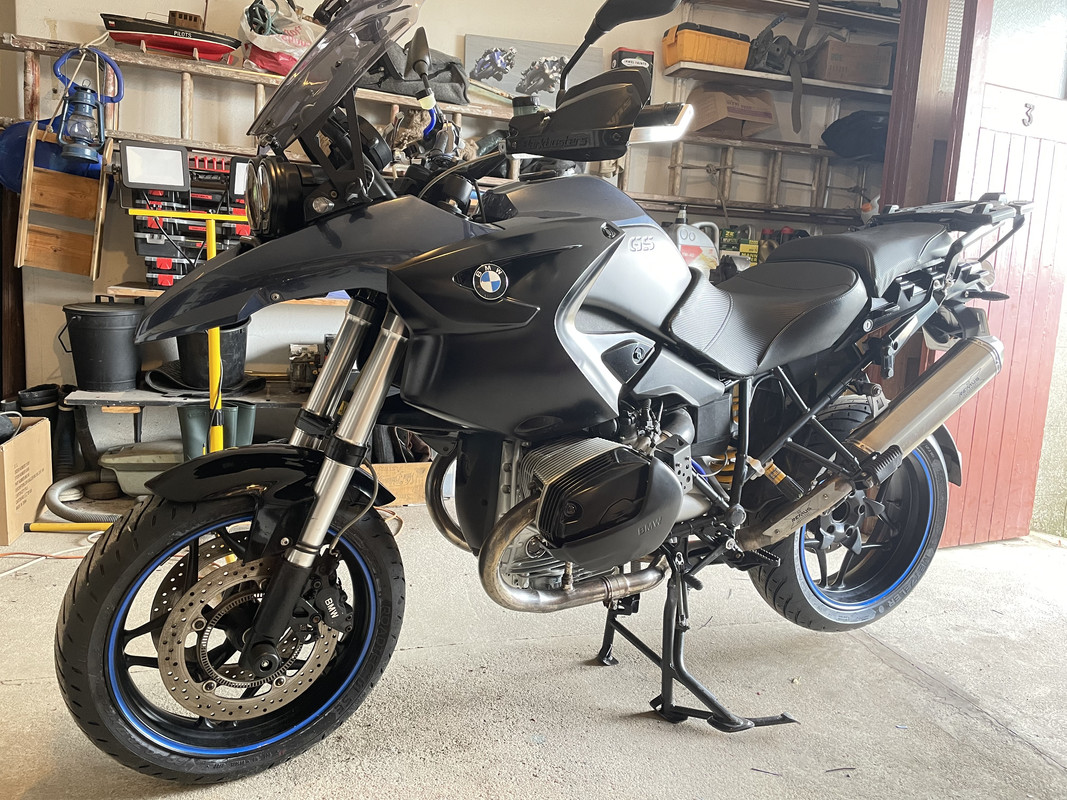
Hey guys, thought id share my little project:
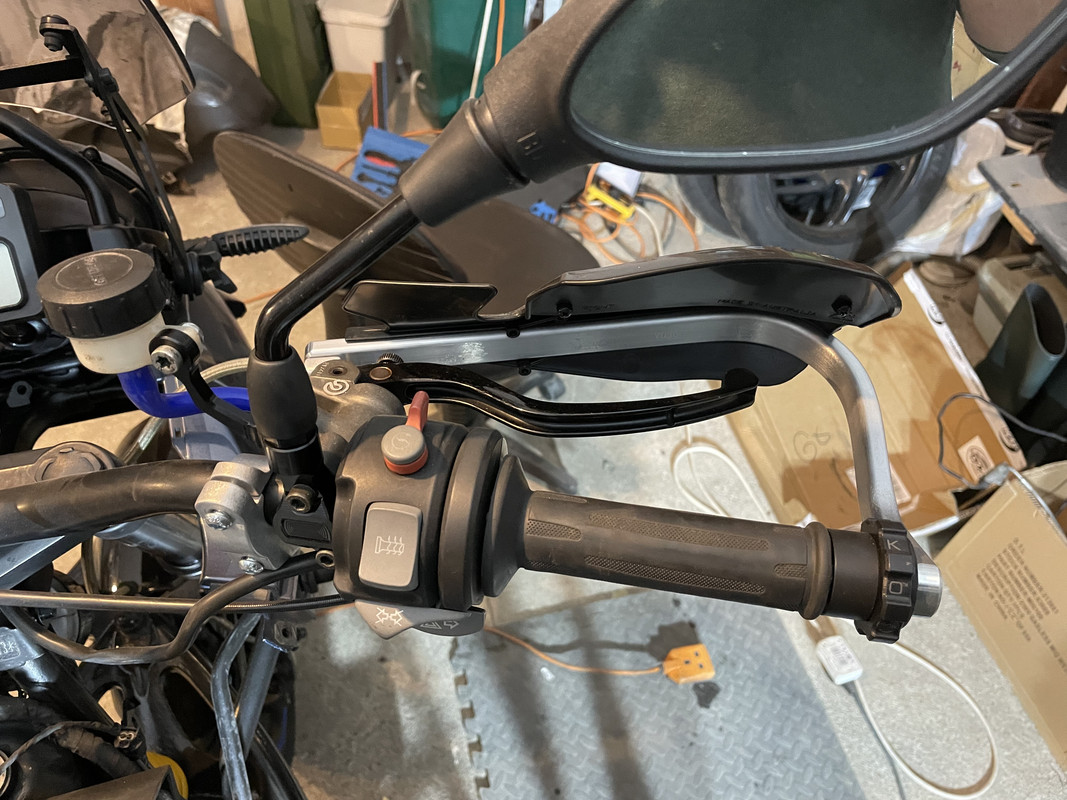
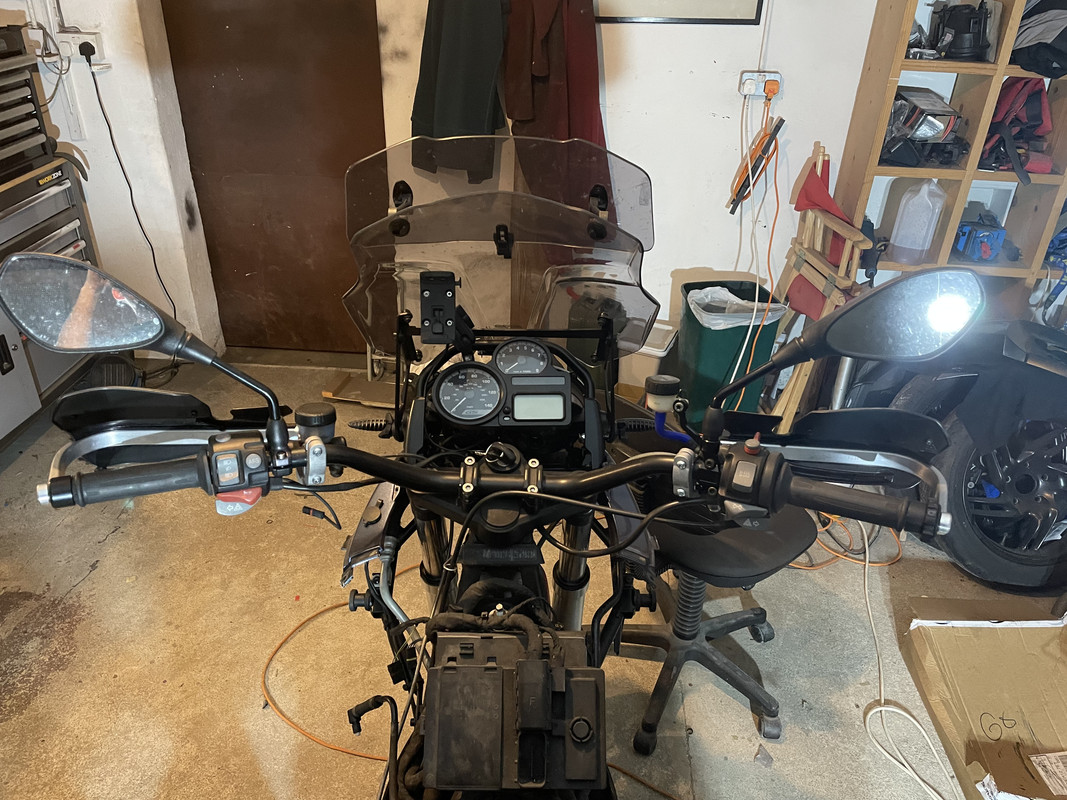
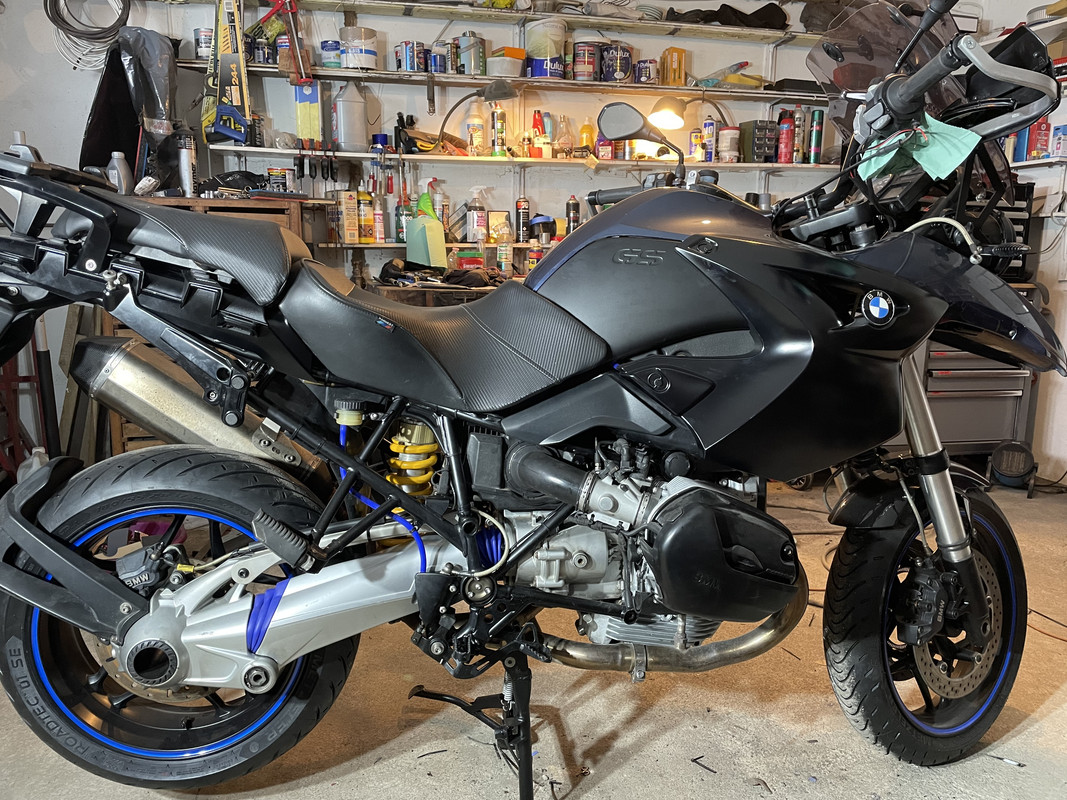
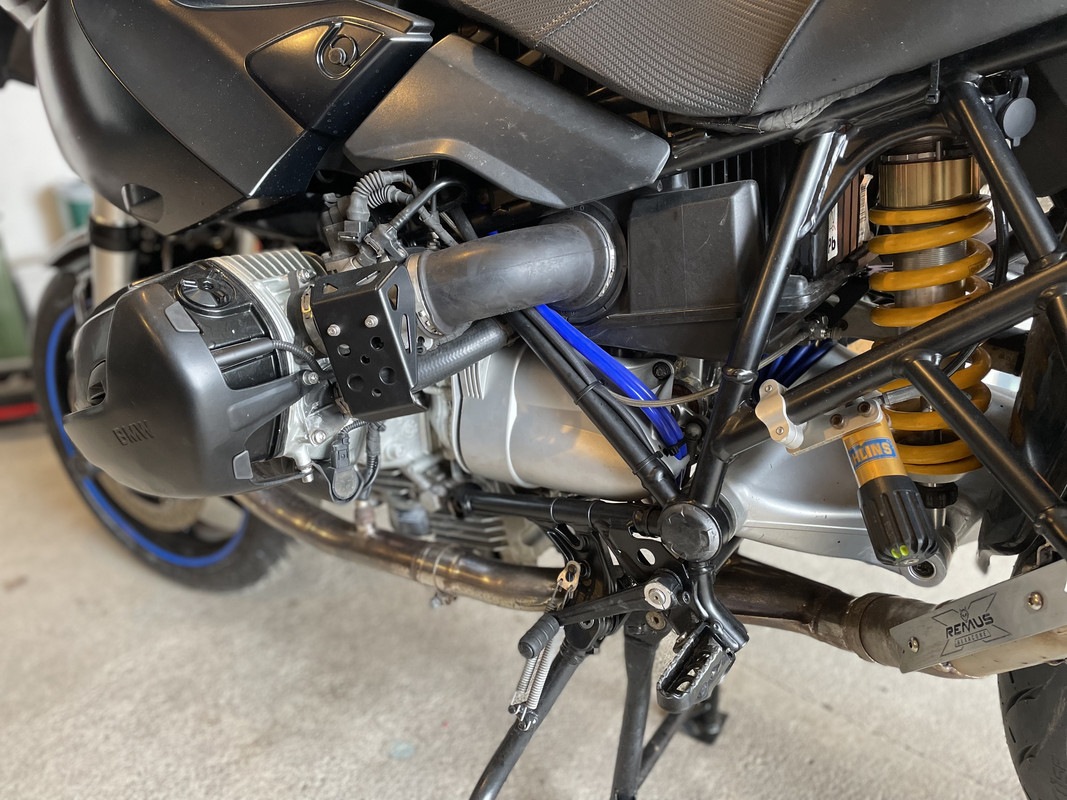
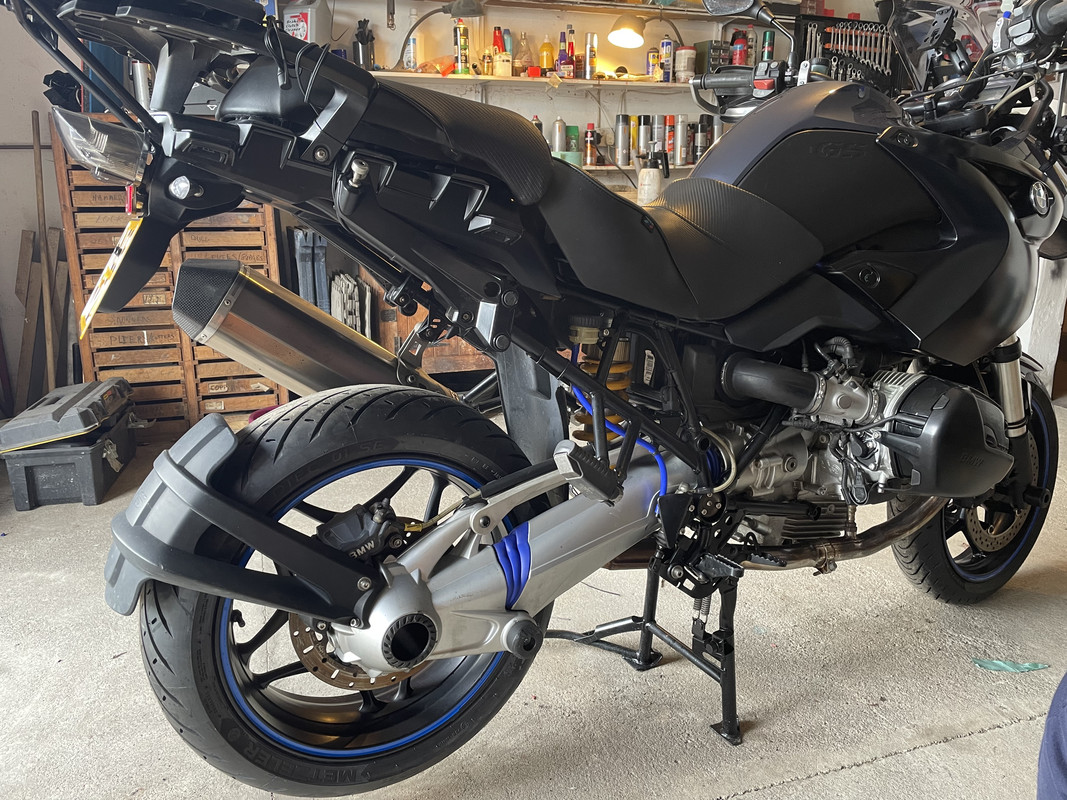
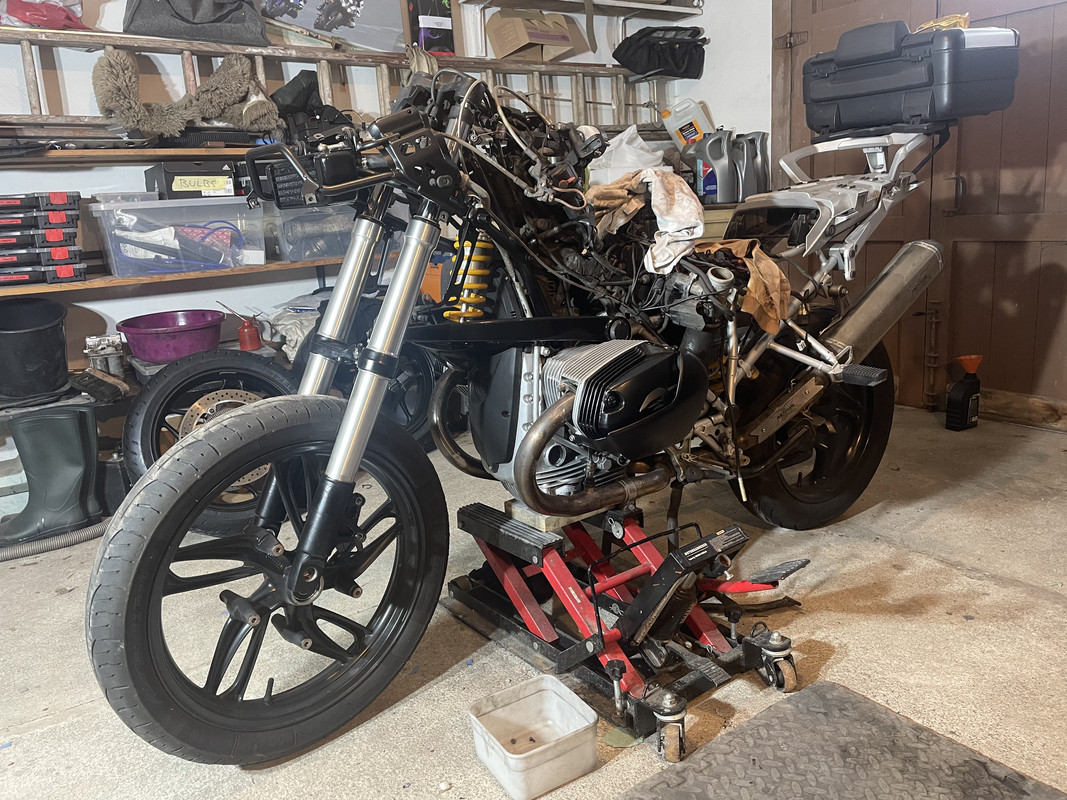
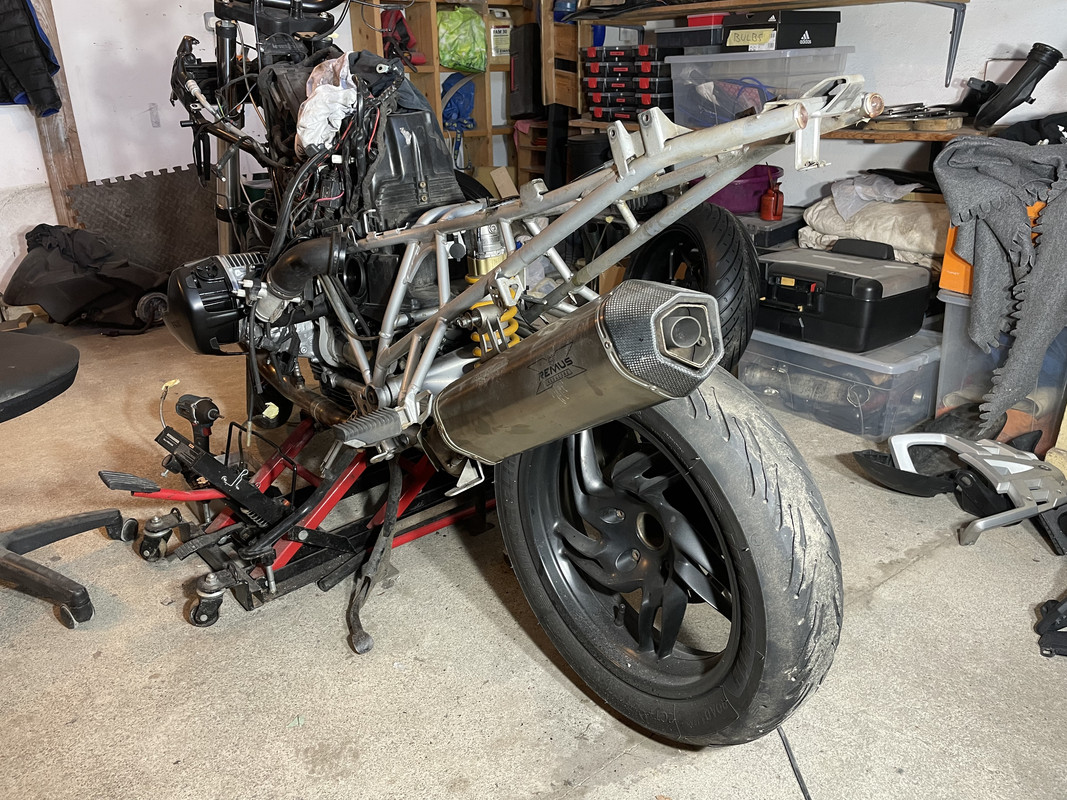
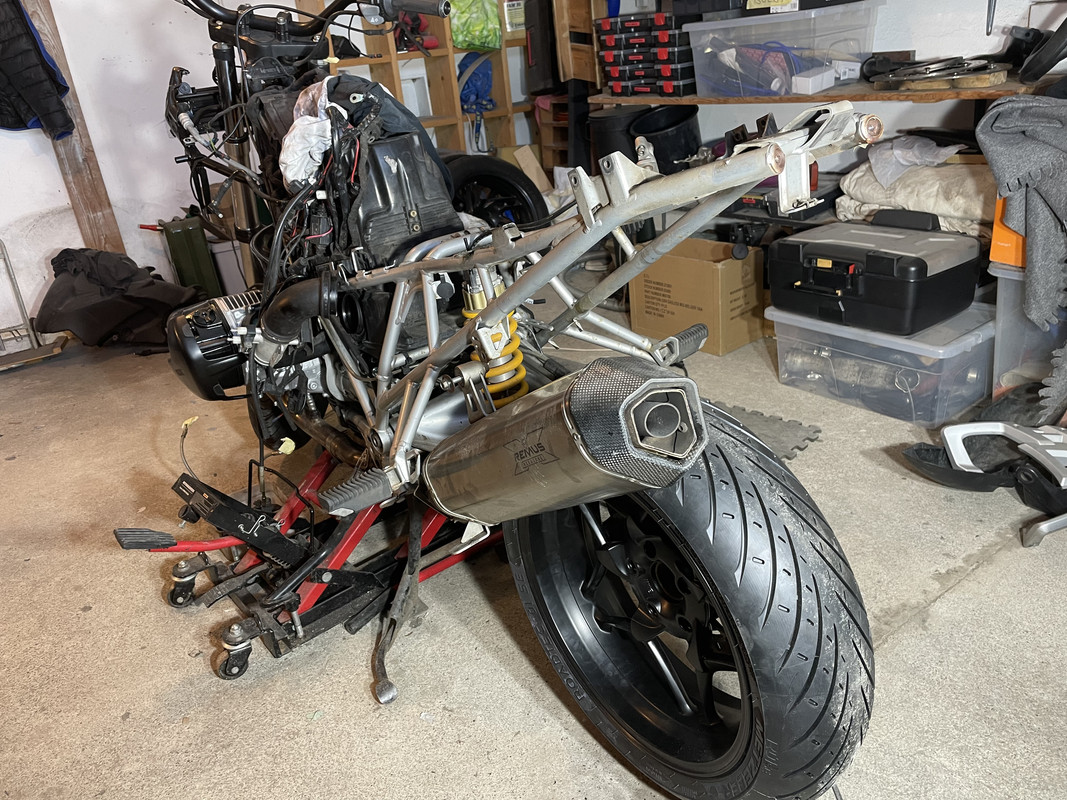
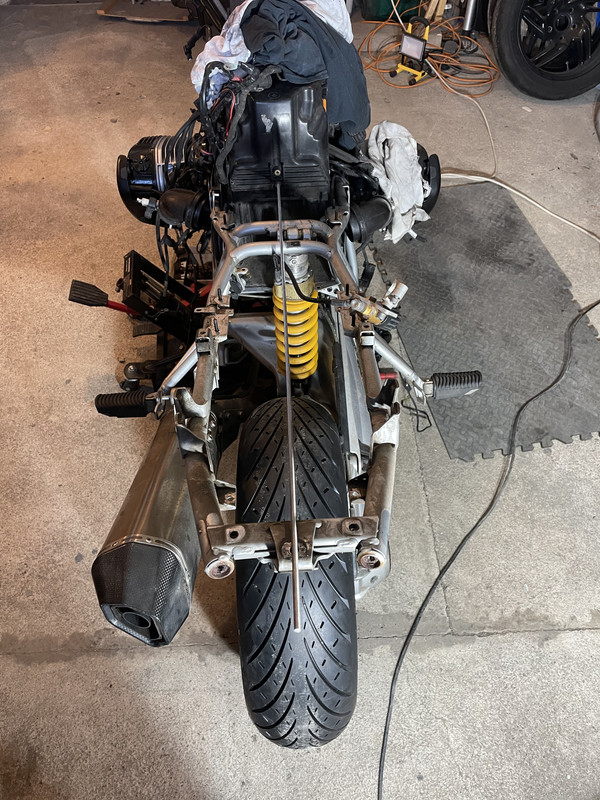
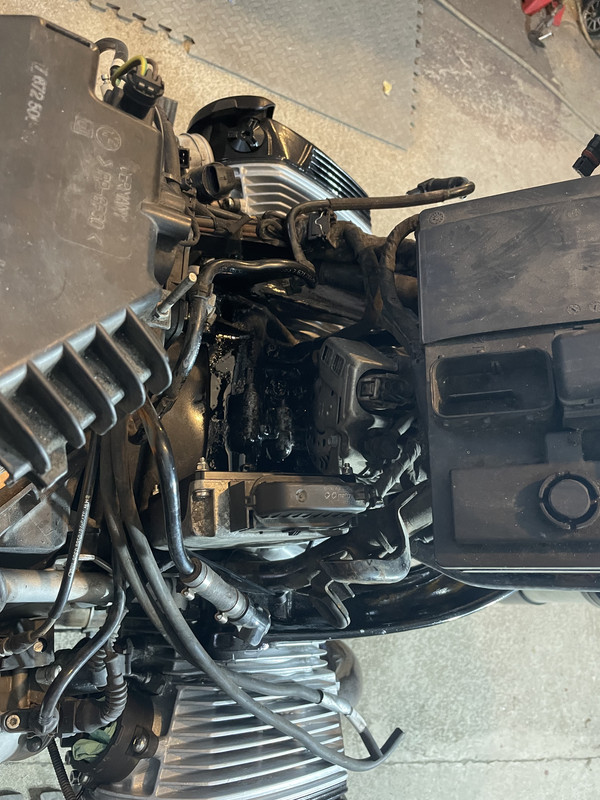
Ive had the GS for a few years, well maintained, but rarely washed. Thought id give it some love.

The plan:
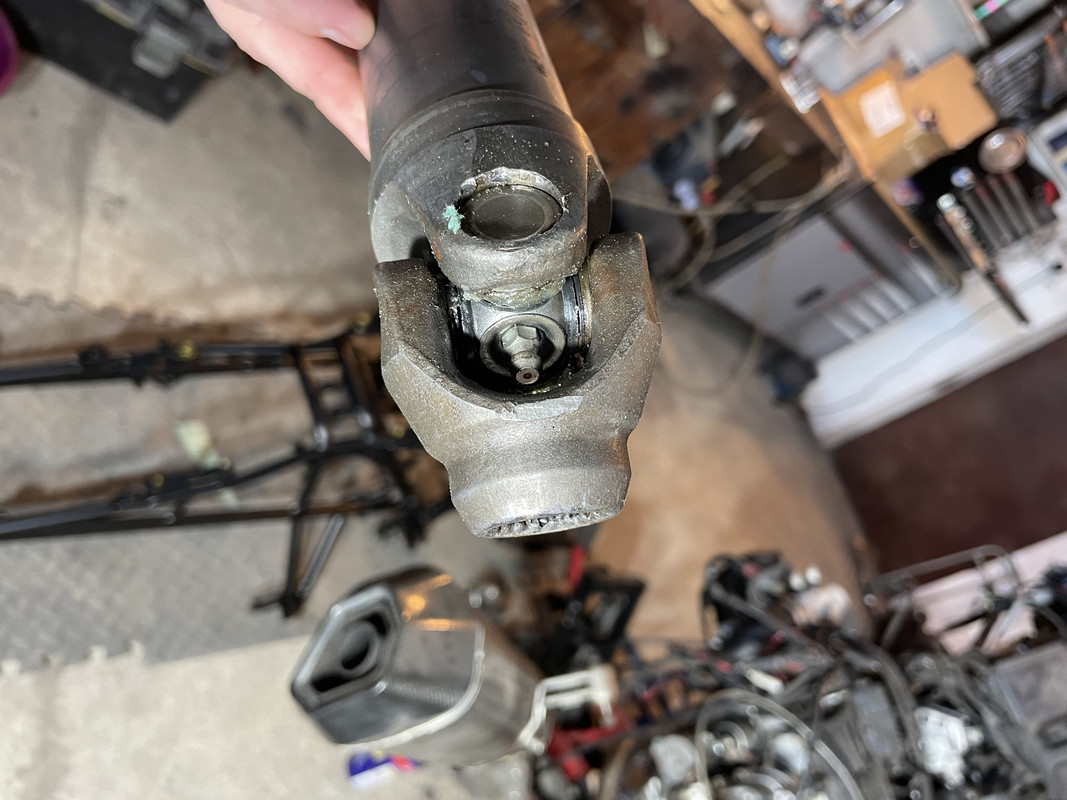
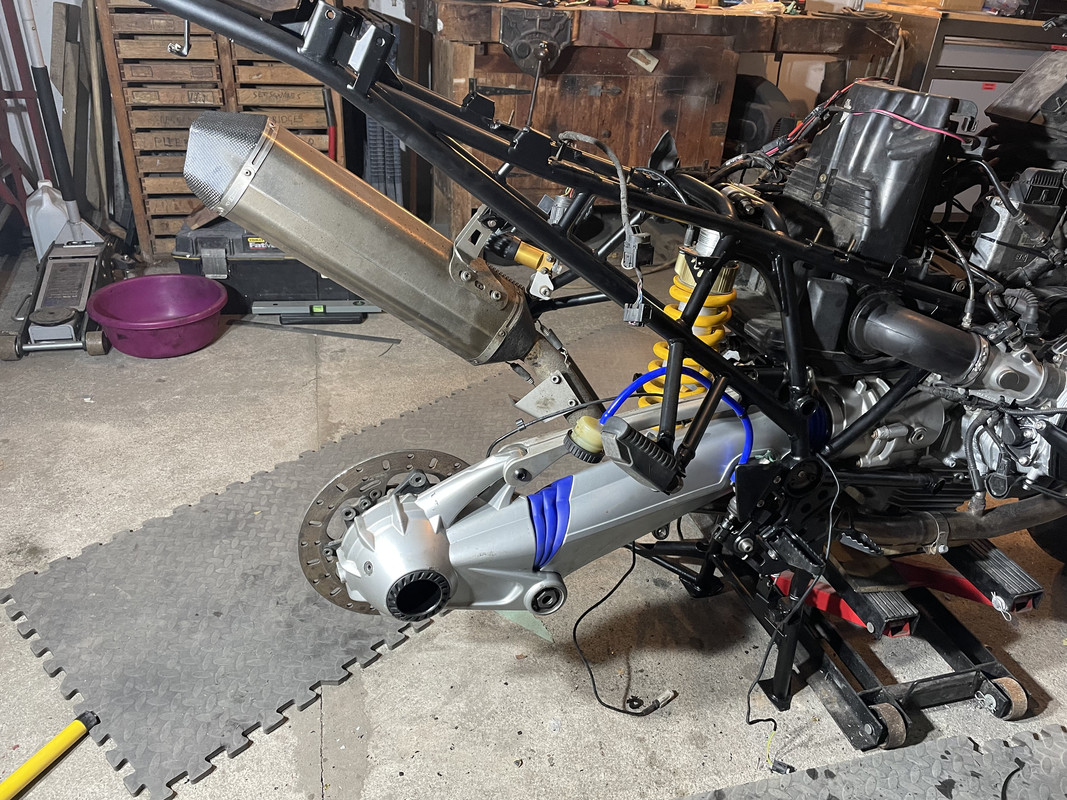
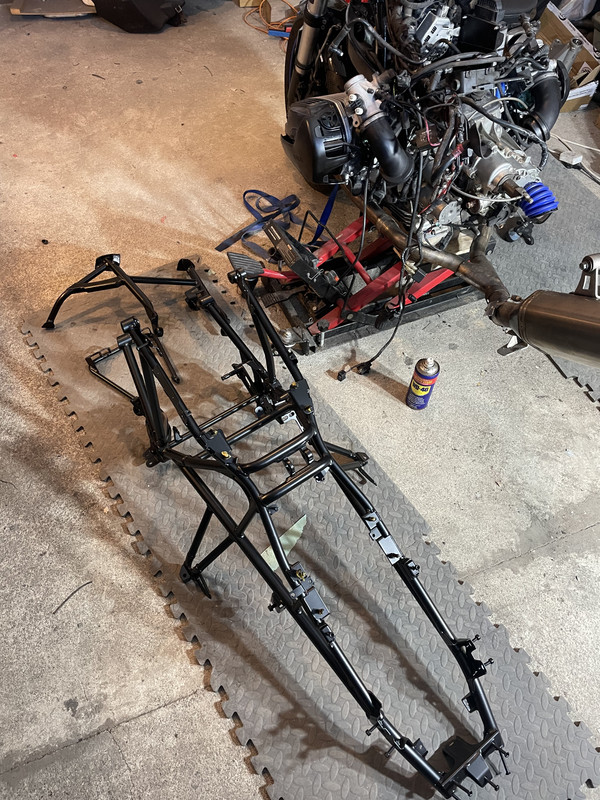
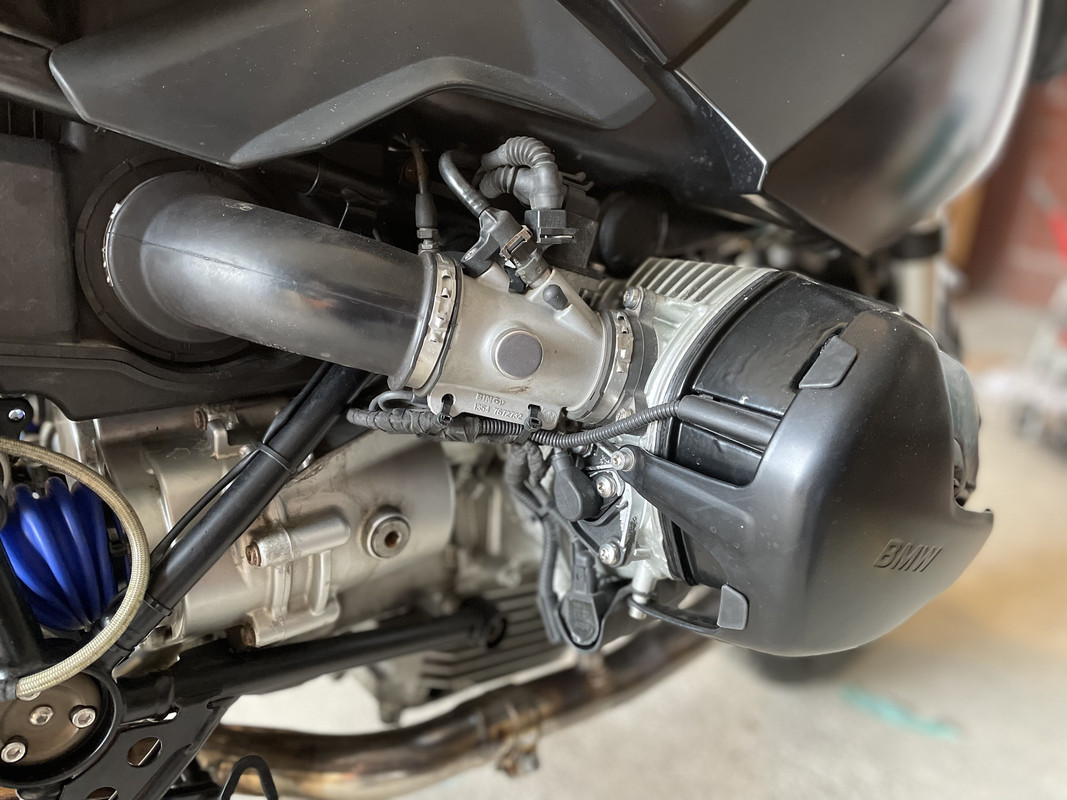
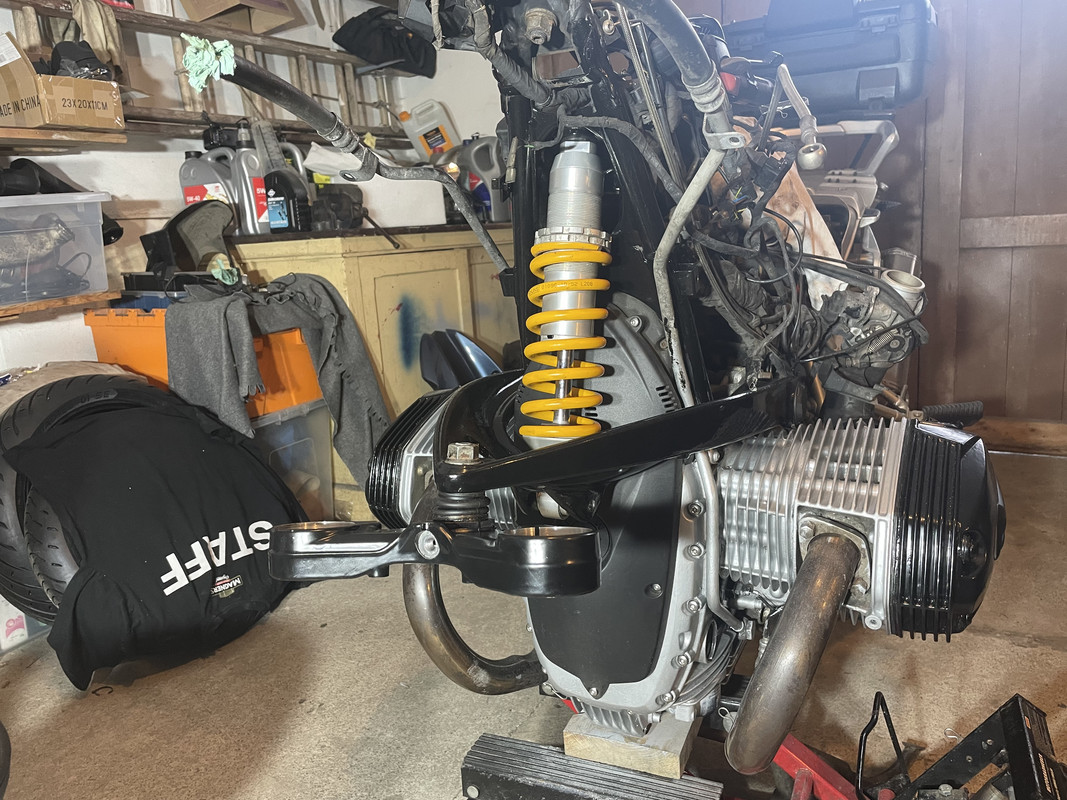
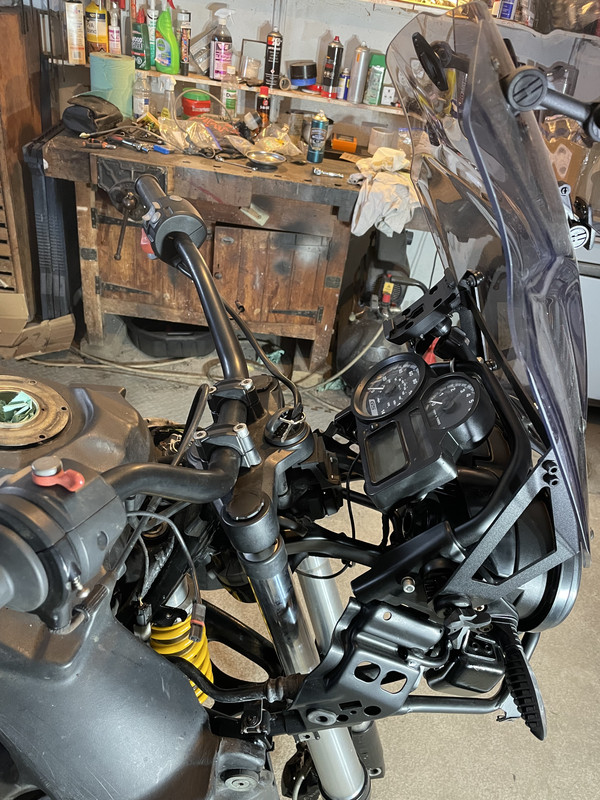
Strip the bike down as much as possible
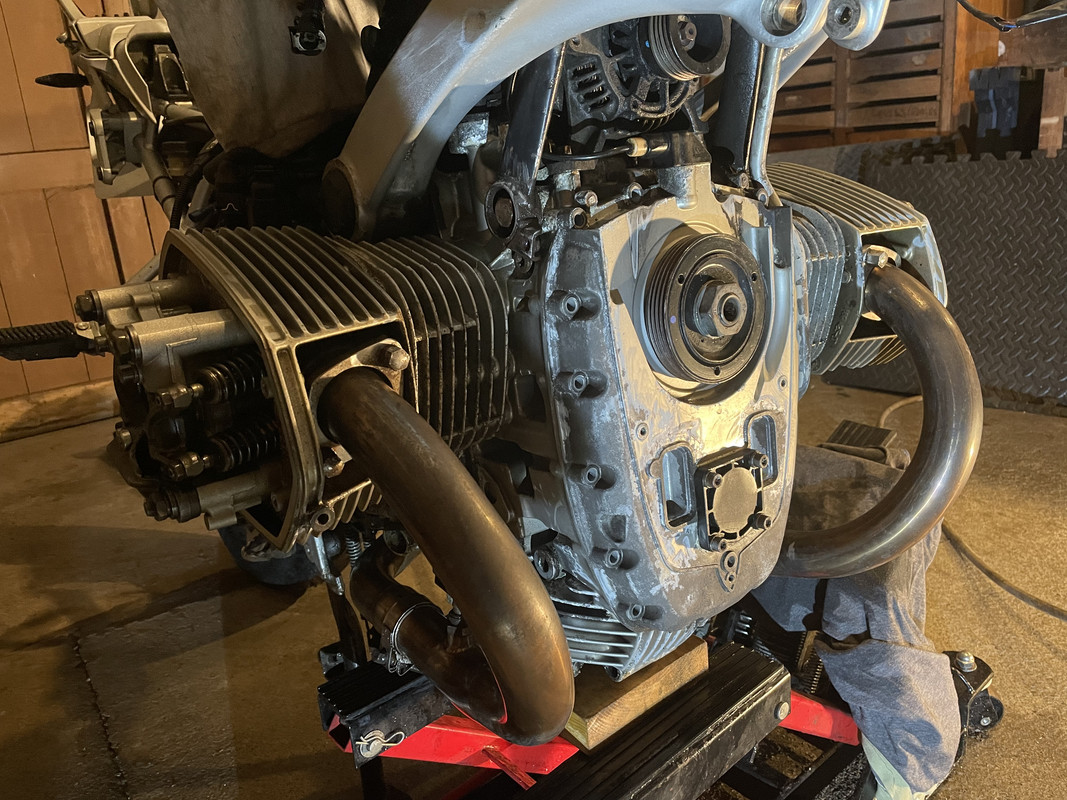
Sand all the corrosion of the fins and engine casing
Paint engine
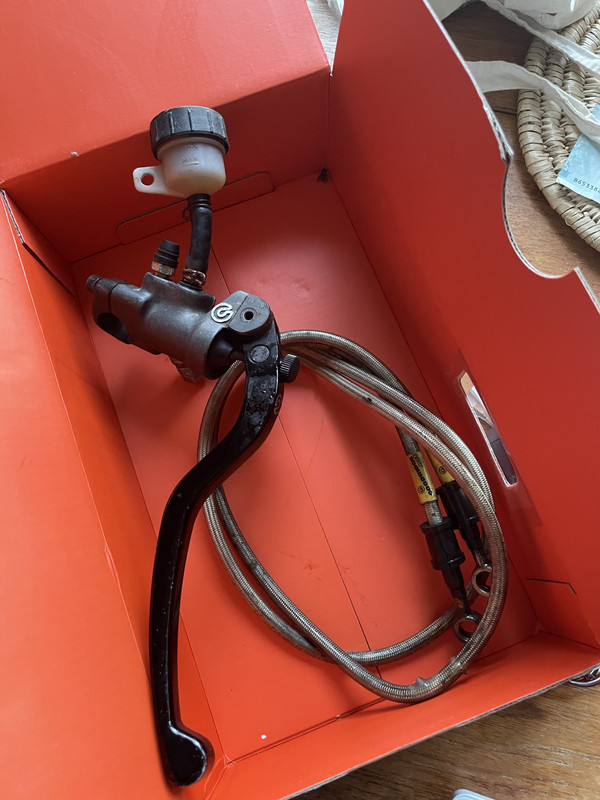
Replace as many screws with stainless as I can find
Remove all frames, subframes and hardware to have it dipped and powder coated satin black
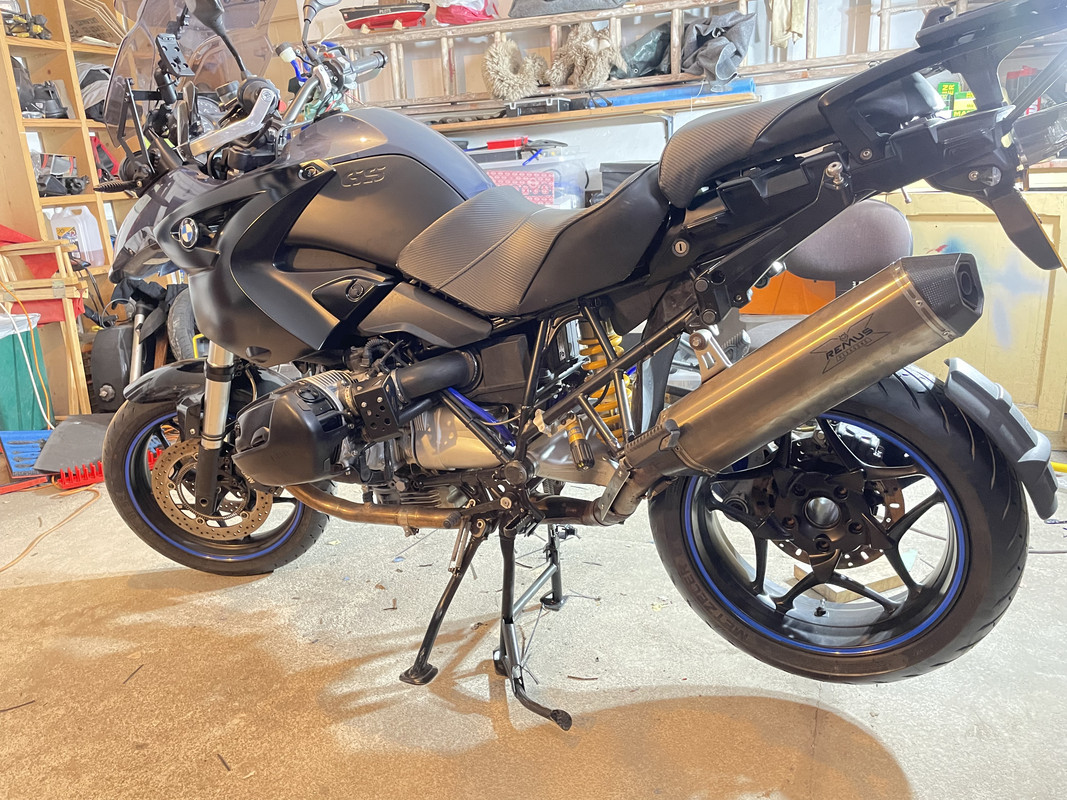
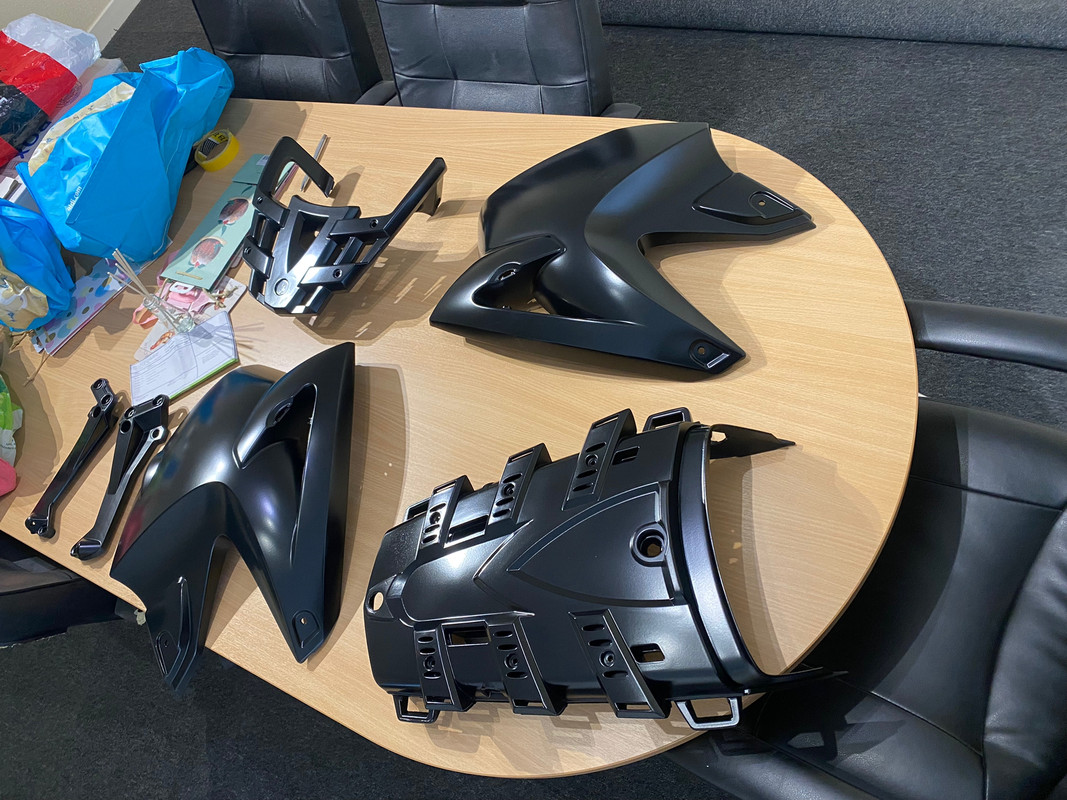
Convert to SM as I only use it on the road, I think it looks good and will handle great when im done
 
Engine came up looking great, after painstakingly sanding cleaning and getting rid of all flacking corrosion, I used normal Hammerite silver which applied great, normal paint resists heat plenty for this application. Valve covers in black for some contrast.

powder coated front frame looks amazing and bike coming together nicely, with online shocks front and back to tune the suspension properly once its build. 17" wheels look great.

Restored the oil cooler, adjusted valve clearances, and fitted OEM valve cover guards (powder coated black), serviced forks with fresh oil.


Looks like it'll be ready for the spring!

Not sure if you fitted stainless bolts in the end? But just make sure you get some anti galvanic paste onto them. Even a bit of copper grease. But with nothing on them, in 6 months they'll be one with the casing...


Sent from my SM-G975F using Tapatalk
 
Front end almost finished now, all from frames/ handlebar/ screen mount powder coated satin black, and fitted which looks amazing, hated that grey/silver that it was from factory. New LED headlight which is amazing, very crisp and bright. Removed the ABS unit which was heavy and bulky, left the electronics part in place with a cover on it bought from Motoworks. Finished painting all the old silver panels Matte black, which will look great on the bike also.

Rear wheel fits perfectly and dead centre as far as I can measure 180/55 tyre and I have no clearance issues. The rim is from a K1200S fitted back to front as swing arm is on the opposite side, and to centre the wheel I had a machine shop take 4mm off the wheel where it meets the hub. (more than enough material for that)

Front wheel is from a R1200RT, which I thought would be a direct fit, but I had to grind a small amount off the left calliper only to clear the bobbins for the break discs, and the right side I had a machine shop take 1.7mm off the brake bobbin posts as the disc was to far outboard on that side. Odd how it was one side only. New bearings fitted and axle and spacer where the same and work.

Not fitted yet, but just got a 19x18 master cylinder which should improve braking and feel substantially. 19x18 is the one brembo recommend for 4 piston dual callipers with the piston size thats on the callipers.


As above: Rear wheel fits perfectly and dead centre as far as I can measure 180/55 tyre and I have no clearance issues. The rim is from a K1200S fitted back to front as swing arm is on the opposite side, and to centre the wheel I had a machine shop take 4mm off the wheel where it meets the hub. (more than enough material for that)
 
Busy day yesterday, finally finished fitting the bermbo master cylinder. Ended up using barkbusters as I couldn’t get it to work with stock guards. As a plus I fitted a kaoko to :)

Cockpit looks really good I think. Managed to get oem mirrors fitted. Looks pretty much stock

Rear frame and hardware all powder coated and refitted with new bearings where needed. No play in side stand anymore :)

Replaced worn bearings in swing arm and old rubber boots in the bin to.

Drive shaft joints replaced with serviceable ones £160 local drive shaft place. I now have a drive shaft that I can grease! So should last for ever.

Bikes coming together great!


Hi there how did you get the rear without the offset ?
As above: Rear wheel fits perfectly and dead centre as far as I can measure 180/55 tyre and I have no clearance issues. The rim is from a K1200S fitted back to front as swing arm is on the opposite side, and to centre the wheel I had a machine shop take 4mm off the wheel where it meets the hub. (more than enough material for that)
 
So a few summary points to note:

1. wheels are awesome, look great and no clearance issues at the back with a 180/55, also all perfectly aligned, main issue oddly was front wheel needed the brake disc bobbins machined Down 1.7mm, but only on the right side to make the brake calliper align to the centre of the disc. Strange, but it worked, it might be something to do with the fact the wheel oil off a later RT with the built in valves. Again wheels are K1200S rear mounted back to front and machined down 4mm where it meets the hub, and front is from a R1200RT.

2. All powder coated hardware was a lot of extra work, specially disassembling the whole rear frame, but well worth it, it looks awesome. Also fitted all new bushings etc to centre stand and side stand, which now have no play and feel great. No issues with side stand height by the way.

3. Front Led headlight looks great, Rear LED unit also looks great, had to add resistors between both lives and ground to trick the bike into not giving an error.

4. ABS hardware removed and electrics blanked with plate from motoworks.

5. Brembo 19x18 master cylinder was a little more complicated to bit than I thought, fitment wise It wouldn't fit with the original hand guards, fitted bark busters which look good anyway and allow master cylinder to fit with no issues. The main problem I didn't forsee was the fact that apparently BMW bikes brake light microswitches work being normally closed! god knows why! anyway had to wire in a relay to turn the normally open hydraulic banjo switch to normally closed, but it works fine now activating brake light as I use the brake instead of turning it off haha.

other than that it was nice to just put everything back together routing cables neatly through the framework. I have a couple more bits to finish and will post pics once fully complete :) can wait to get suspension dialled and go for a blast.
 
Just a thought regarding the drive shaft U/J,
Did you remove the grease nipple and fit a cap screw prior to fitting back on the bike?
I only ask as I used a few of the ones with grease nipples and they fouled on the gearbox output shaft in the “straight” position once the shaft was fully locked on to the snap ring.
I took a quick photo to show what I mean( I realise this is the lower end but you get the idea)
 

Attachments

  • E5A3AE1F-2E89-4E85-AF3D-471A5D54C582.jpg
    E5A3AE1F-2E89-4E85-AF3D-471A5D54C582.jpg
    242.2 KB · Views: 125
Just a thought regarding the drive shaft U/J,
Did you remove the grease nipple and fit a cap screw prior to fitting back on the bike?
I only ask as I used a few of the ones with grease nipples and they fouled on the gearbox output shaft in the “straight” position once the shaft was fully locked on to the snap ring.
I took a quick photo to show what I mean( I realise this is the lower end but you get the idea)

I’m curious to know how the UJ end caps are secured. The OEM drive shaft UJ’s are staked in position using a hydraulic press. There is no provision for C clips to hold the UJ caps in position as you would find on car and truck UJ’s which are designed to be replaced.

I would be concerned that the centrifugal forces experienced by the drive shaft would move the end caps enough to cause play in the UJ resulting in premature failure with dramatic results…….:eek:

All the repaired drive shaft I have seen (ie Universal Joint replacement) have had the UJ end caps welded to the yoke.

:nenau
 
There are two main types of u/j needle bearings,
The type that have a circlip to retain them have less of an interference fit,to enable them to be stripped.
This is the old school way and is more expensive to manufacture.
The modern/cheap way is the stake type,the outer needle sleeve is a press fit in the housing,the staking is belt/braces.
The interference fit alone “ should” be sufficient ,but staking or dot punching around the outside to distort the yoke bore will prevent any movement.
The thing to be very careful of is to get the correct spec of u/j kit,as the dimensions of the bike u/j may be the same as ,for instance, a steering column u/j.
The loads and speeds are obviously very different.
 
Incidentally,
These u/j kits seem to be manufactured in small quantities and are quite often unavailable,(expensive)
BMW in their wisdom have manufactured the 1200/1250 WC models of prop with a non standard size u/j,
They have also copyright protected the manufacture of said u/j meaning the repair of the prop is a non starter due to zero availability of parts( unless someone knows different)


Back
Top Bottom