VFR Diary

(RIP) MScotts

Well-known member
UKGSer Subscriber
Joined
Jan 15, 2011
Messages
2,049
Reaction score
0
Location
Costa del Cambs.
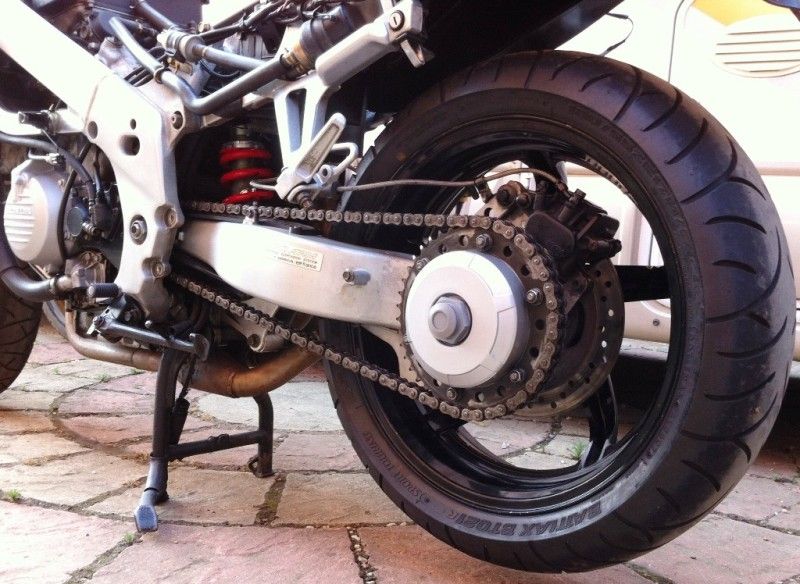
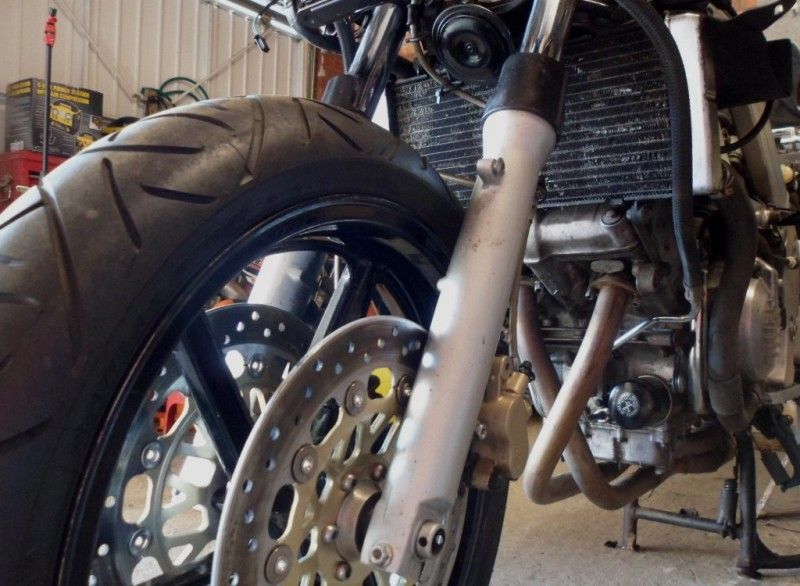
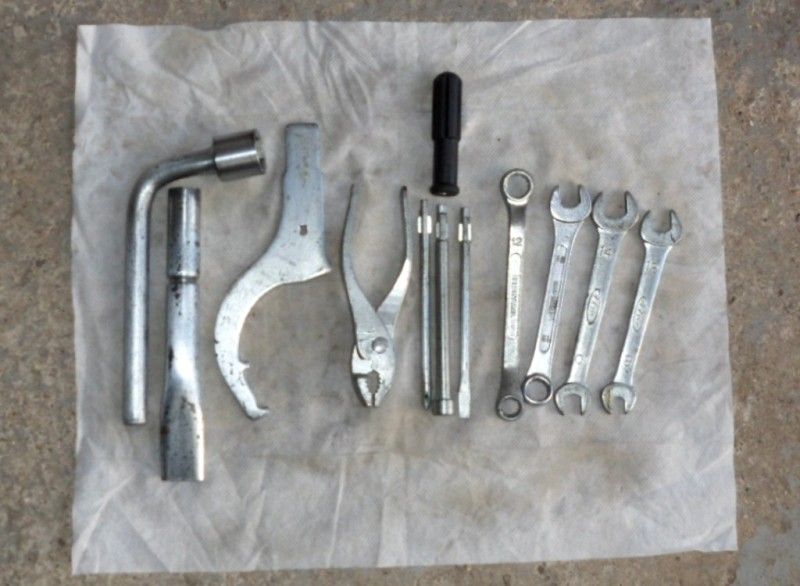
Following-on from the Red Blob thread this diary is intended to show the bike's progress since purchase 10 days ago including a general 'spruce up' and any future work, changes or modifications I do to it :beerjug:

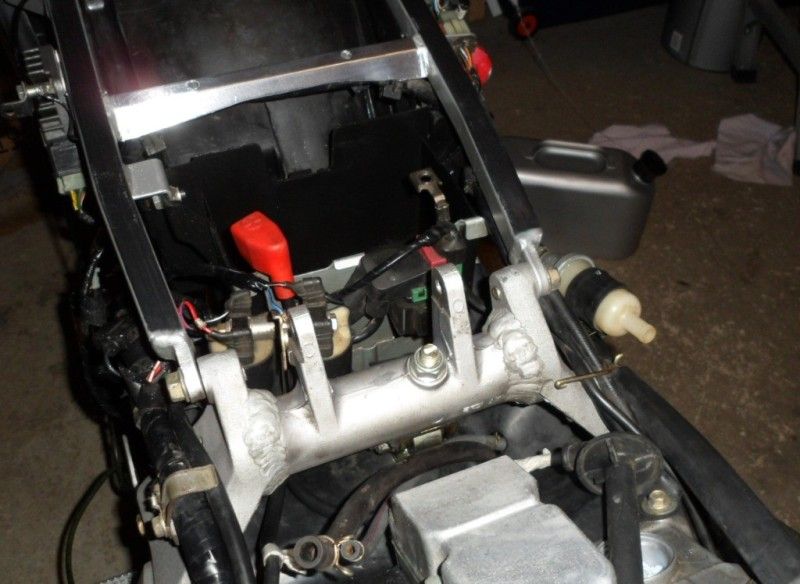
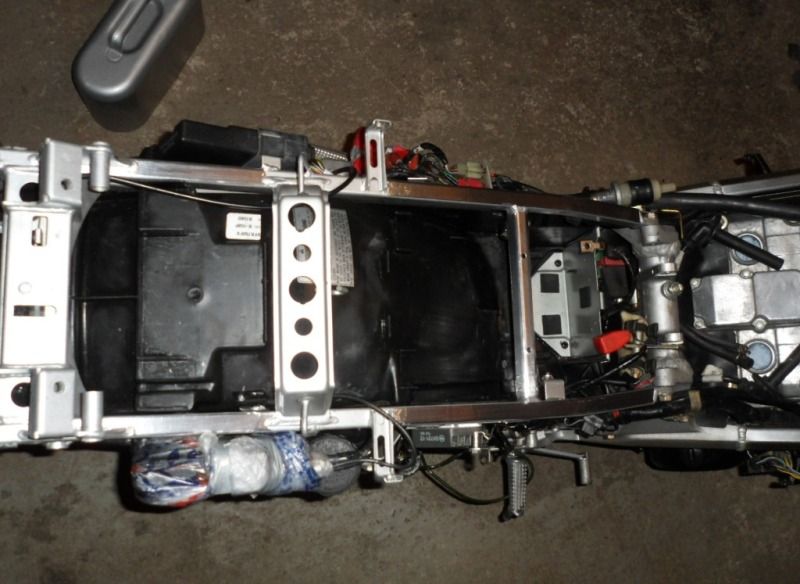
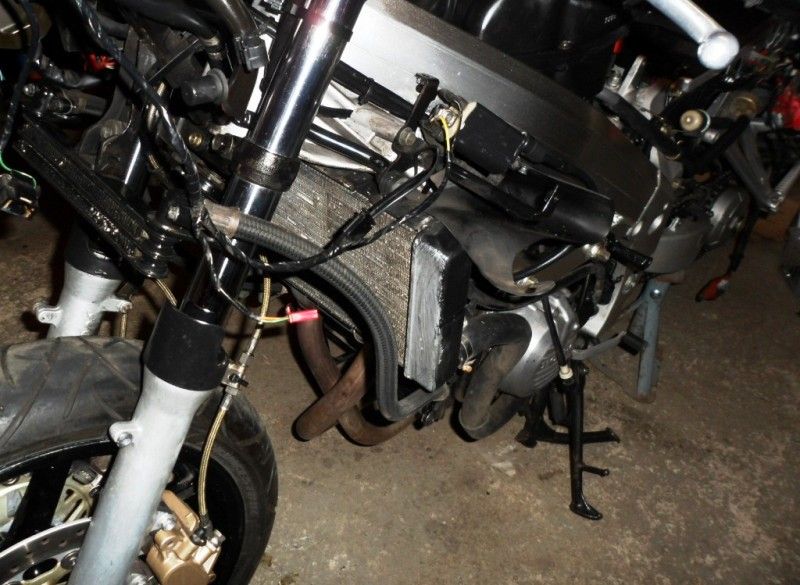
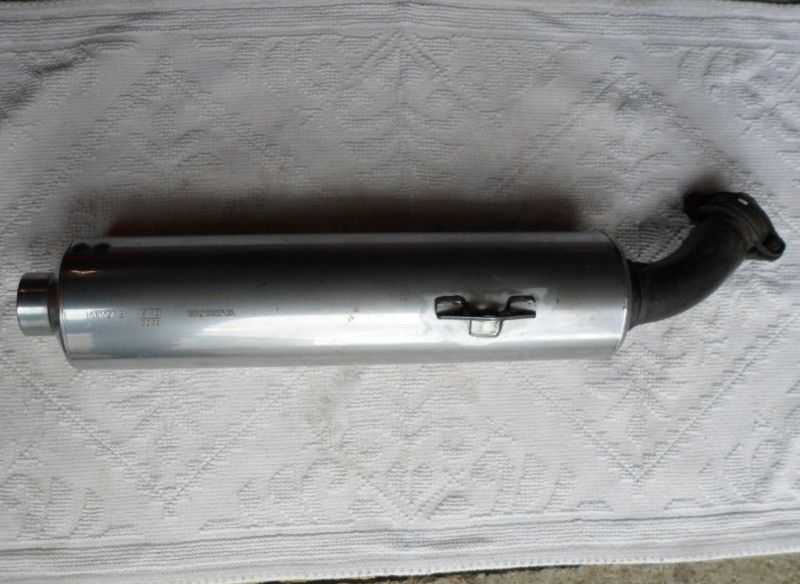
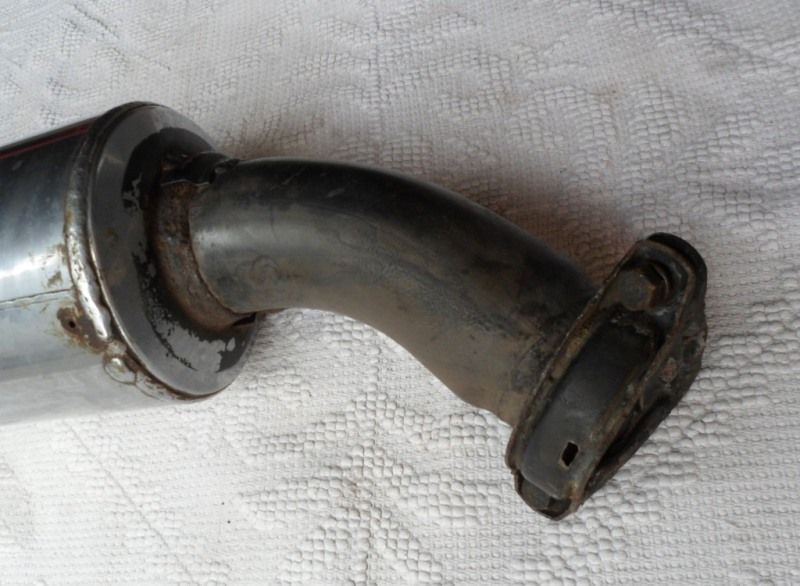
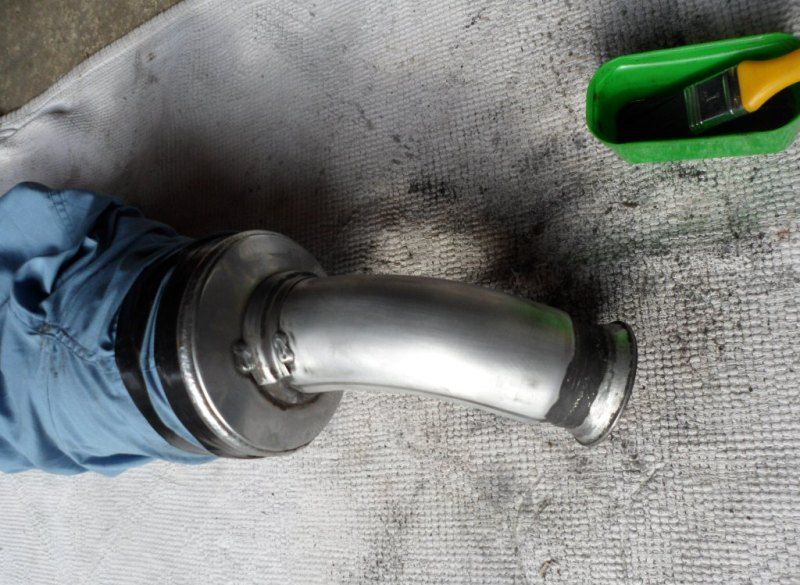
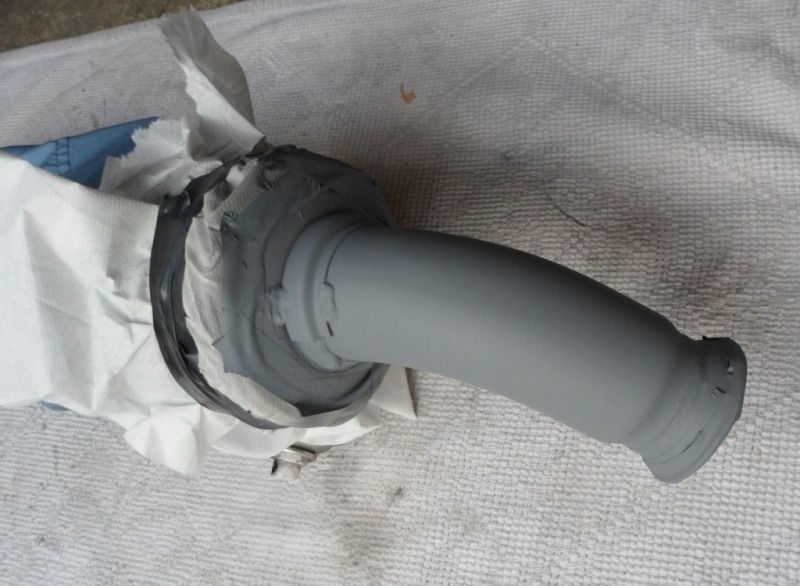
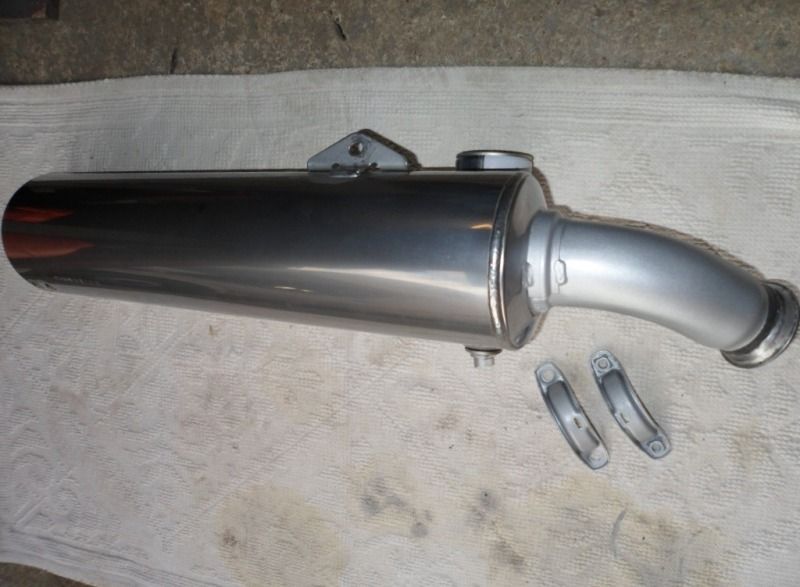
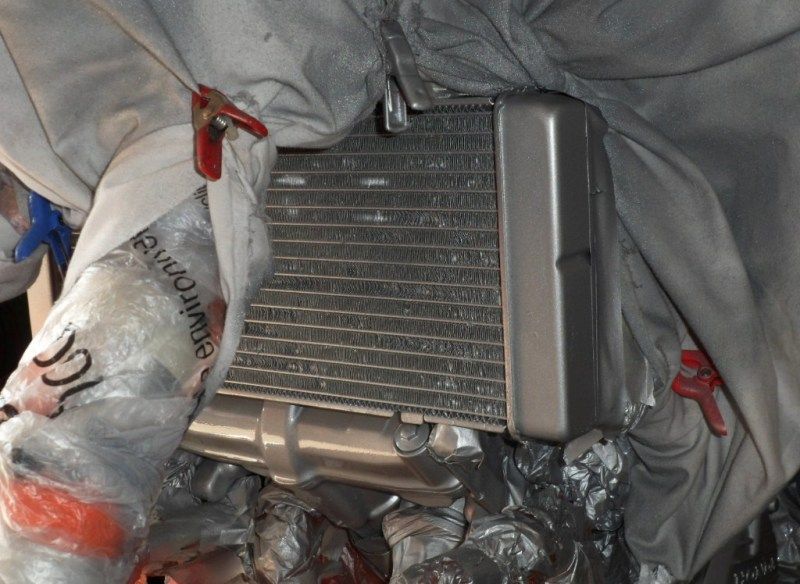
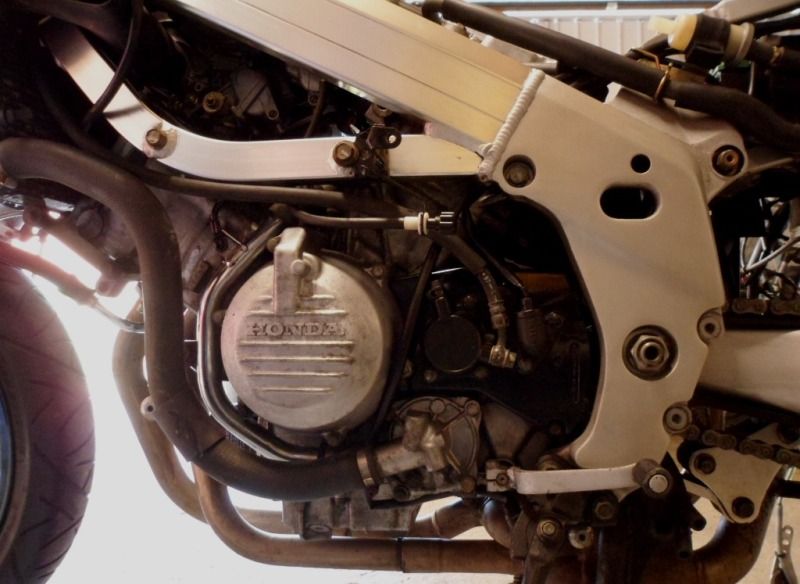
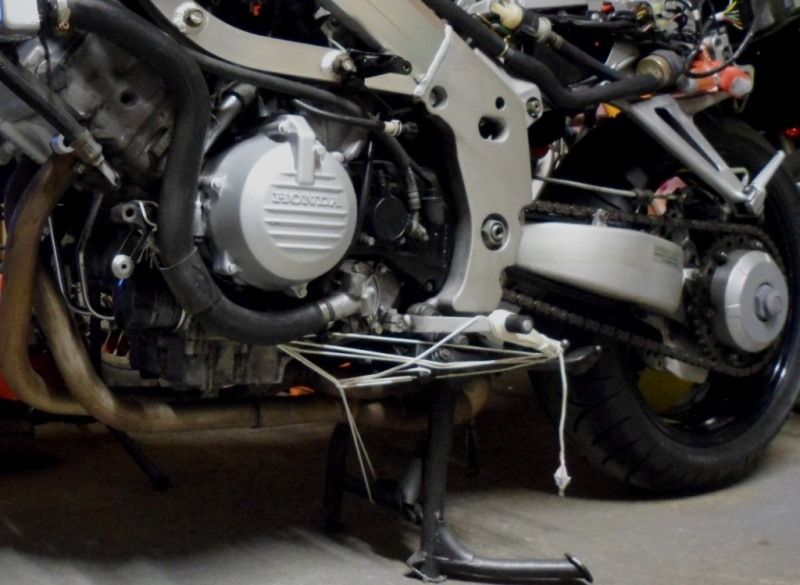
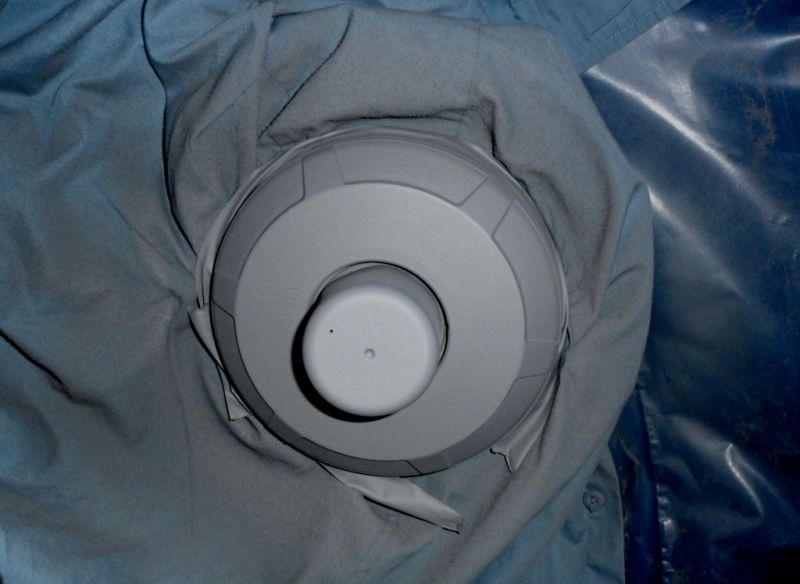
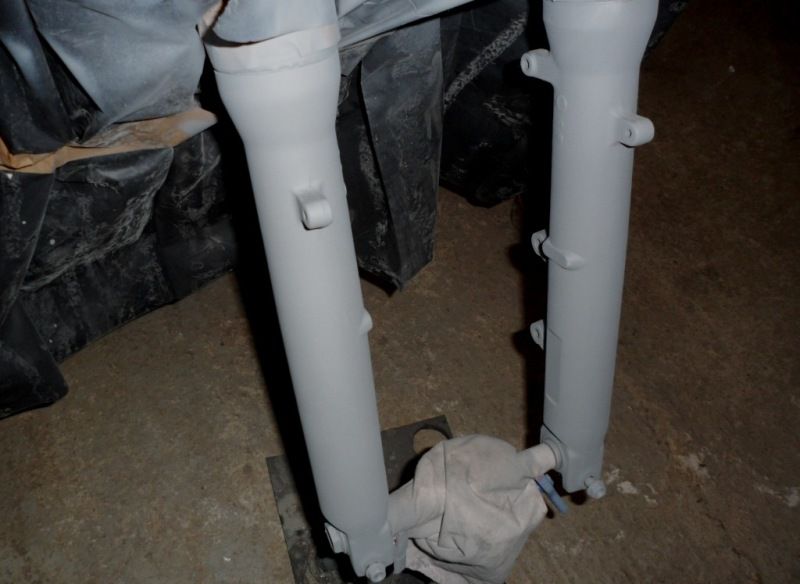
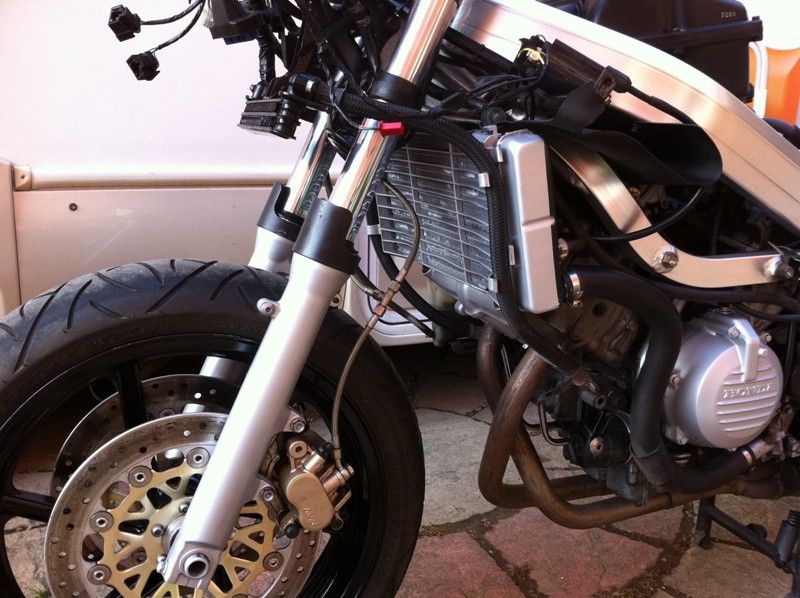
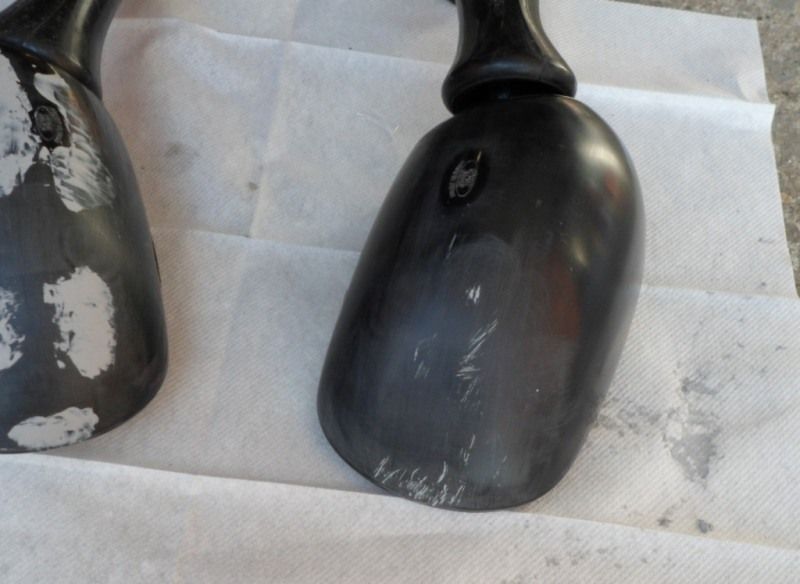
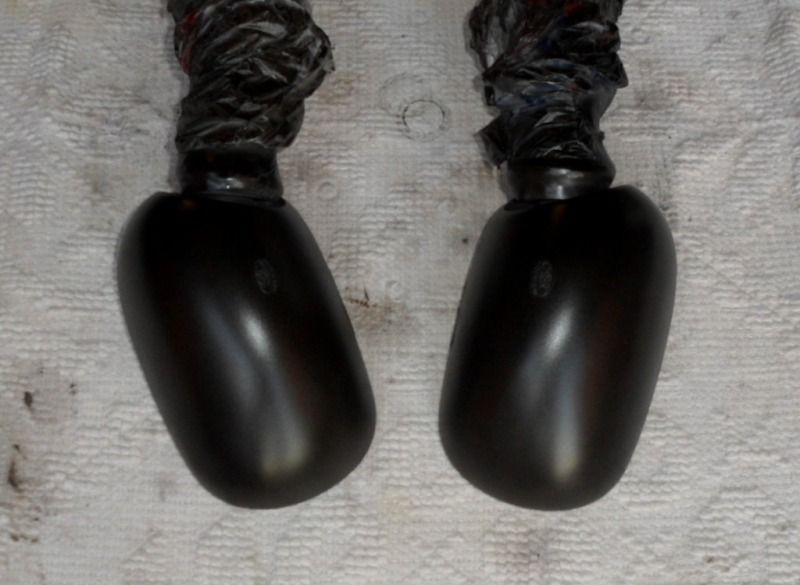
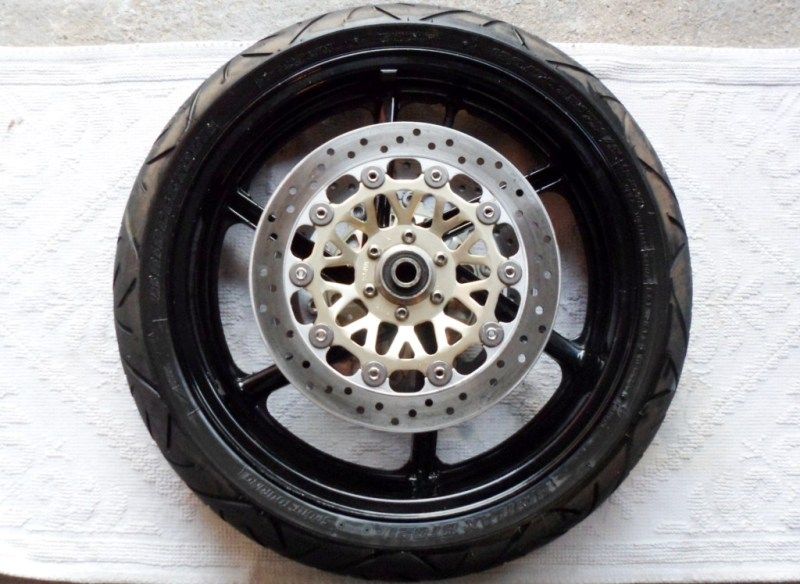
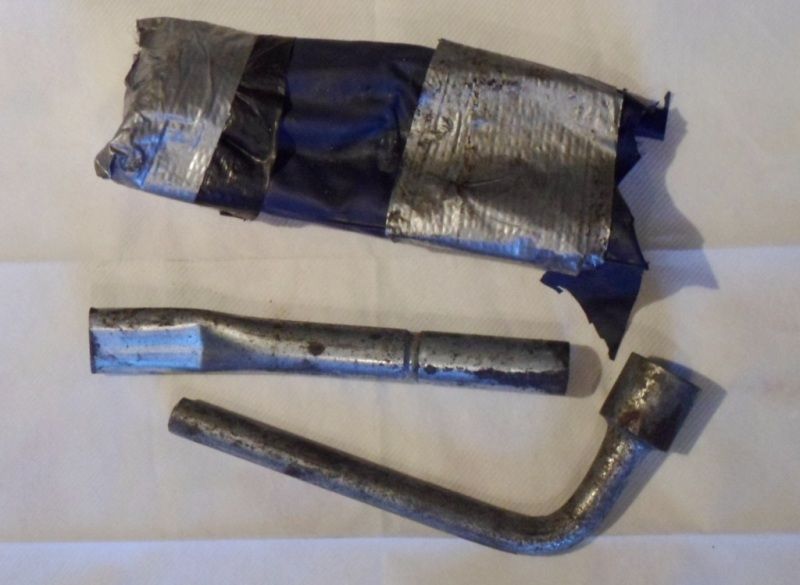
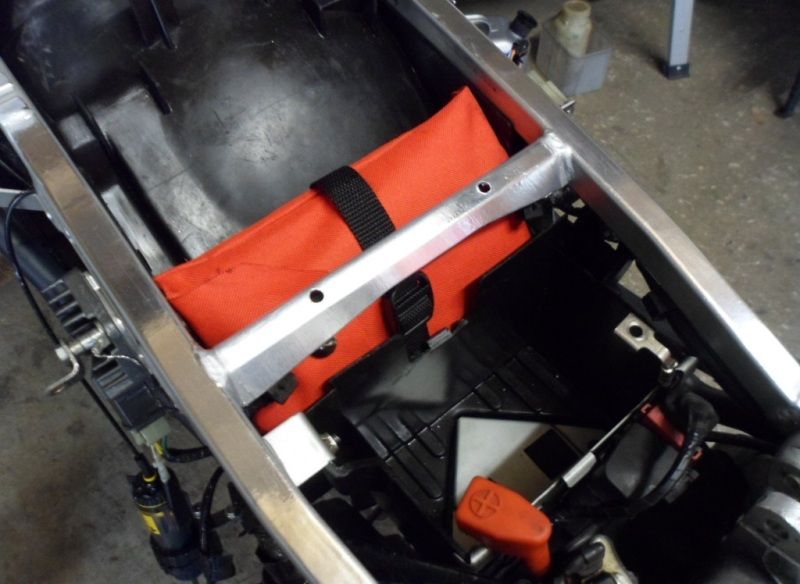
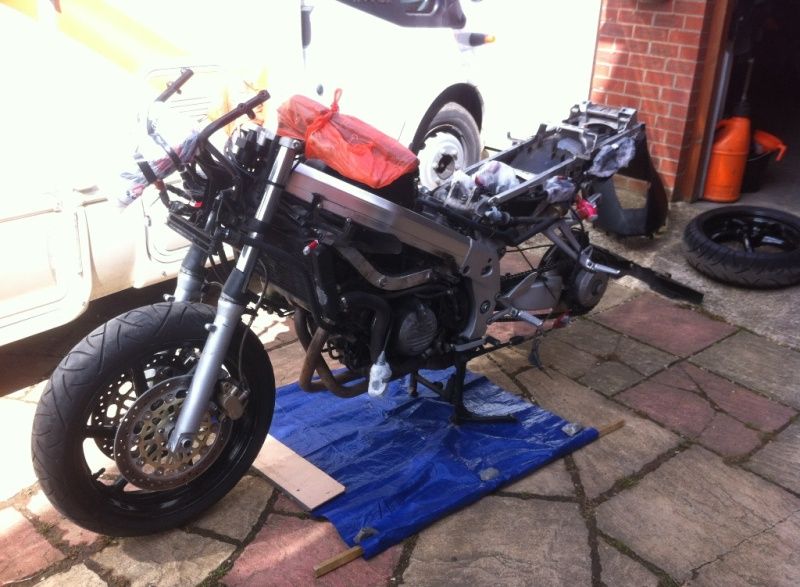
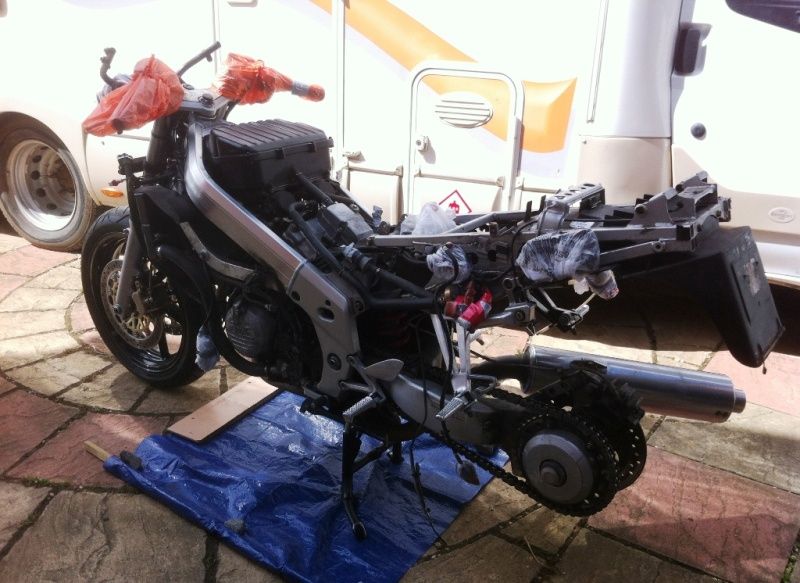
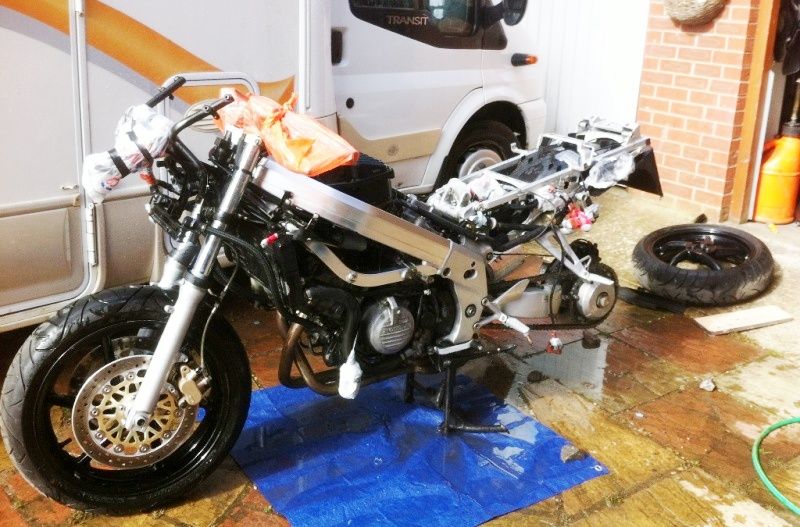
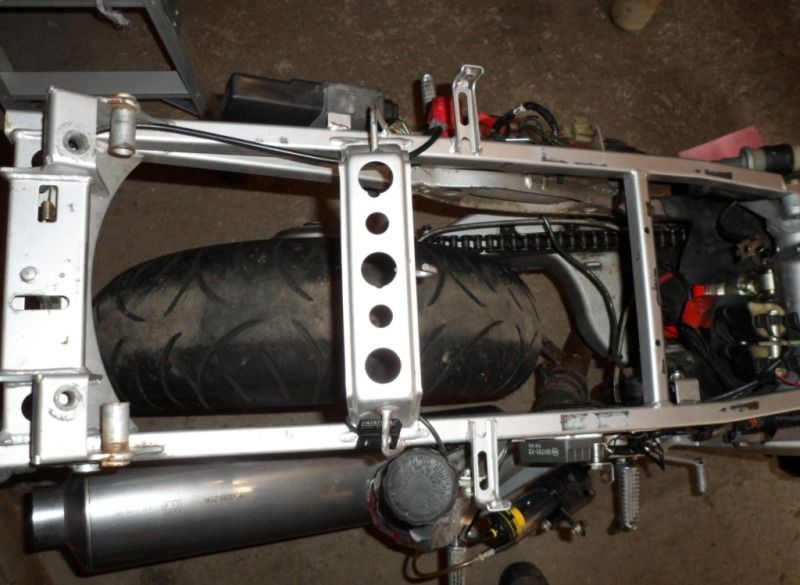
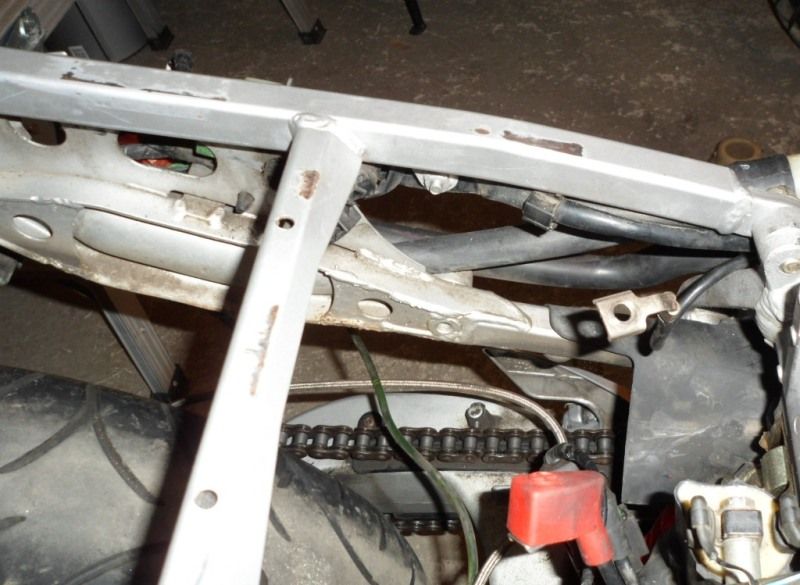
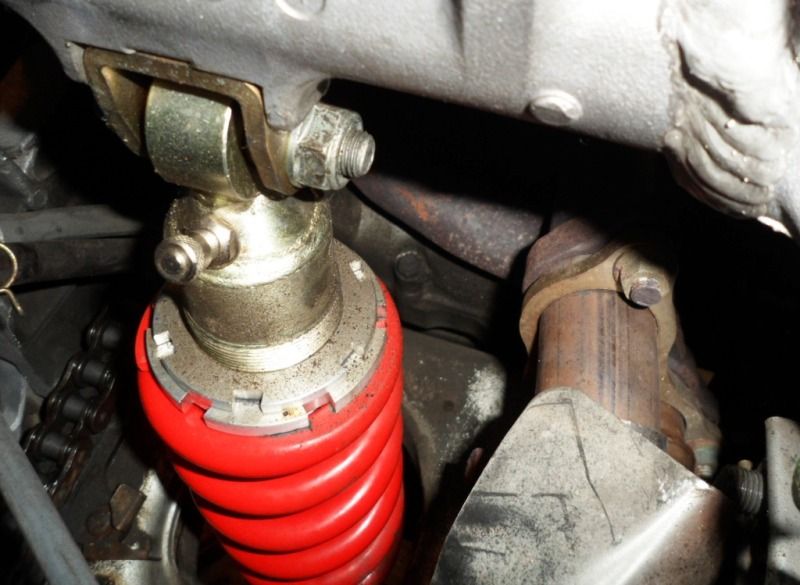
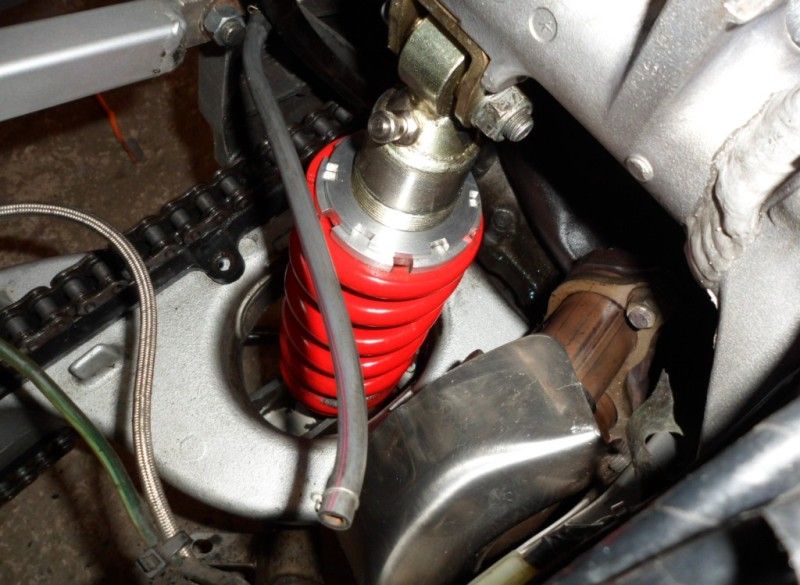
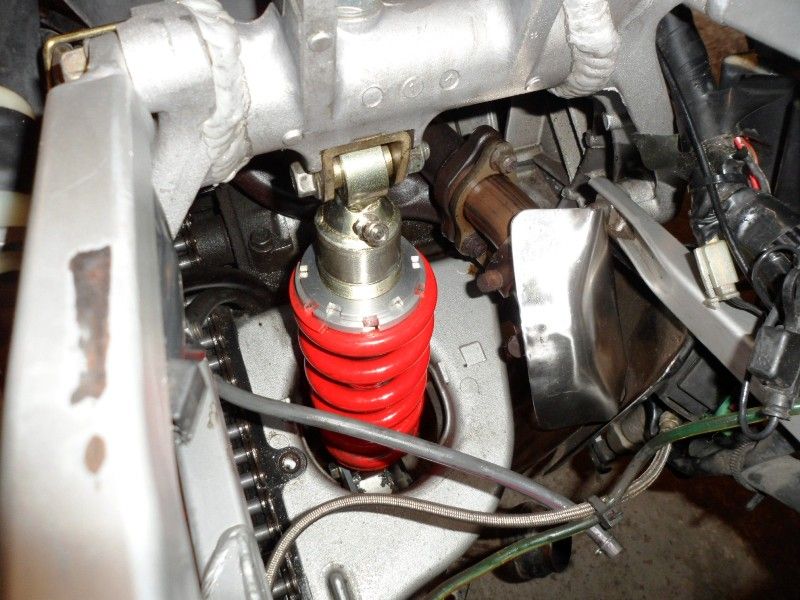
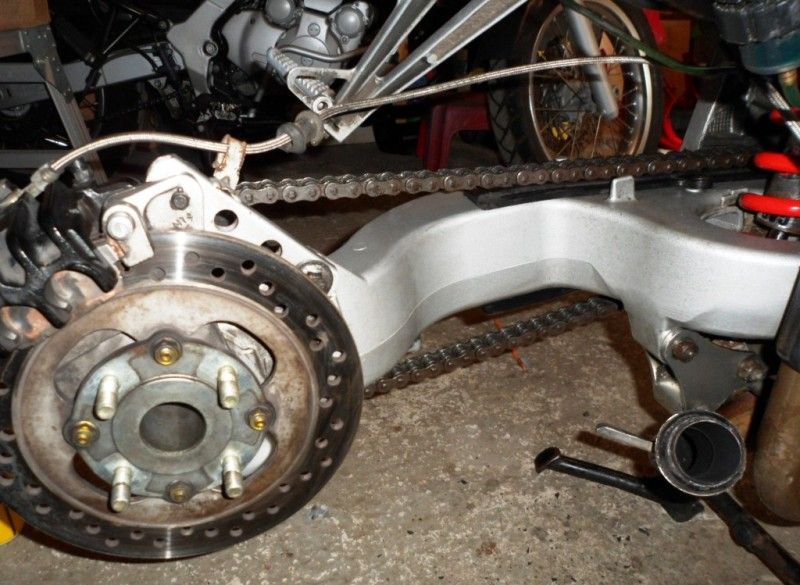
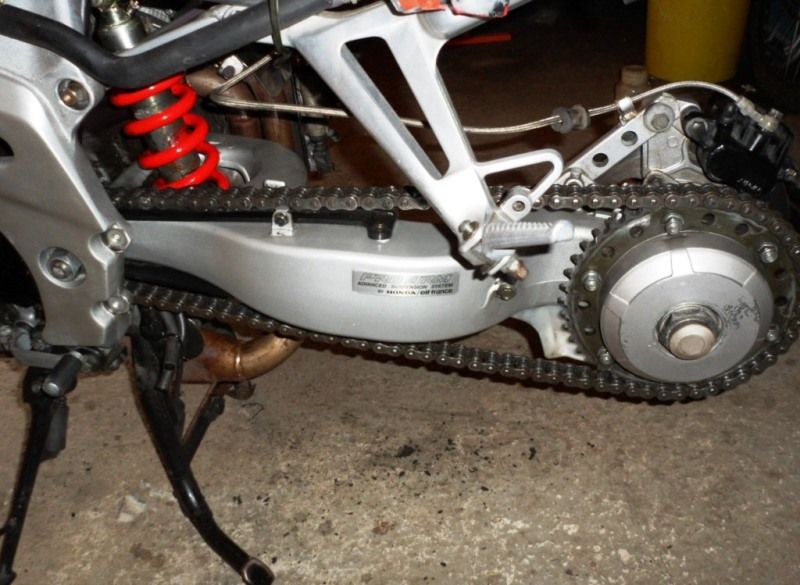
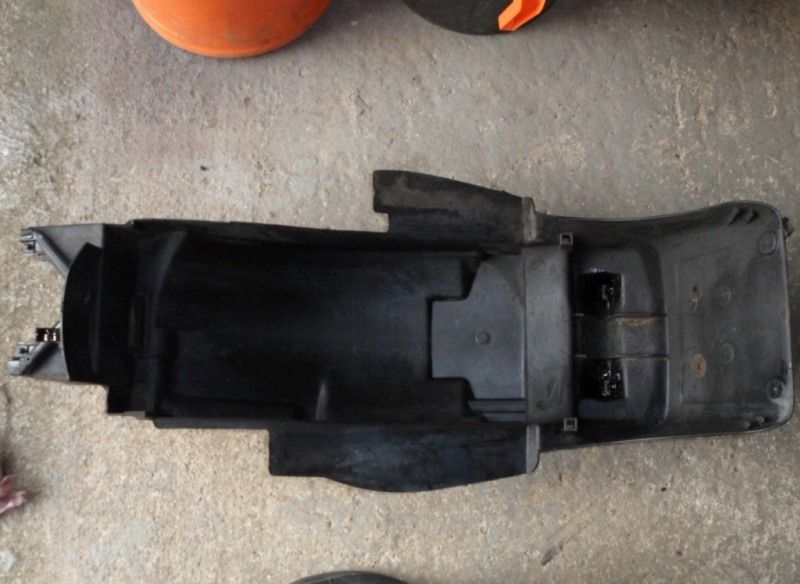
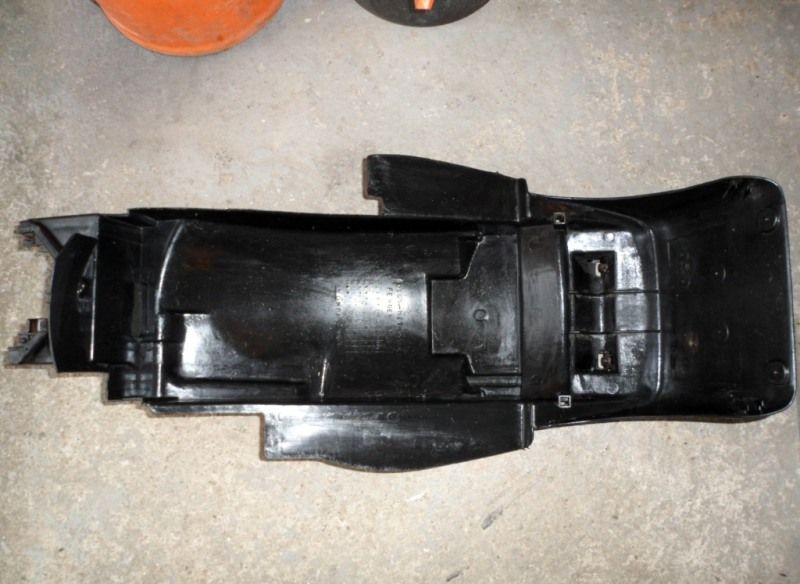
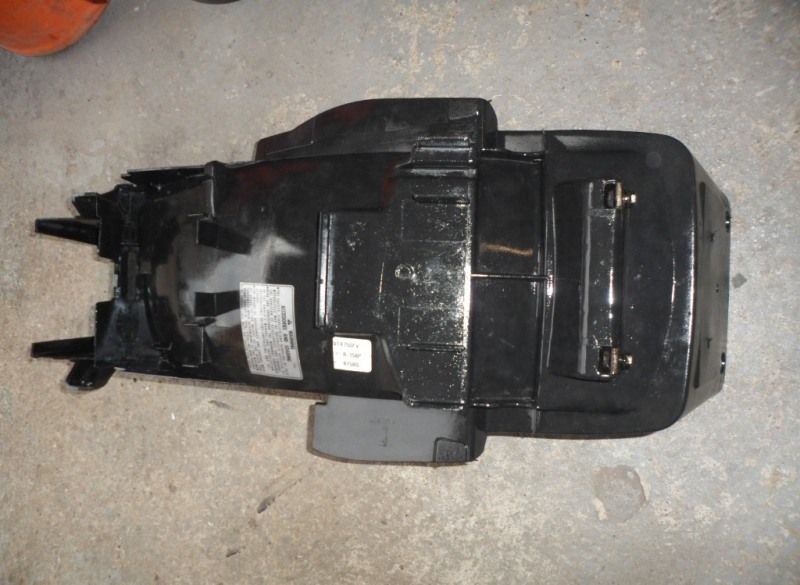
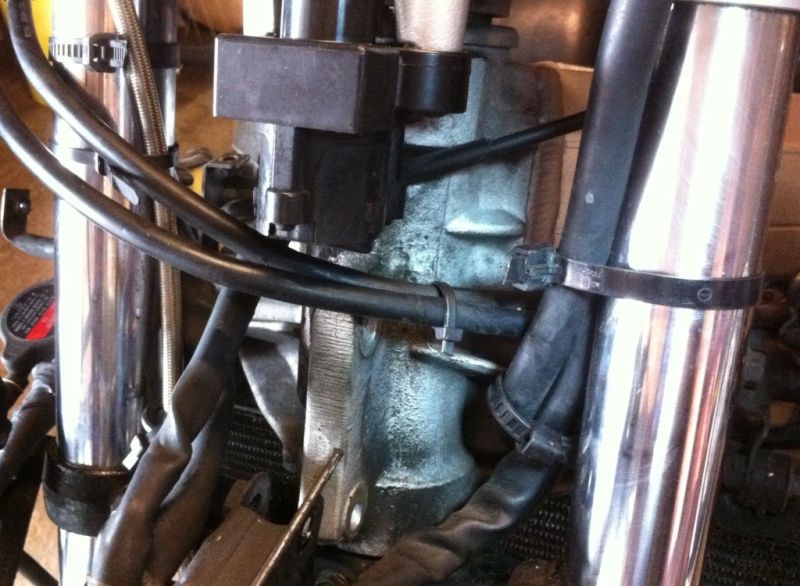
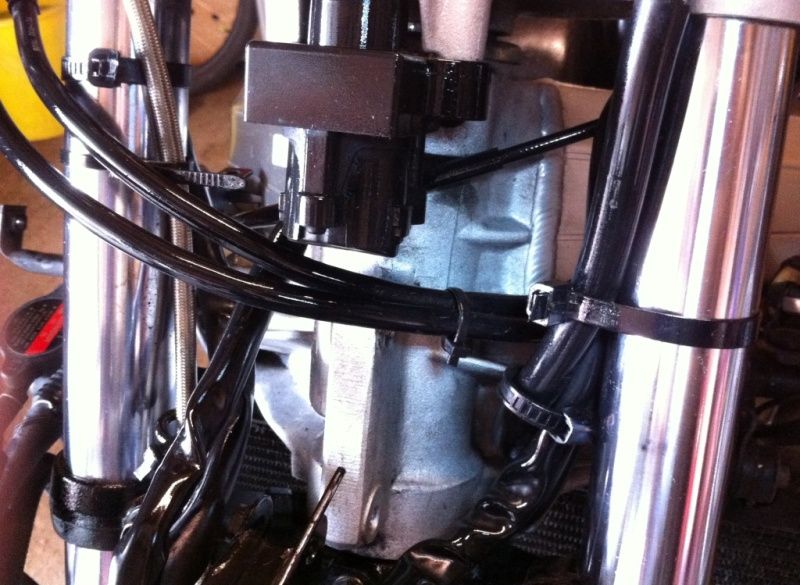
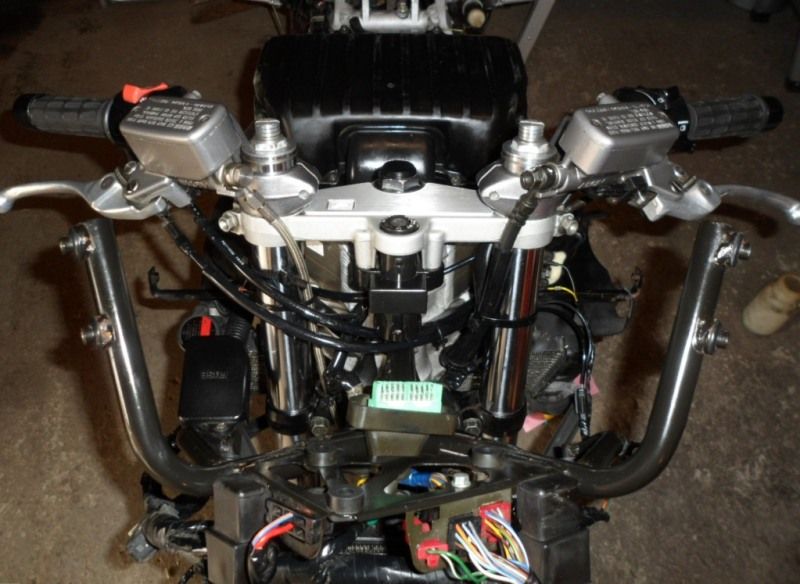
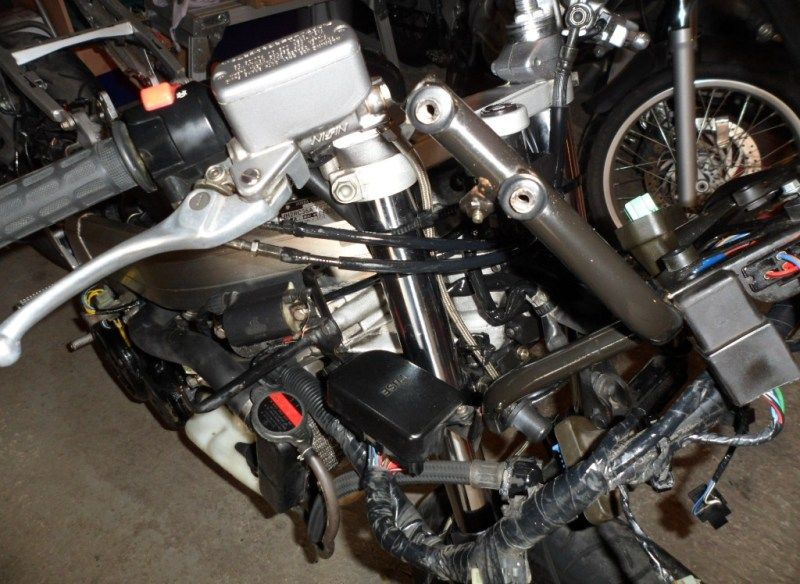
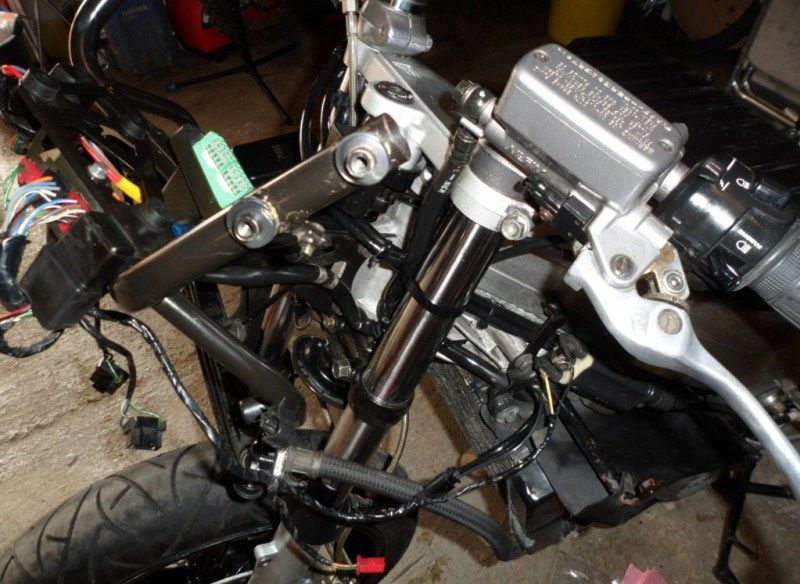
In terms of 'spruce up', this means fettling areas that need a touch up and getting shot of all the grime and cack that's built up (probably) over the past 15+ years, as well as those awful faux-carbon bits. A moderate strip-down was carried out a couple of days ago to ready the bike for a deep-clean of everything under the plastics. After the clean up, areas that need attention will be renovated, painted, etc...

Below is a short <3-minute video (Part 1 of 3) which was taken using a stills camera to give a 'time lapse' effect during the strip-down. The time-lapse itself is at approx 1:30 minutes in; after the preamble and survey pics :thumby:

<iframe width="700" height="394" src="http://www.youtube.com/embed/wdBDHfO3Txg" frameborder="0" allowfullscreen></iframe>

Part 2 will feature the deep-clean and renovation work...
...followed by Part-3 illustrating the re-build etc (hopefully with no 'spare components' left over) :blast:aidan
 
Somebody keeps making the plastics disappear, I'd report that to the police :D

Big job about to break out :bow
 
Somebody keeps making the plastics disappear, I'd report that to the police :D

Big job about to break out....
:thumb

All ready for the Gunk and pressure washer... Best I crack on, that is once I've had a cuppa. :thumby:

IMG_1036a.jpg


IMG_1038a.jpg
 
:thumb

All ready for the Gunk and pressure washer... Best I crack on, that is once I've had a cuppa. :thumby:

It was a long tea-break! :blast:aidan

IMG_1044b.jpg


On from that, the next job over the next couple of days is to get in all the nooks & crannies with a toothbrush and some Gunk diluted with petrol. Once the cack is gone the plan is ti remove and renovate some of the fixtures and mask-up and spray a few bits in and around the engine.....
 
I've love VFR's, especially the last 750's. They clean up very nicely as they were well finished to begin with. Here's my last FV that I sold a couple of years ago after restoration.

v29.jpg
[/URL]
 
I've love VFR's, especially the last 750's. They clean up very nicely as they were well finished to begin with. Here's my last FV that I sold a couple of years ago after restoration......
Very nice, Davy. I'd agree with your comment and do think that the last of the carb versions are the most asthetically pleasing out of the bunch.

Hopefully today I'll finish off the deep-clean and crack on with the renovation work. :thumb
 
The last couple of days saw the Red Blob stripped down even more for further cleaning in and around the front & rear end.

#1
SAM_1950a.jpg~original


#2 - Before (overview)
SAM_1932.jpg~original


#3 - Before (subframe was full of grime & grit - now clean and ready for paint touch-up)
SAM_1933.jpg~original


#4 - As above
SAM_1934.jpg~original


#5 - Before (absolutely minging in there!)
SAM_1943.jpg~original


#6 - Cleaned (above & below), using plenty of 'elbow-grease' (2+ hours work), finished off with silicone spray
SAM_1945.jpg~original


#7 - As above
SAM_1955.jpg~original


#8 - As above
SAM_1947.jpg~original


#9 - As above
SAM_1948.jpg~original


#10 - Years of cack accumulation to the wheel-side of the undertray, requiring scraping off before the parrafin soak
SAM_1956.jpg~original


#11 - Cleaned, and soaked in silicone grease; quite a long job in the end
SAM_1957.jpg~original


#12 - As above, 'after result' to the top side of the under tray
SAM_1958.jpg~original


#13 - Reassembled with a paint touch-up required here & there (rear bank cam-cover scrubbed)
SAM_1963.jpg~original


#14 - Before
IMG_1072.jpg~original


#15 - Front subframe & whole headstock area cleaned. Lashings of silicone spray applied afterwards, especially to the cabling & plugs (paint touch-up required here & there)
IMG_1074.jpg~original


#16 - As above
SAM_1936.jpg~original


#17 - As above
SAM_1937.jpg~original


#18 - As above
SAM_1938.jpg~original
 
The next few days should see the following jobs get done before the rebuild...

1 - Paint touch up to the front and rear subframes

2 - Prep and respray to the left and right engine casings

3 - Prep and respray the fork sliders

4 - Re-route/ relocate Scottoiler

5 - Renovate the radiator's finish

6 - Renovate the mirror casings

7 - Plugs, Oil/ filter and air filter change (although it's probably not required as the bike was recently serviced)

8 - Clean up the wheels (have resprayed, if required)

9 - T-cut, polish and wax the tank and plastics (pre-assembly)
 
Cracking bikes Can I buy it when you have finished?
In time if I get the itch for yet another bike from my past (*thinks* Ducati 900ss or 600 Pantah); then this or the GS would have to go; so perhaps... ;)

The next few days should see the following jobs get done before the rebuild...

1 - Paint touch up to the front and rear subframes.
Job done, which included alloy tape protection also. However I didn't get near the cush-drive cover job which is another for the 'to-do' list; as-is the refurb of the side & centre stands

#1
SAM_1983.jpg~original


#2
SAM_1978.jpg~original


#3
SAM_1982.jpg~original


The next few days :blagblah
2 - Prep and respray to the left and right engine casings
3 - Prep and respray the fork sliders
new - Cush-drive cover prep & spray
On the cards for tomorrow :thumb

The next few days :blagblah
5 - Renovate the radiator's finish
Rad cleaned and etch-primed ready for some wet&dry and spraying; hopefully tomorrow...
#4
SAM_1984.jpg~original


Yet another job jumped out at me today; the exhaust can... This turned out to be a great deal more than the 1 hour clean-up I first anticipated (was approx 3 hrs in the end); hence shoving some of the above backwards in the queue... :blast

#5 - first appearances; hmmm...
SAM_1964.jpg~original


#6- a closer look!
SAM_1967.jpg~original


#7 - time for some ''wire brush & dettol'' treatment
SAM_1970.jpg~original


#8 - On with the etch-primer
SAM_1971.jpg~original


#9 - Then a few coats of EHT silver, and a quick machine polish to the can
SAM_1973.jpg~original
 
Yesterday and today saw the 'big push' and I managed to complete/ progress a good number of jobs on the 'to do' list. Nucking-fackered after about 10-hrs on-and-off as the bulk of the work was cleaning, de-greasing, sanding and other prep; then masking, etch-priming etc; the actual spraying was the easy bit... :blast :D

#1 - Radiator (and grille - see pic #6 below), plus the camshaft cover (front bank), sprayed
SAM_2002.jpg~original


#2 - Following a full-on prep and etch prime the engine casings were resprayed (plus bracketry-various in that area) - Before
SAM_1993.jpg~original


#3 - After
SAM_2025.jpg~original


#4 # - Cush-drive cover etch-primed then sprayed Silver (the aerosol can's cap was ideal for masking off the hub-nut)
SAM_2000.jpg~original


#5 - After
IMG_1090.jpg~original


#6 - Fork sliders were in a pitiful state; the previous owner must have brush painted them in-situ! The pic doesn't really illustrate how ruf the finish was; but it was those that made me decide to strip the bike down and get on with jobs on the 'to do' list...
SAM_1994.jpg~original


#7 - After a couple of hours worth of rubbing back the etch primer was applied
SAM_2015.jpg~original


#8 - Then a few top-coats to finish off
IMG_1089.jpg~original


#9 - Mirror casings, sprayed. Prior to that they had an initial rub-down, then the scuffs etc were filled with 'MPA Finissage 1069'. The one on the right is after the 2nd rub-down
SAM_2011.jpg~original


#10 - Plastic primer applied (mirrors now have coats of gloss black & laquer and are currently drying)
SAM_2021.jpg~original


#11 - Front wheel cleaned, touched-up then polished & waxed
SAM_2019.jpg~original


#12 - The tools were given the Brasso treatment; now nestling in their new bag... The 'before' shot
SAM_1985.jpg~original


#13 - Cleaned; then sprayed with WD-40
SAM_1986.jpg~original


#14 - Bagged and fitted into place
SAM_1990.jpg~original


Still to do (possibly post-reassembly?)...

1 - Belly-pan and chain guard; de-grease the buildup of oil and general cack

2 - Refurb of the side & centre stands

3 - Re-route/ relocate Scottoiler

4 - Clean up the rear wheel, polish then wax

5 - Fabricate headlight protectors; like I did for the GS using an old helmet visor

6 - T-cut, polish and wax the tank and plastics

...and a lot more as I go on, I'm sure :blast :thumby:
 
I love projects like this.......maybe because my handiwork skills are so useless.

I am cakking myself at the thought of taking my 1200RT panels off to do some cleaning etc underneath) :eek:

I marvel at the ability of some people.

Fantastic.

Keep it coming, looking forward to the finished article. :clap
 
Thanks :beerjug:

It's turned out to be a bit of a slog, but I'm now on the edge of the rebuild (will do a time-laps as per the strip-down)

One thing I'm unsure about is to leave the dash panel as-is, or re-colour it; see HERE for what I mean :thumb
 
Another long day now done & dusted...

Finished the 'spruce-up, well almost! :thumby:

#1
SAM_2040.jpg~original


#2
SAM_2082.jpg~original


Almost there now, just need to do a few post-reassembly jobs from the 'to-do' list, fit some service parts, and do some tweaking etc; oh, and do a time lapse video as-per post #1; illustrating all the bits in between the two pics above. that's for later on though as I'm knackered :blast :beerjug:
 
Brilliant job

and thanks for taking the time to document it for us armchair restorers. :Motomartin

You make it look so easy - I lived with pitted forks for 3 years until I sold the bike!

A
 
With added pictures here & there the following short video consolidates the above deep-clean and renovation work :thumb

<iframe width="640" height="360" src="http://www.youtube.com/embed/u68Ivdg9M-w" frameborder="0" allowfullscreen></iframe>


........Almost there now, just need to do a few post-assembly jobs from the 'to-do' list, fit some service parts, and do some tweaking etc :blagblah
Part-3 will feature the reassembly time-lapse and details of post-rebuild work such as:

1 - Fitment of the new 'double-bubble' screen

2 - Headlight protector fabrication; like I did for the GS using an old helmet visor

3 - Top yoke cover fabrication

4 - Application of clear protecting film; replacing that (gack 'carbon-effect) tank-pad as well as to other key areas that might be subject to wear or erosion

5 - Fit some service parts and make some tweaks & adjustments

...and a lot more as I go on, I'm sure :blast :thumby:
 
A good clean...did you take the front sprocket cover off? you possibly did and i missed it.
The last vfr i had [750] when i bought it by luck i collected it with a trailer,it was seriously needing a clean.the whole front sprocket area was full of grit and chain lube-a real grinding paste.
 
An observation rather than a criticism ...

Ideally you should paint the radiator back to black to aid heat dissipation :thumb


Back
Top Bottom